Adding Bookable Desks, Parking Spaces, and Rooms
An example of how to add bookable location types to an existing organization hierarchy.
- For detailed information on the booking space locations used in this article, please see the Locations Overview article.
Procedure
1. Access the Locations page by selecting the Location tab in the organization's admin console in the Workplace Admin Portal.
- Note: If you have just created an organization and are using the Getting started guide, the "Add desks" and "Add rooms buttons" will take you to the Locations page.
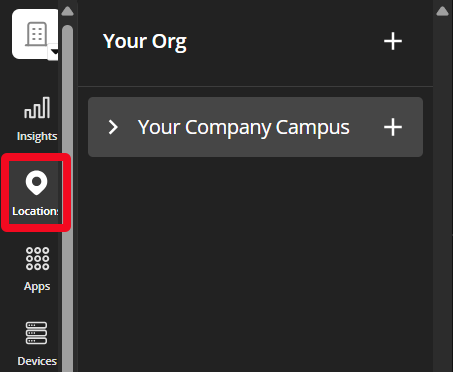
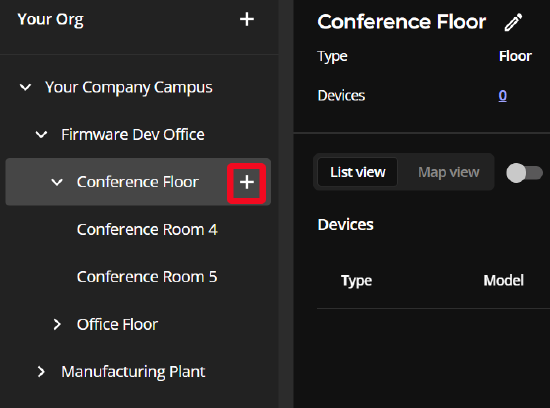
2. Select the floor you will add bookable resources to, and then select the floor's + plus icon to add a new sub-location under it.
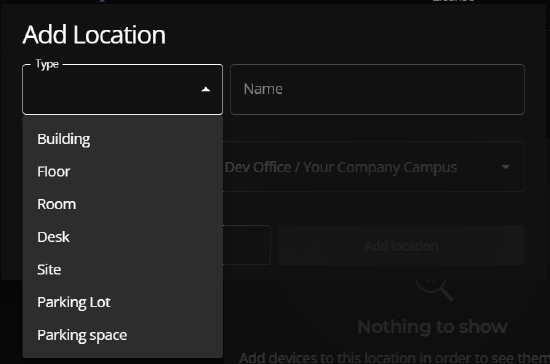
3. Select the resource type in the Type dropdown menu.
- Selecting a resource type will change the form.
4. Enter information in the form, then select the Add location button to save the information and add the location to the organization.
Room form options
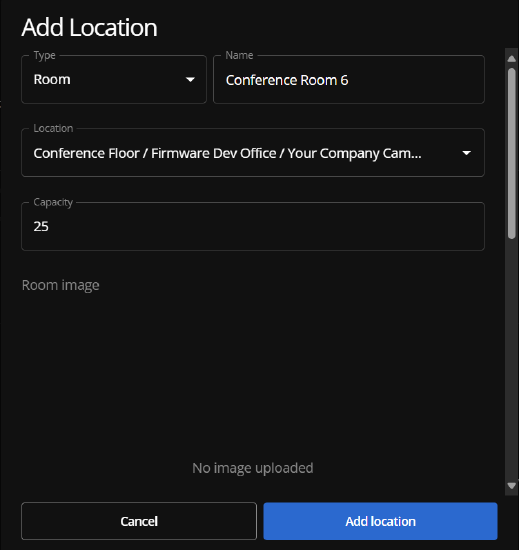
| Field | Description |
| Name |
The name typically matches that of the physical room that will be provisioned with a room booking management system. Note: This name will be visible on the Naso room manager display panel. |
| Capacity | Adds a maximum number of occupants for the room. |
| Upload Image | Typically, a photo of the room to help end-users readily match the booking resource room to the physical location they have booked in the Workplace system. They will see this image in the room's profile in the Biamp Workplace Booking app. |
| Equipment | Checking these boxes lists these features in the room's profile in the Booking app. This helps end-users determine the suitability of the room for their conferencing requirements and if they should bring additional equipment. |
| Dedicated location | Assigns the location to one Workplace user. It cannot be booked by other users. Toggling to dedicated adds a "Select owner" dropdown menu. Dedicated locations were formerly known as private locations. |
Desk Form Options
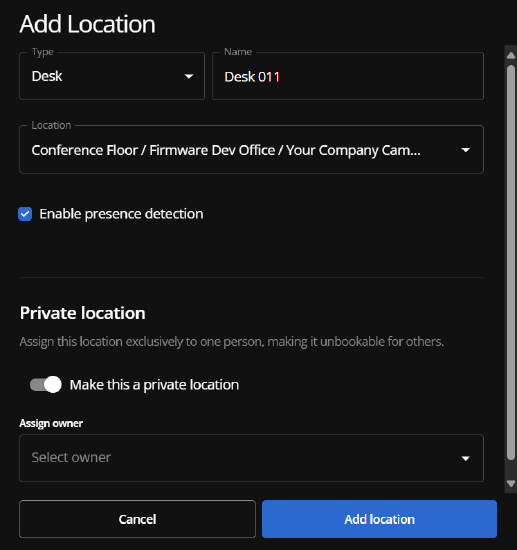
| Field | Description |
| Name | This name will be visible on the display of any Naso desk manager associated with a desk. |
| Enable presence detection | When enabled, the presence of a person sitting at the desk triggers the Book Now prompt if the desk is still available. The setting also enables auto booking and dynamic meeting extension as long as the desk is occupied. |
| Dedicated location | Assigns the location to one Biamp Workplace user. It cannot be booked by other users. Toggling to adds a "Select owner" dropdown menu. Dedicated locations were formerly known as private locations. |
The Parking space form option
| Field | Description |
| Dedicated location | Assigns the location to one Biamp Workplace user. It cannot be booked by other users. Toggling to adds a "Select owner" dropdown menu. Dedicated locations were formerly known as private locations. |
Bookable Location Booking Settings
Booking settings are inherited from the general settings. You can override the general settings from the Bookable Location details screen.
- Access the Locations page by selecting the Location tab in the organization's admin console in the Workplace Admin Portal, and then select a bookable location.
- Select the Booking Settings tab.
- Click the pencil icon to edit the following settings:
- General:
- Book in advance limit: Set the maximum number of days ahead users can book the room.
- Booking duration limit: Set the maximum of hours users can book the room.
- Default booking duration: Set the default amount of time the user books the room.
- Check-in:
- Allow the user to check-in to the booking: Check this box to allow a user to check into a booking early.
- Early check-in: The number of minutes before a meeting a user can check in to the room.
- Late check-in: The number of minutes before a booking gets canceled due to the user checking in late.
- Allow remote check-in: The user can check in to the room remotely.
- Allow QR code check-in: The user can check in to the room using a QR code.
- RFID/PIN Identification
- Require identification to book: If disabled, users can check in anonymously.
- Require identification to check-in
- Require identification to extend or check-out
- Notifications
- Late arrival notification after: Sends a notification to the user if they are late to their booking.
- Device template
- Select the primary text that is displayed on the device.
- General:
Next Steps
Add more booking devices
Repeat the procedure above as many times as required to fully populate your organization with the room, desk, and parking spaces.
Add and activate booking licenses
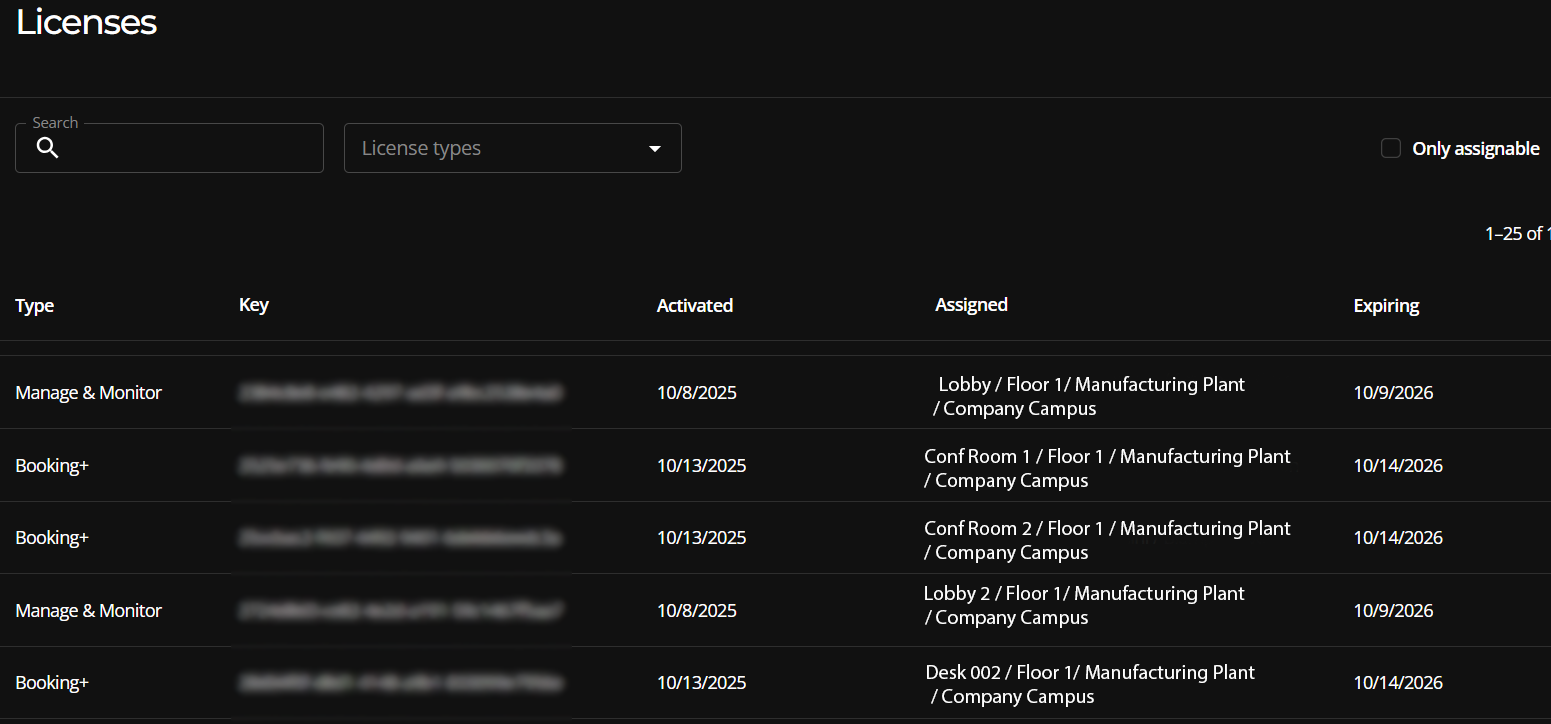
After devices, add and activate licenses for each location. Booking licenses are required to activate a location's booking, monitoring, and management functions.