Adding and Connecting Kleeo Devices
How to add and connect Kleeo desk booking managers to a Biamp Workplace organization.
- For connecting Kleeo desk booking devices to Zoom, please see: Setup Guide for Kleeos in Zoom Workspace.
Preparation
Requirements
- You must be on site. Adding Kleeo desk manager devices to your organization and connecting them to Desk resources in the system must take place onsite where the Kleeo devices are installed.
- An active Biamp Workplace account with an active administrator role in the Workplace organization you will be adding and connecting Kleeo devices in.
- An NFC-enabled mobile phone with the Biamp Workplace Booking mobile app installed on it.
- Near Field Communications (NFC) is a common feature in major mobile phone brands. Lists of NFC-enabled devices can be found online.
- We recommend bringing a laptop with Biamp Workplace on it for viewing the administration console of the organization you will be adding Kleeo to. Specifically to verify the connection on the admin side.
- Desks should already be listed in the organization as resources. You will be connecting each of those organization desks resources to the hardware Kleeo devices to link them in the system.
Add and connect a Kleeo to an organization
1. If the Kleeo device is not already powered, plug it into its USB C hub.
-
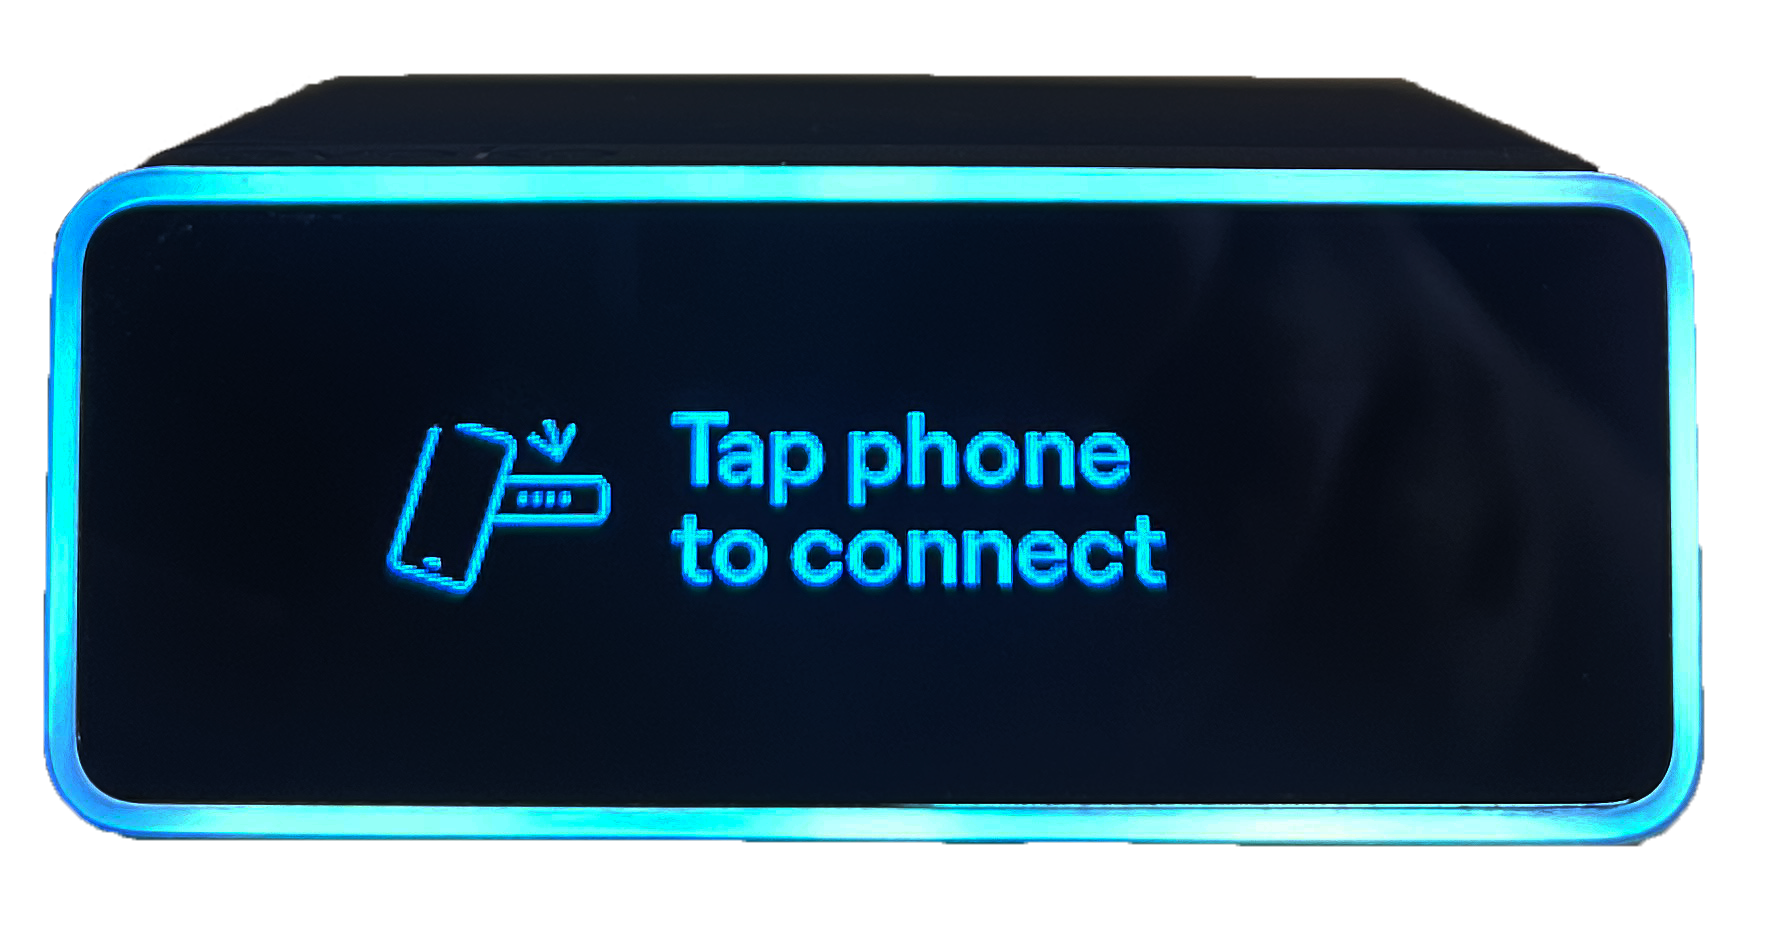
The Kleeo will boot to the screen shown below, with a white light around the edge of the device. The following messages will cycle on the Kleeo' display:
-
"Download APP"
-
"Tap phone to connect "
-
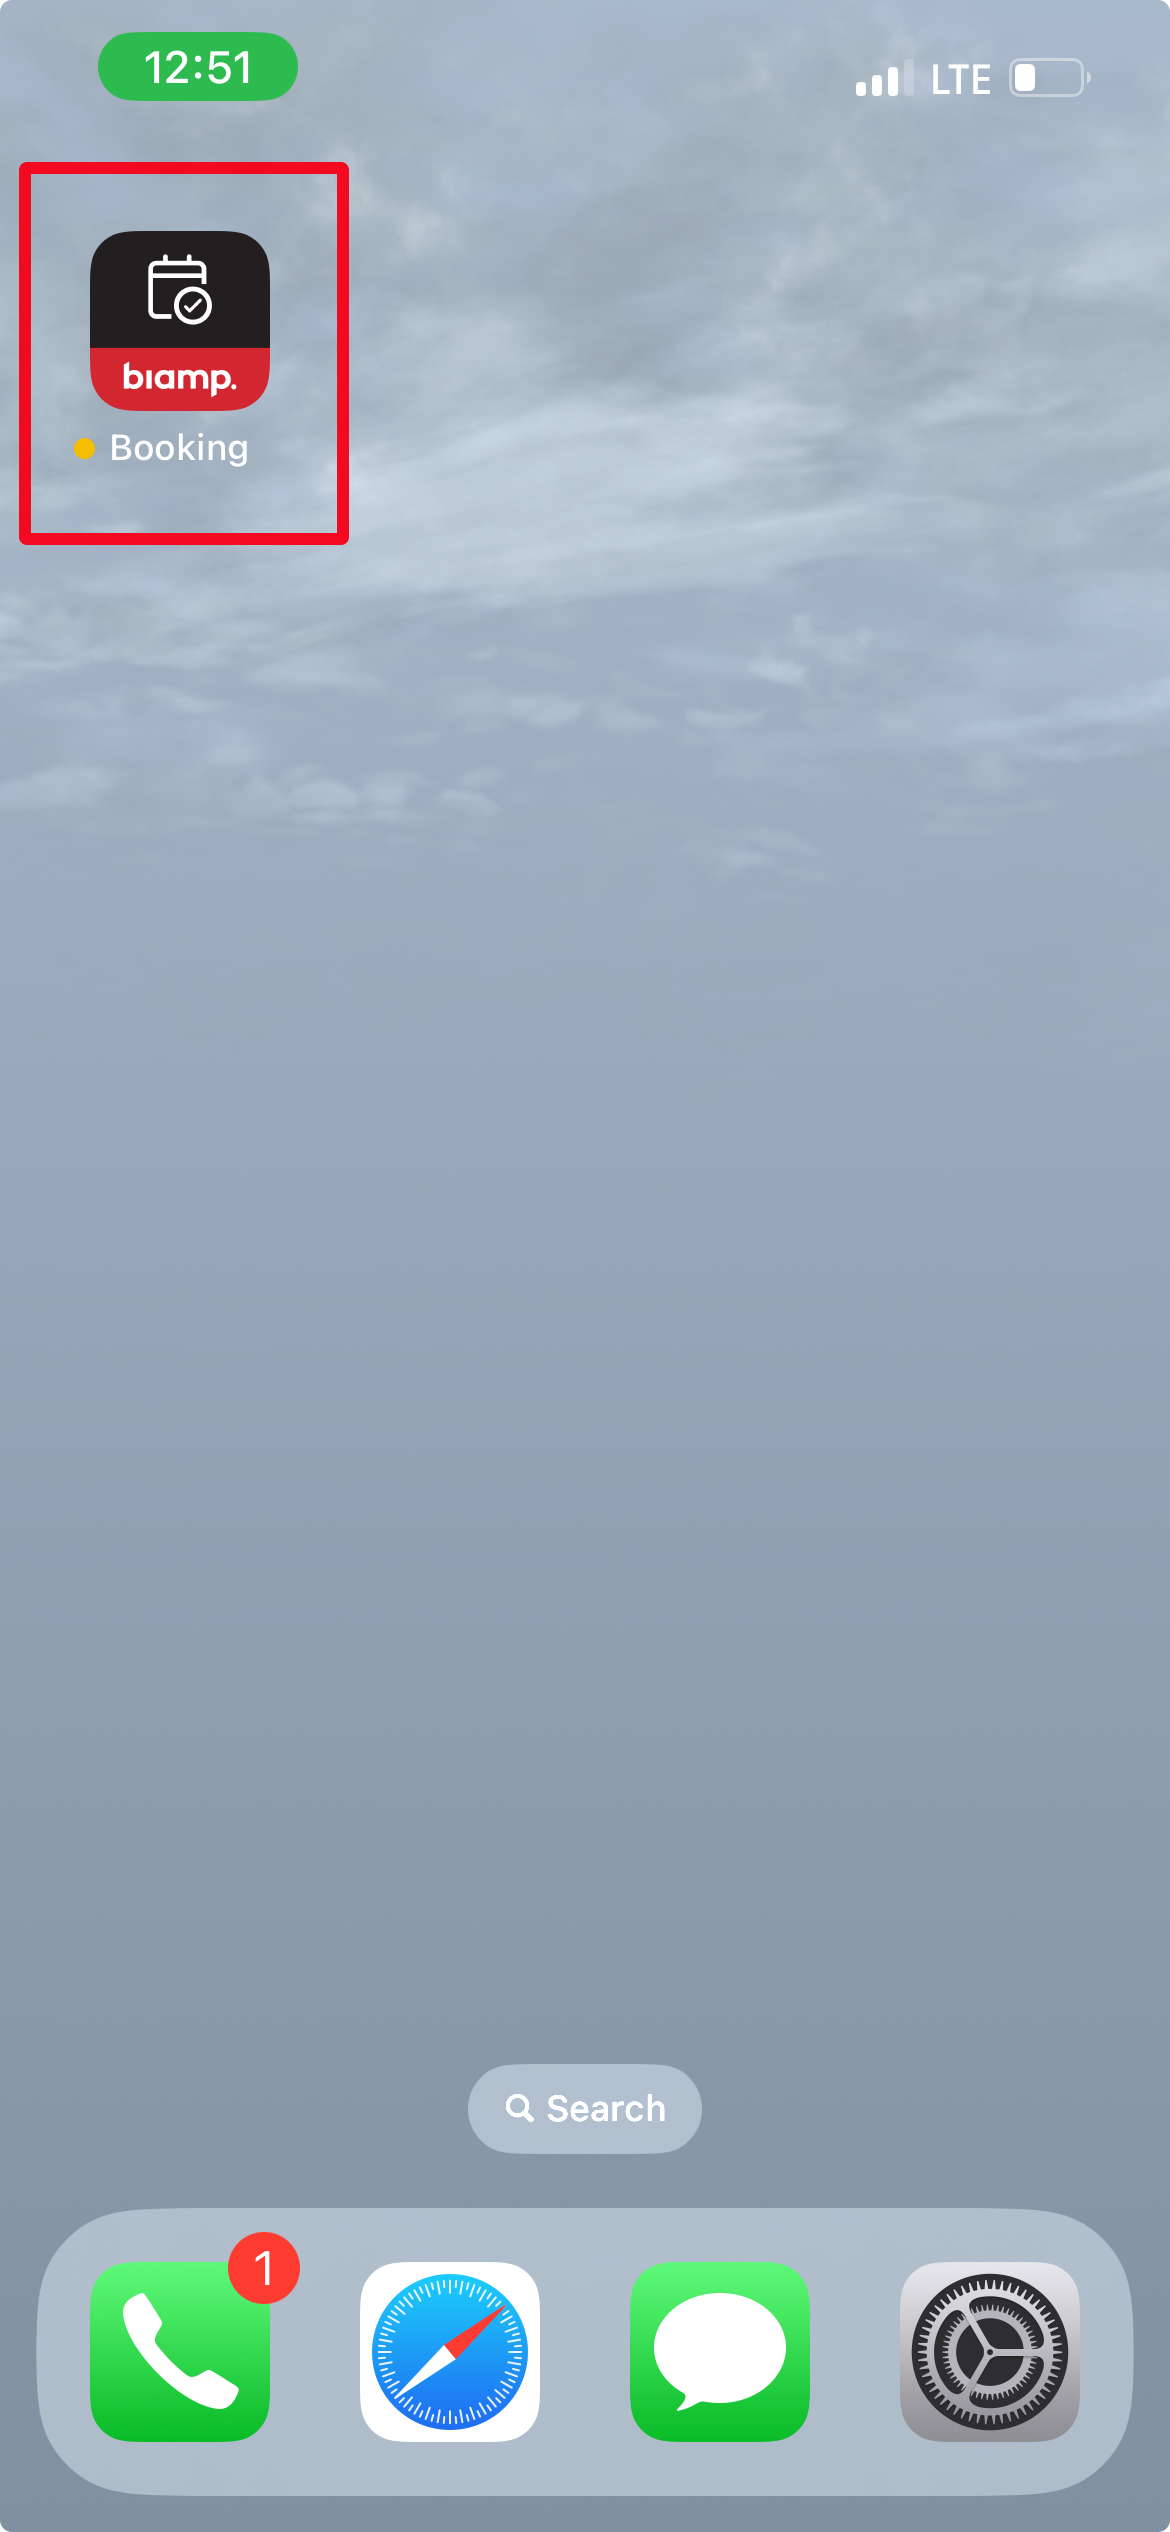
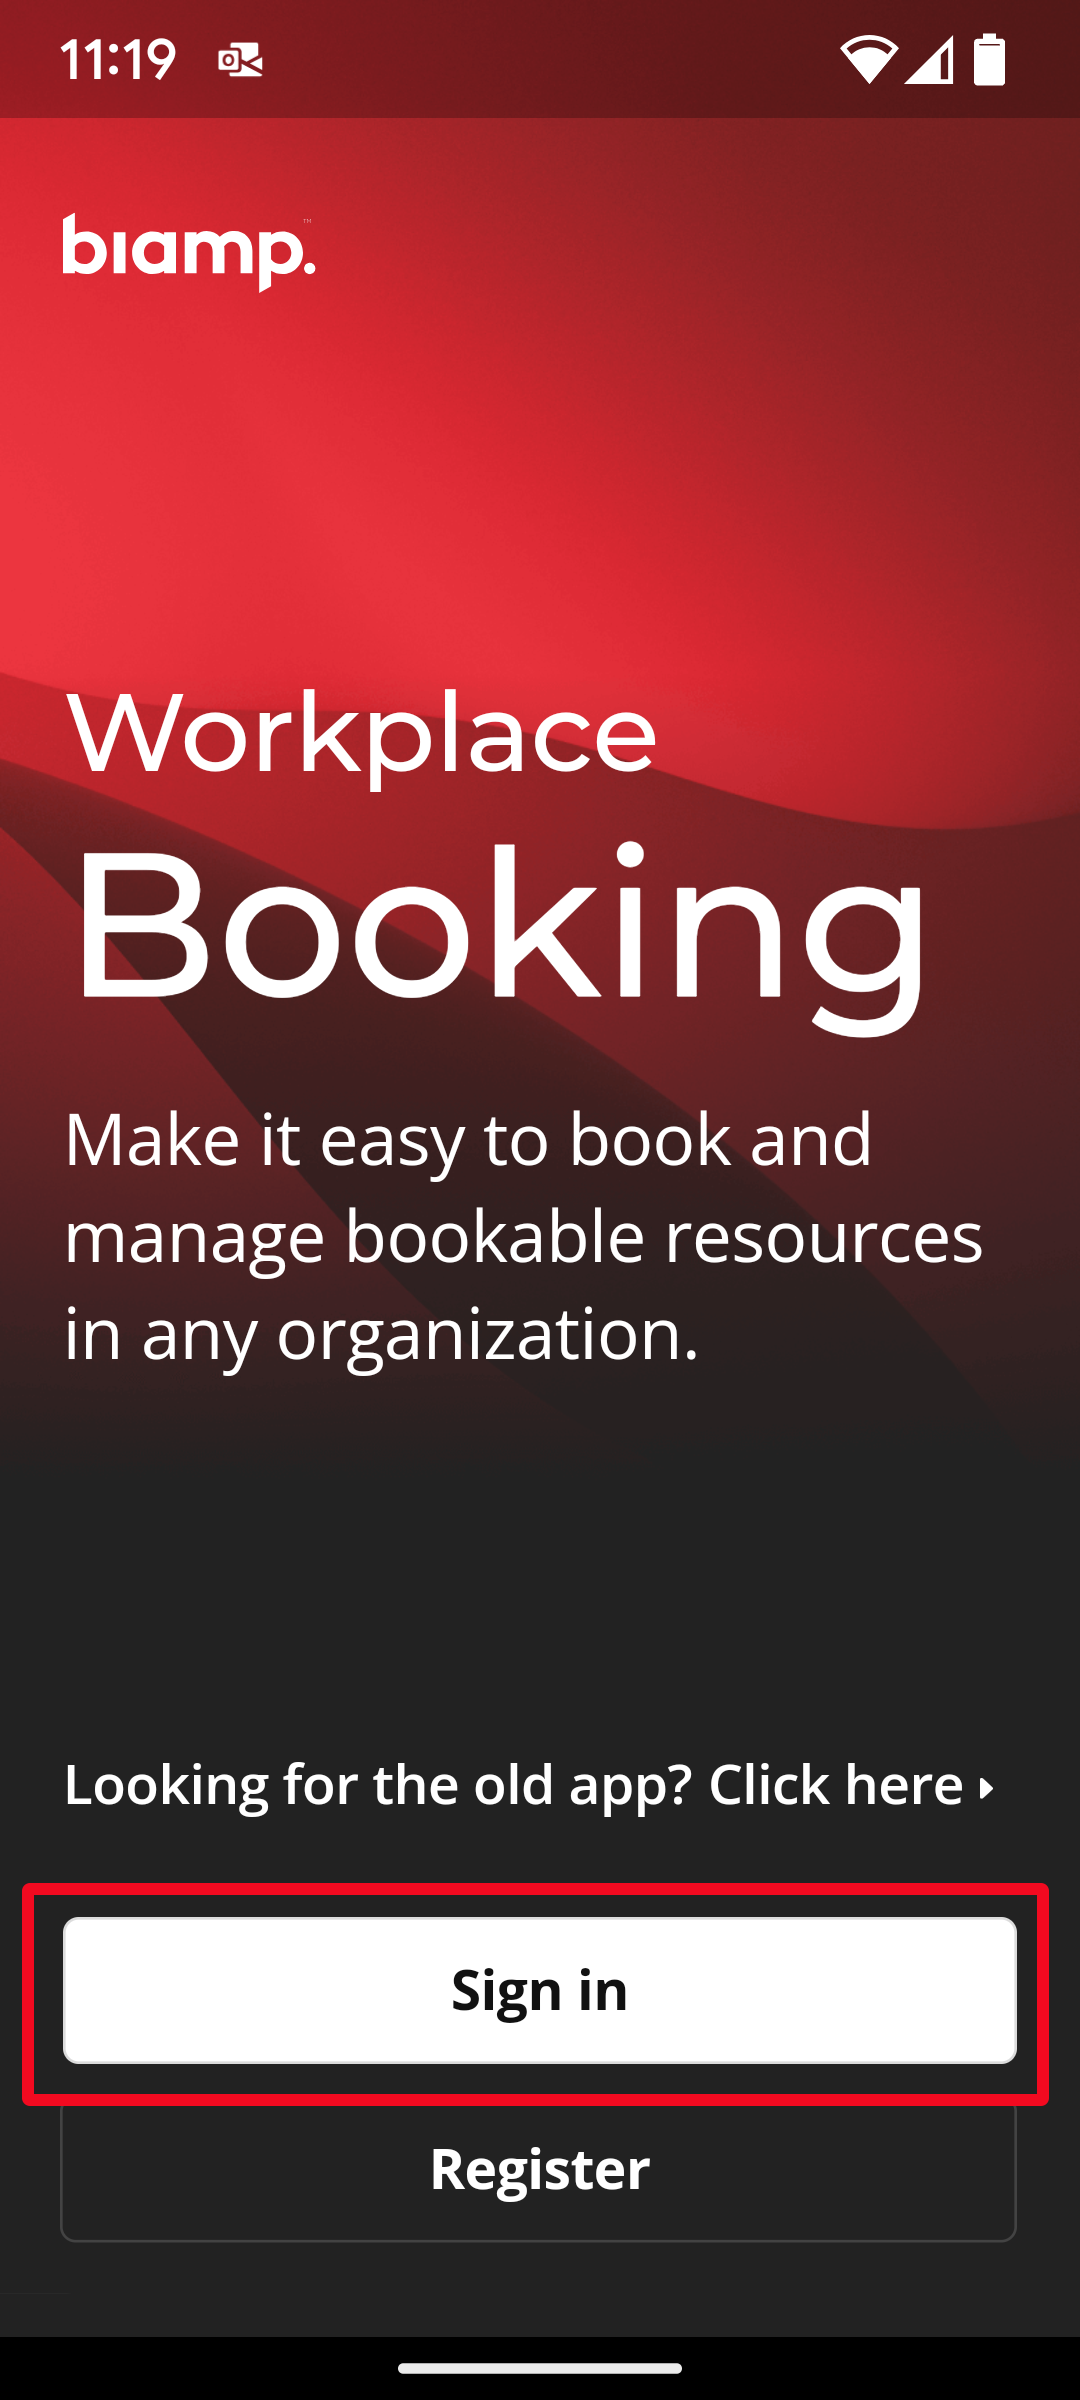
2. Open and sign into the Biamp Workplace Booking app on your phone.
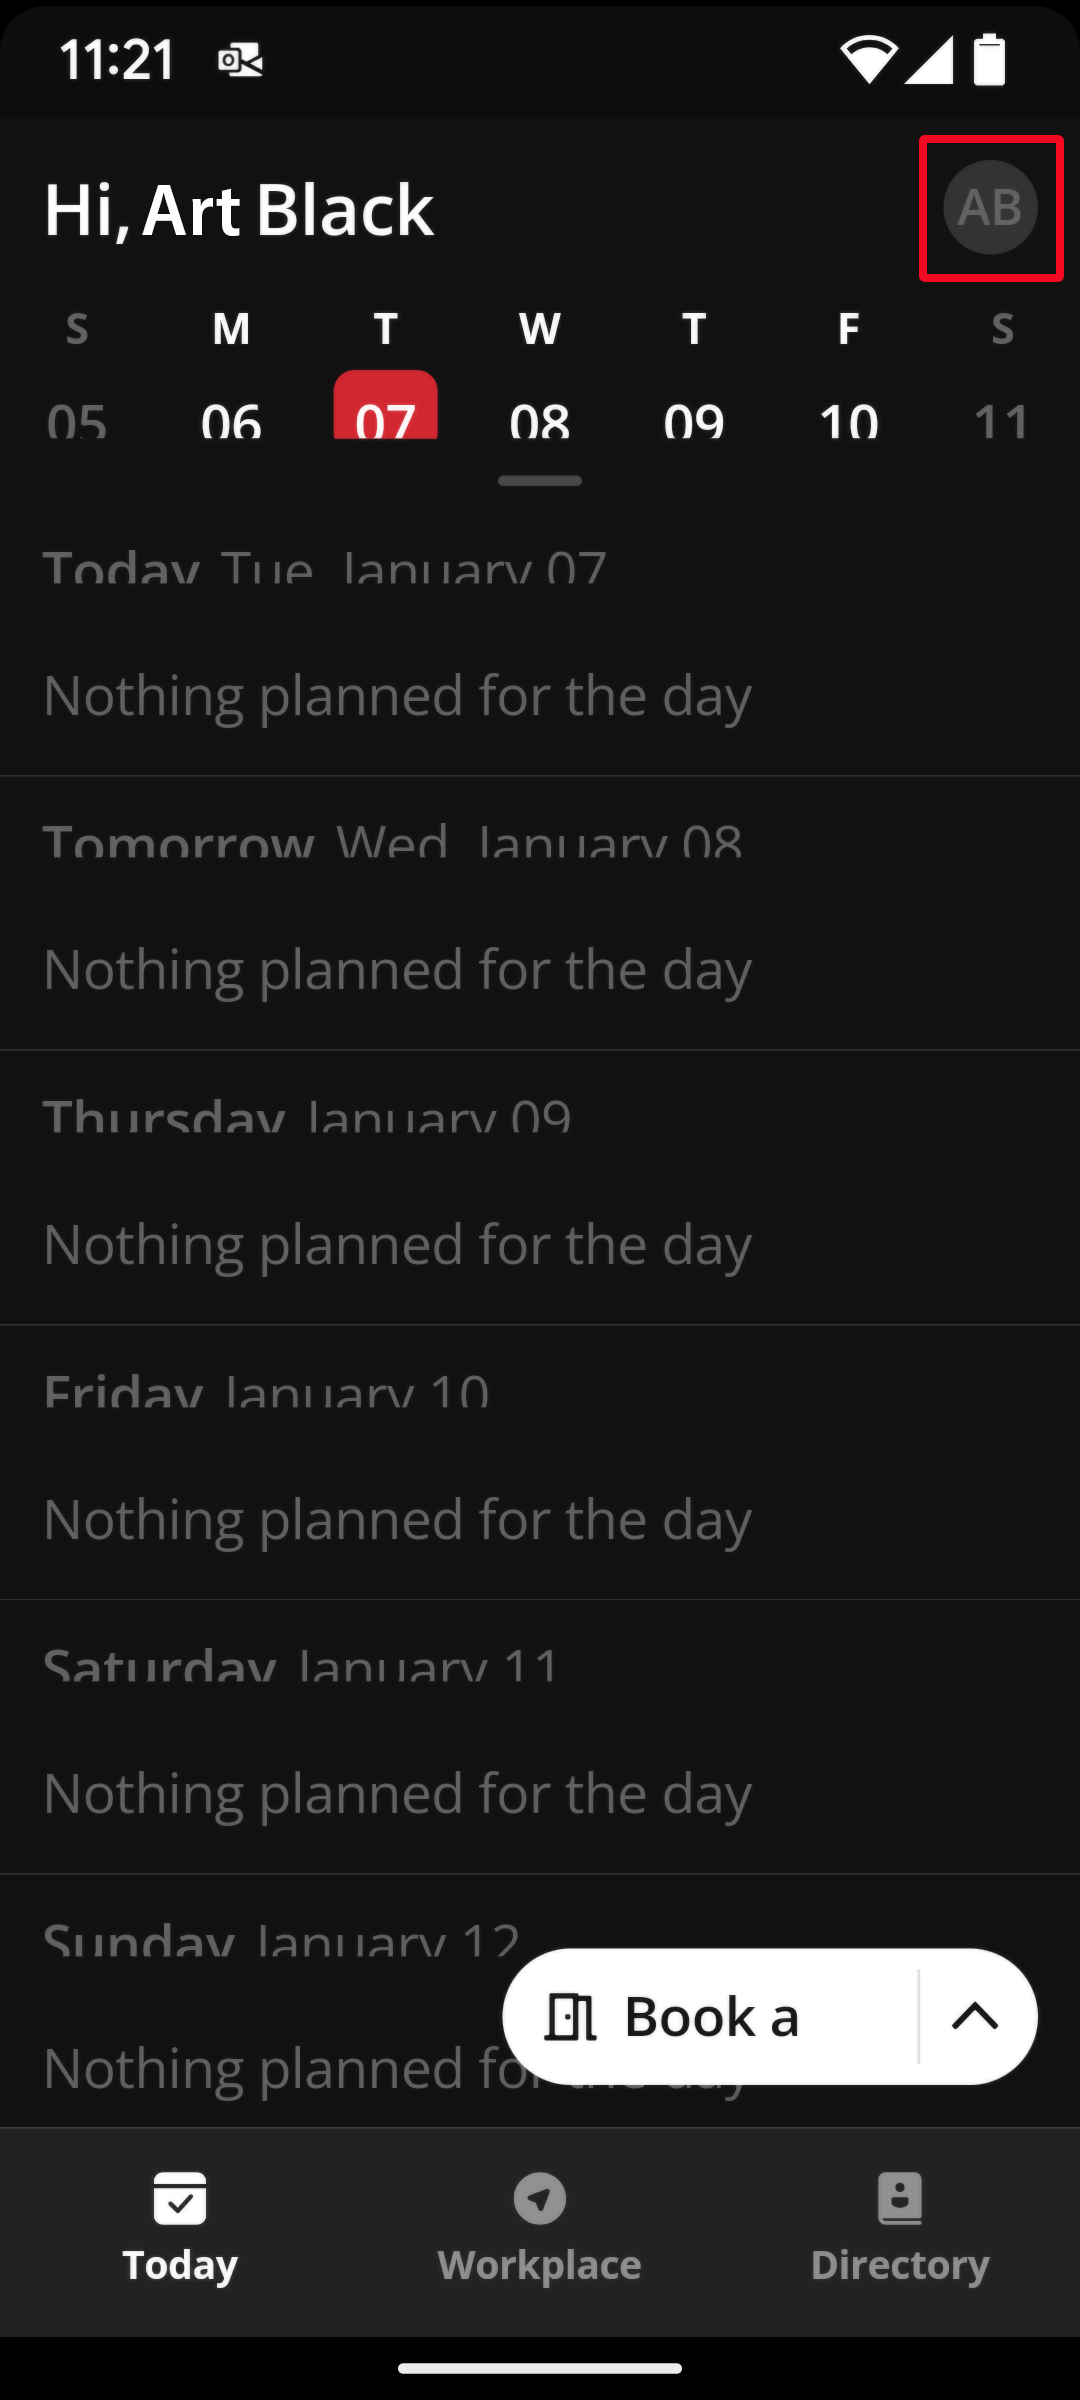
3. Select the organization you will be adding Kleeo devices to in the Booking app.
- Organizations are selected under your profile. To access them, tap the profile circle icon near the top-right of the home Today calendar screen. Then select the organization you will be adding Kleeo booking devices to.
- Please see Adding and Connecting Kleeo for adding room manger devices to the system.
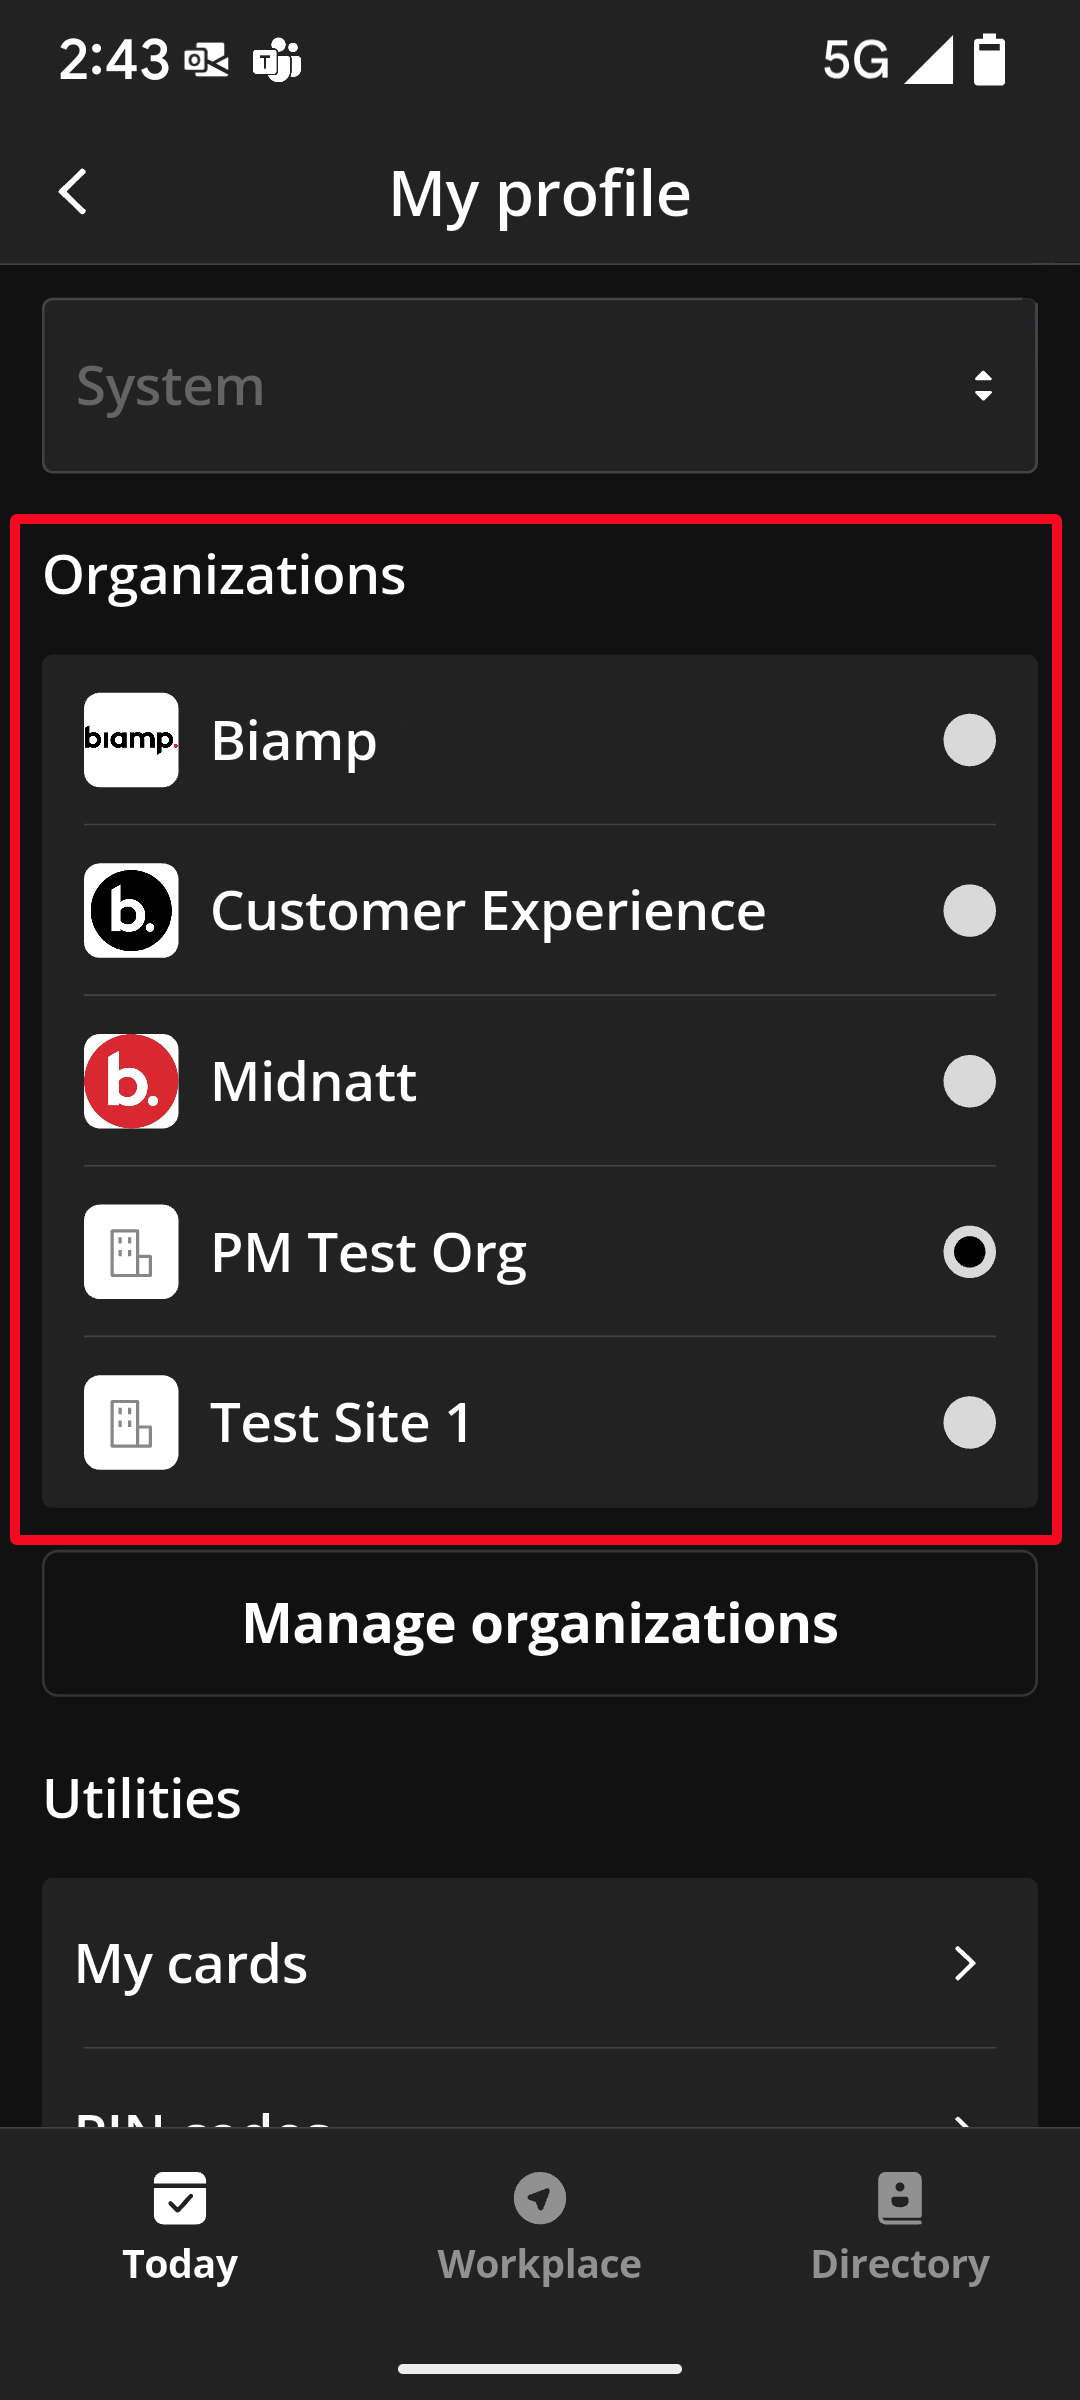
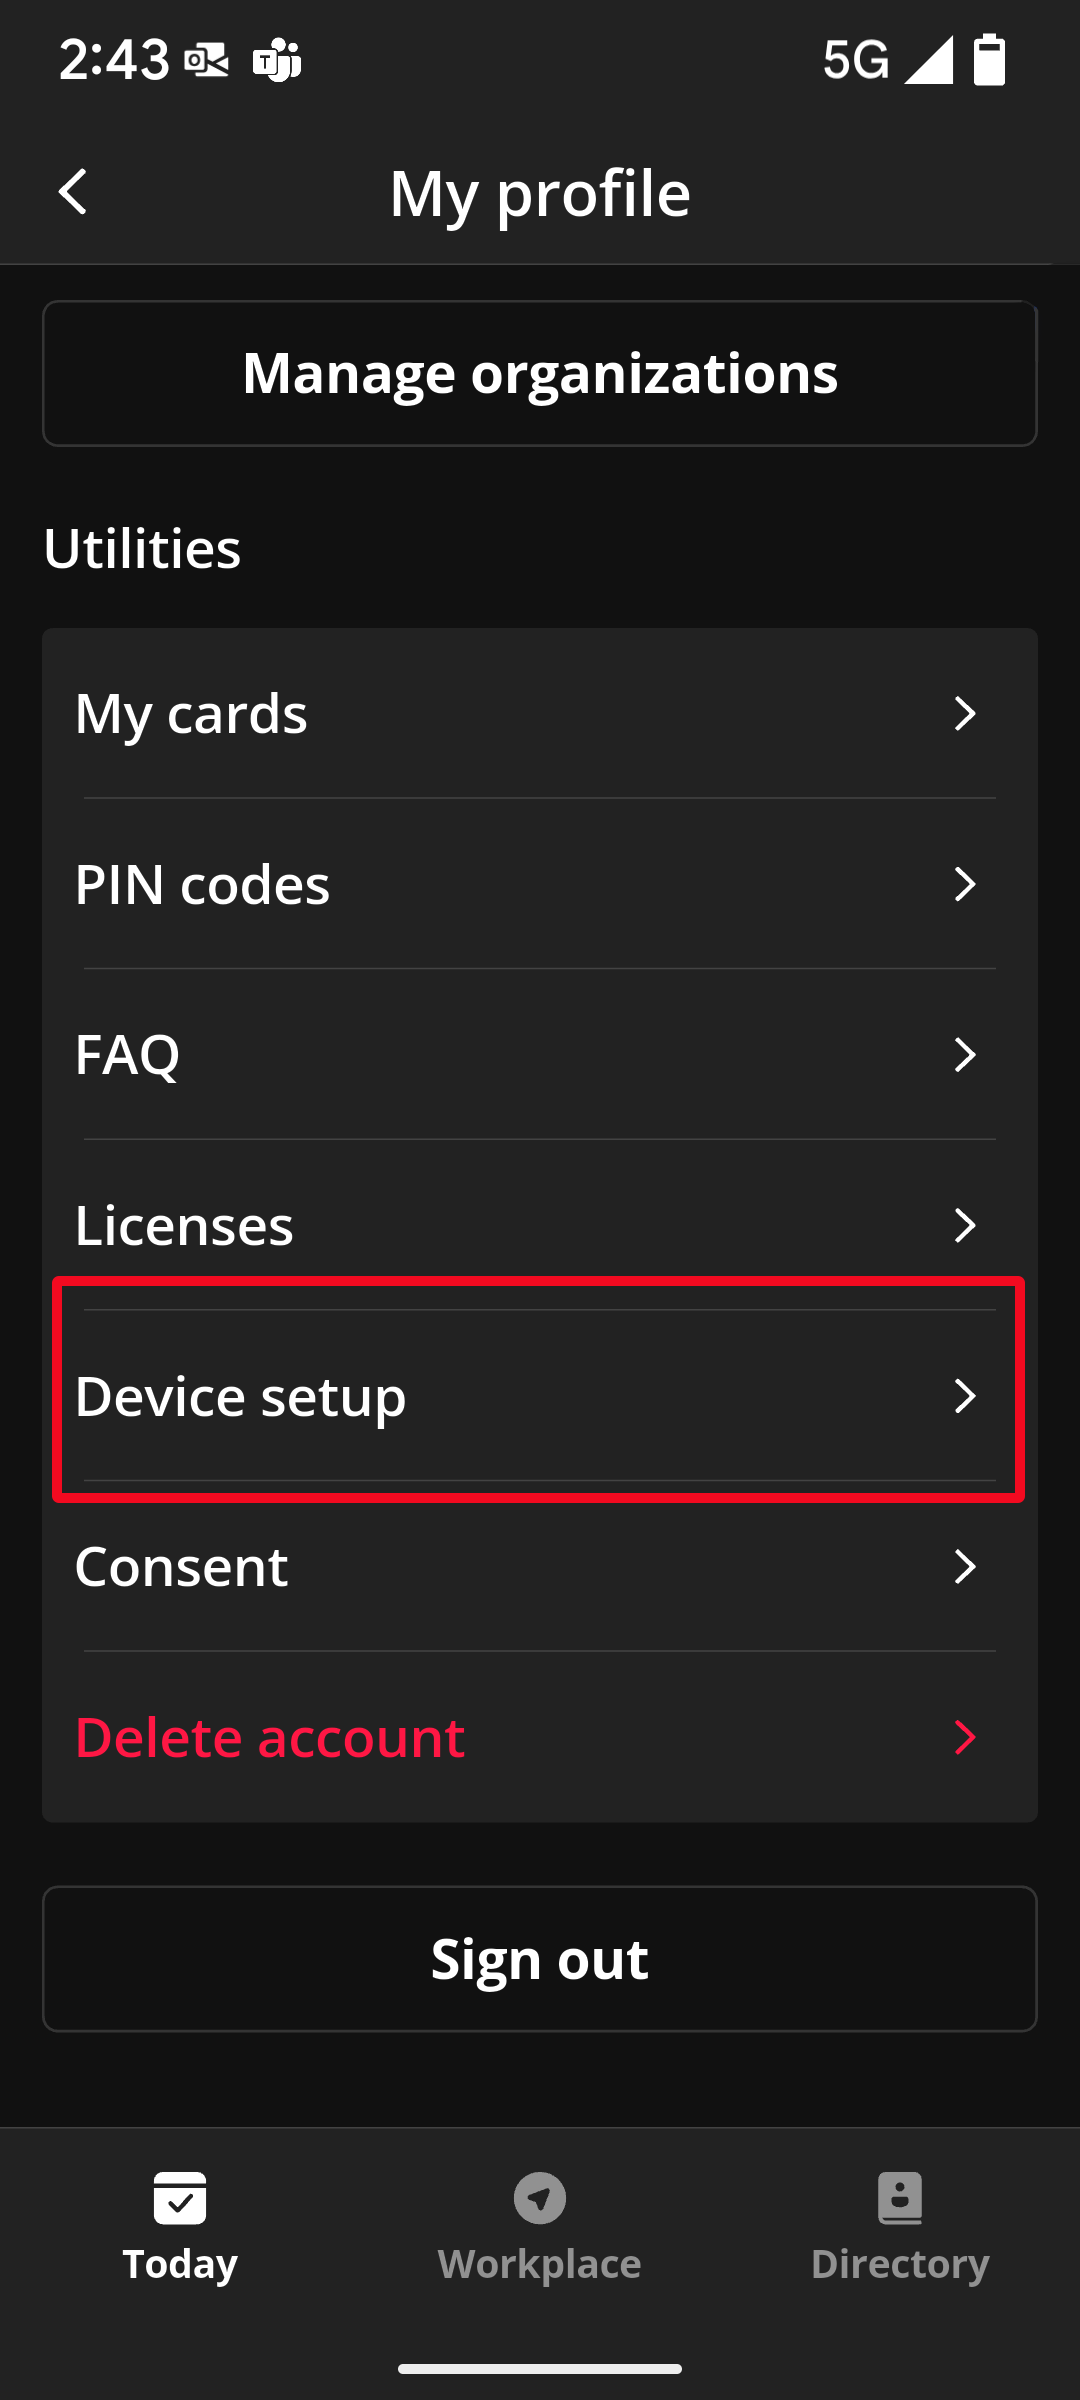
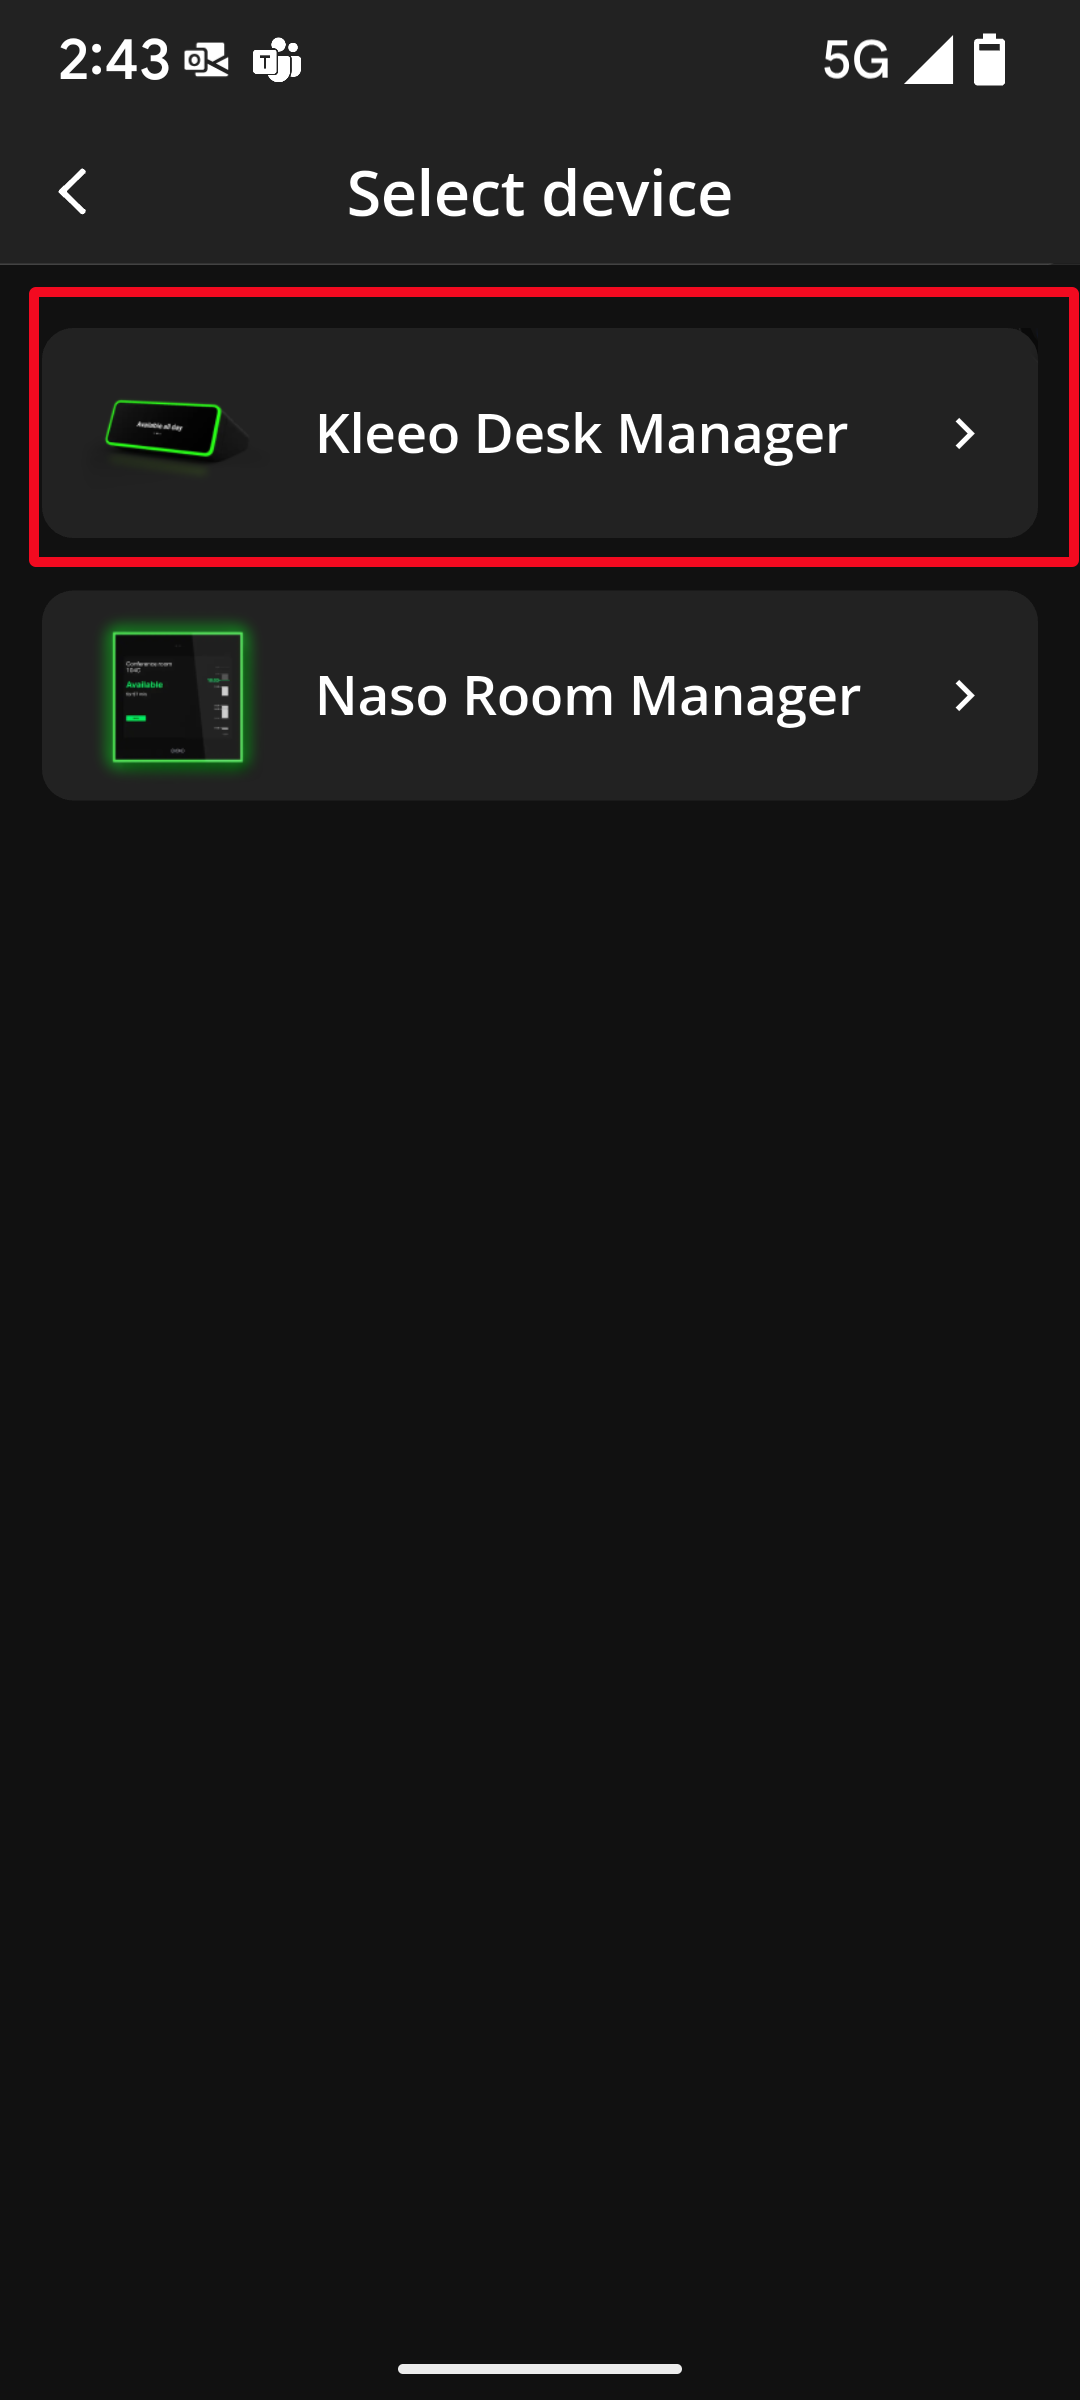
4. On your profile screen, scroll down to the Utilities section, and tap Device setup tab, and select "Kleeo Desk Manager".
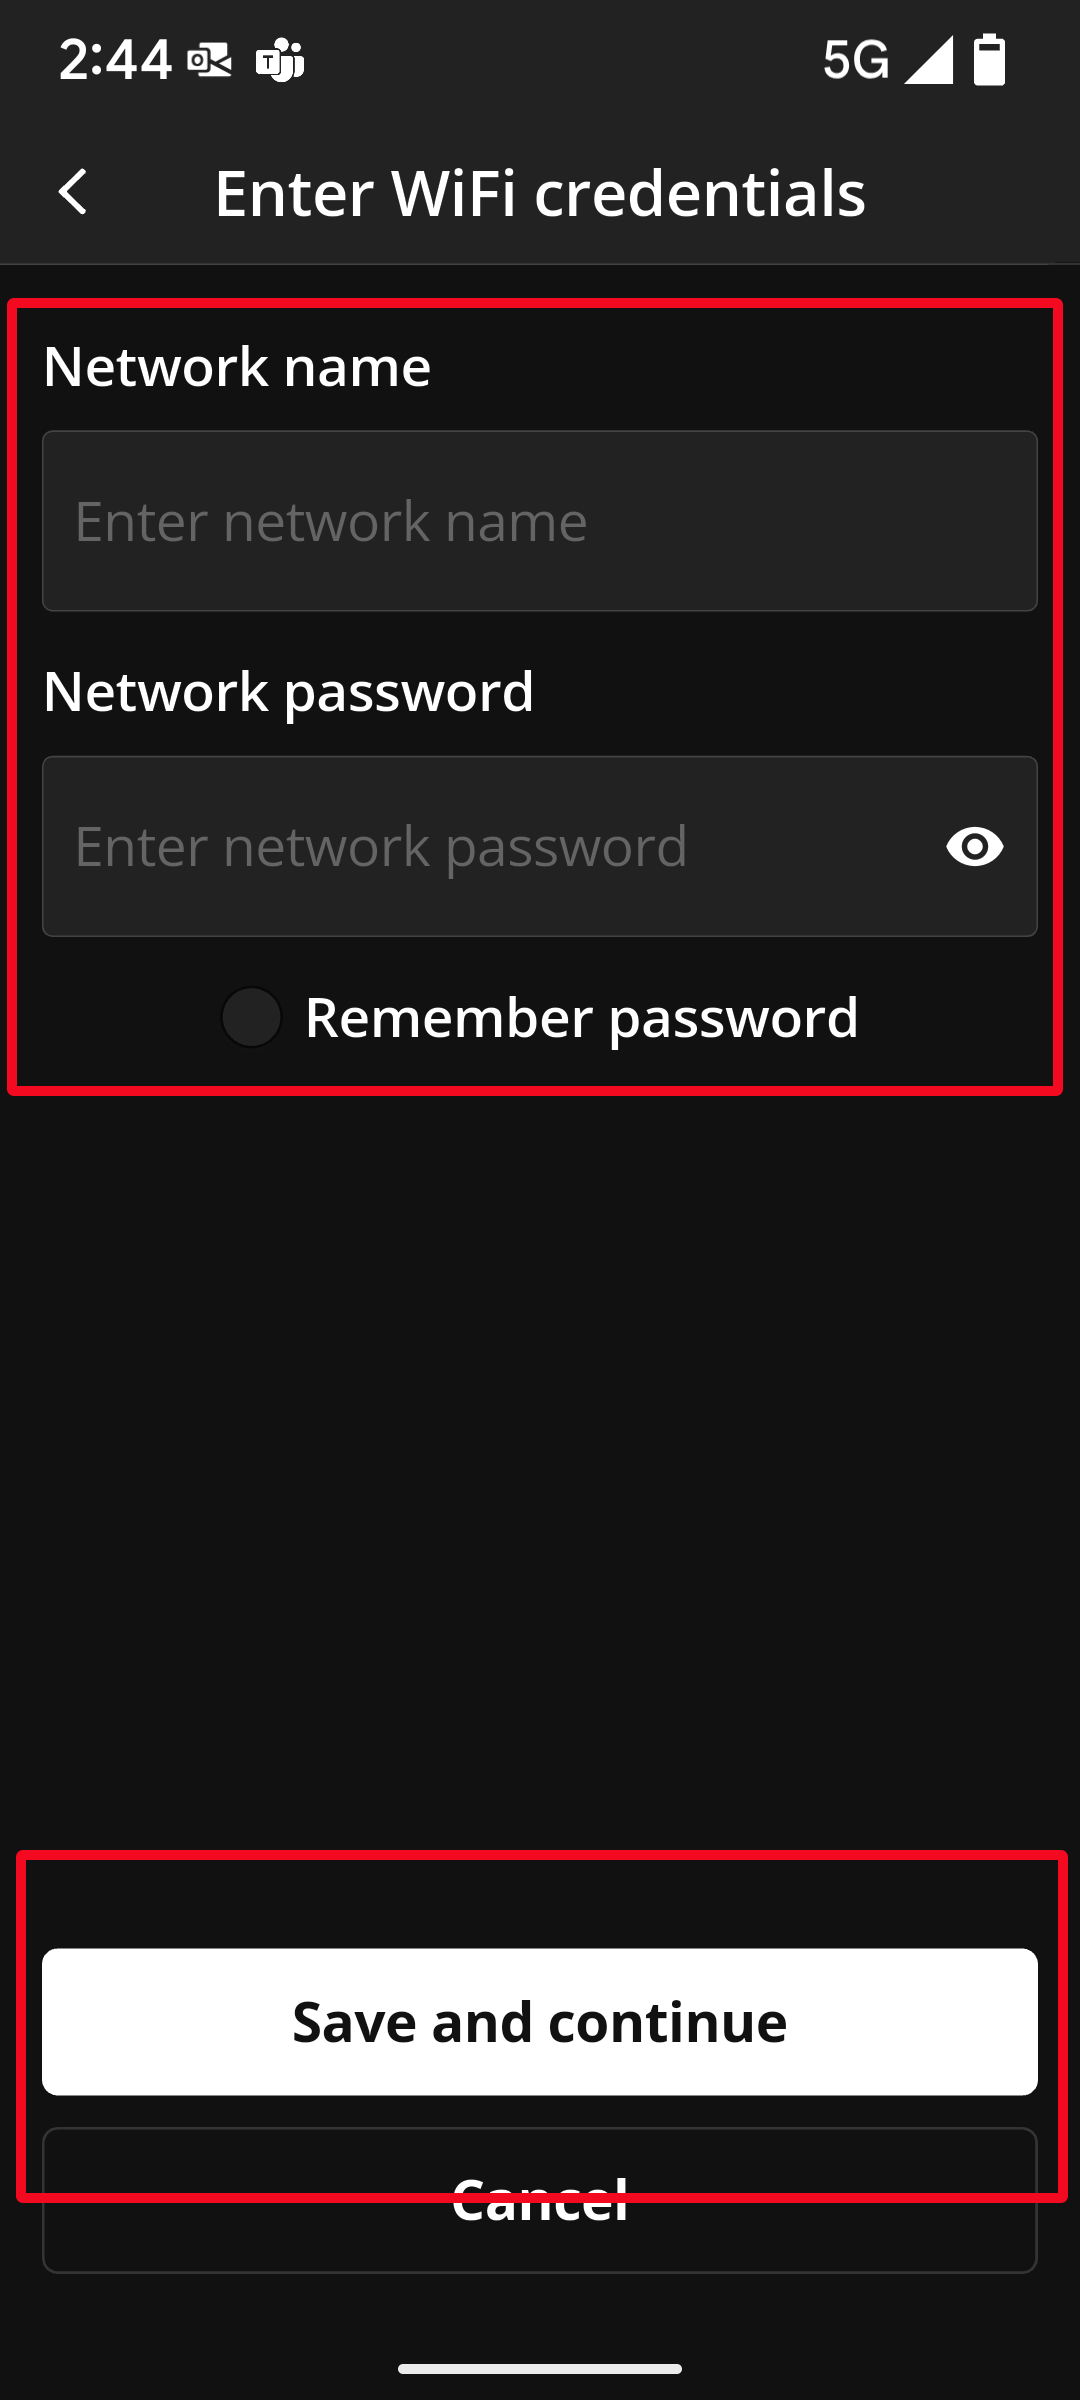
5. Enter the WiFi credentials of the WiFi network the Kleeo will be connecting to and then tap Save and after that Continue. This will take you to the Resource page.
- The app will transmit the credentials to the Kleeo during a future step.
- Please note: The Network Name and Password are case sensitive.
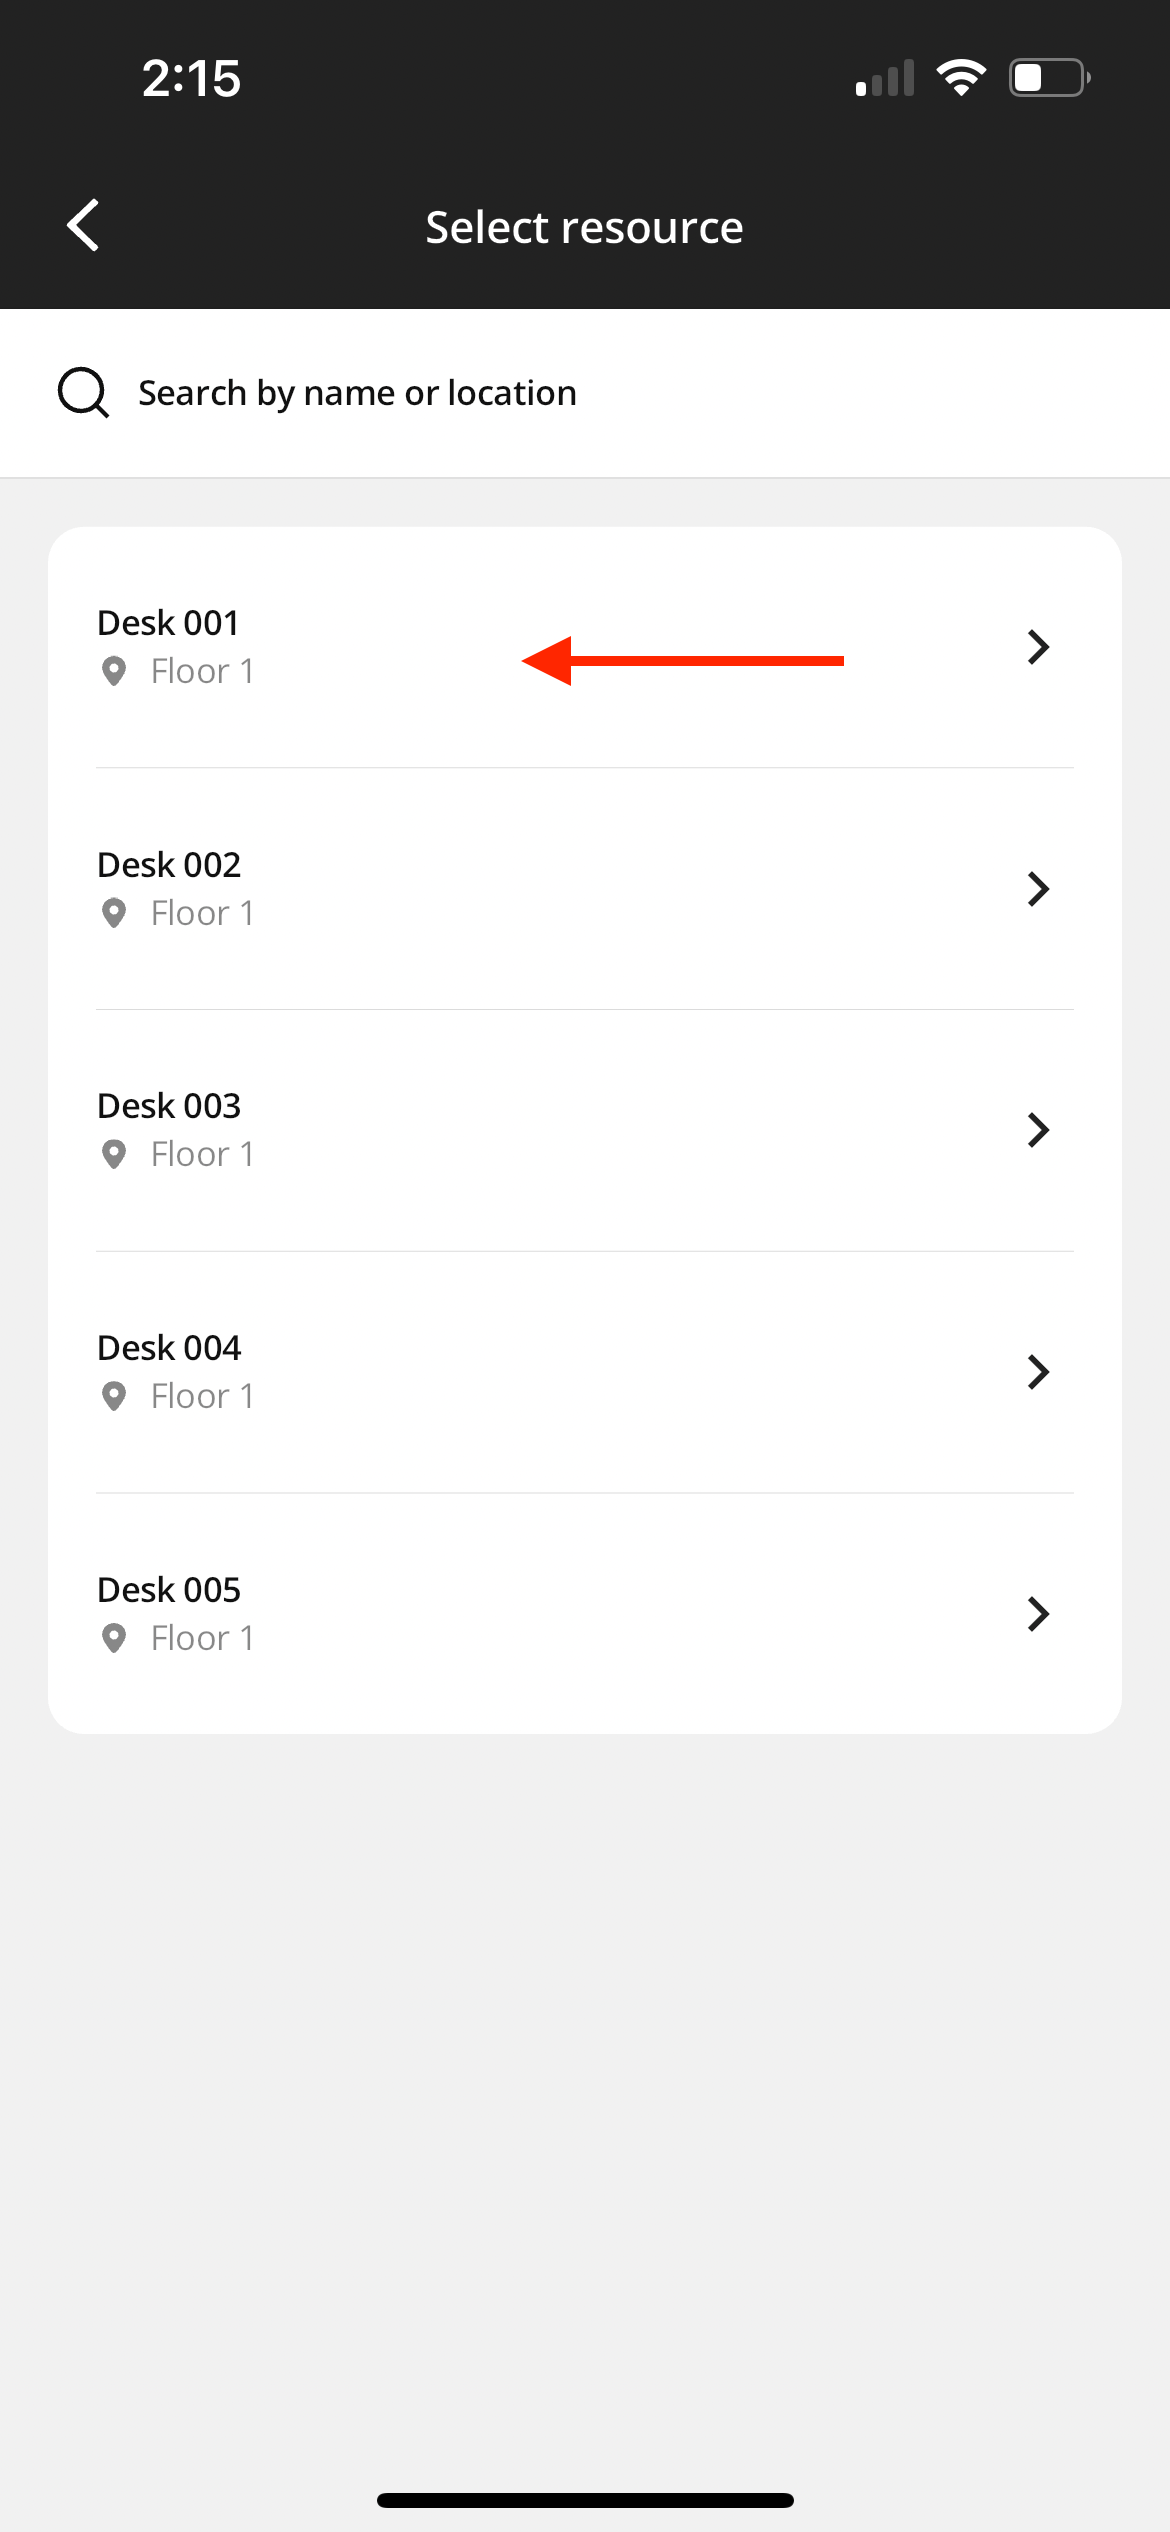
6. On the Resource screen, Select select the desk on the organization resources screen that you want to link to the Kleeo device.
- In the visual example below we will be connecting the Desk 001 location to a Kleeo.
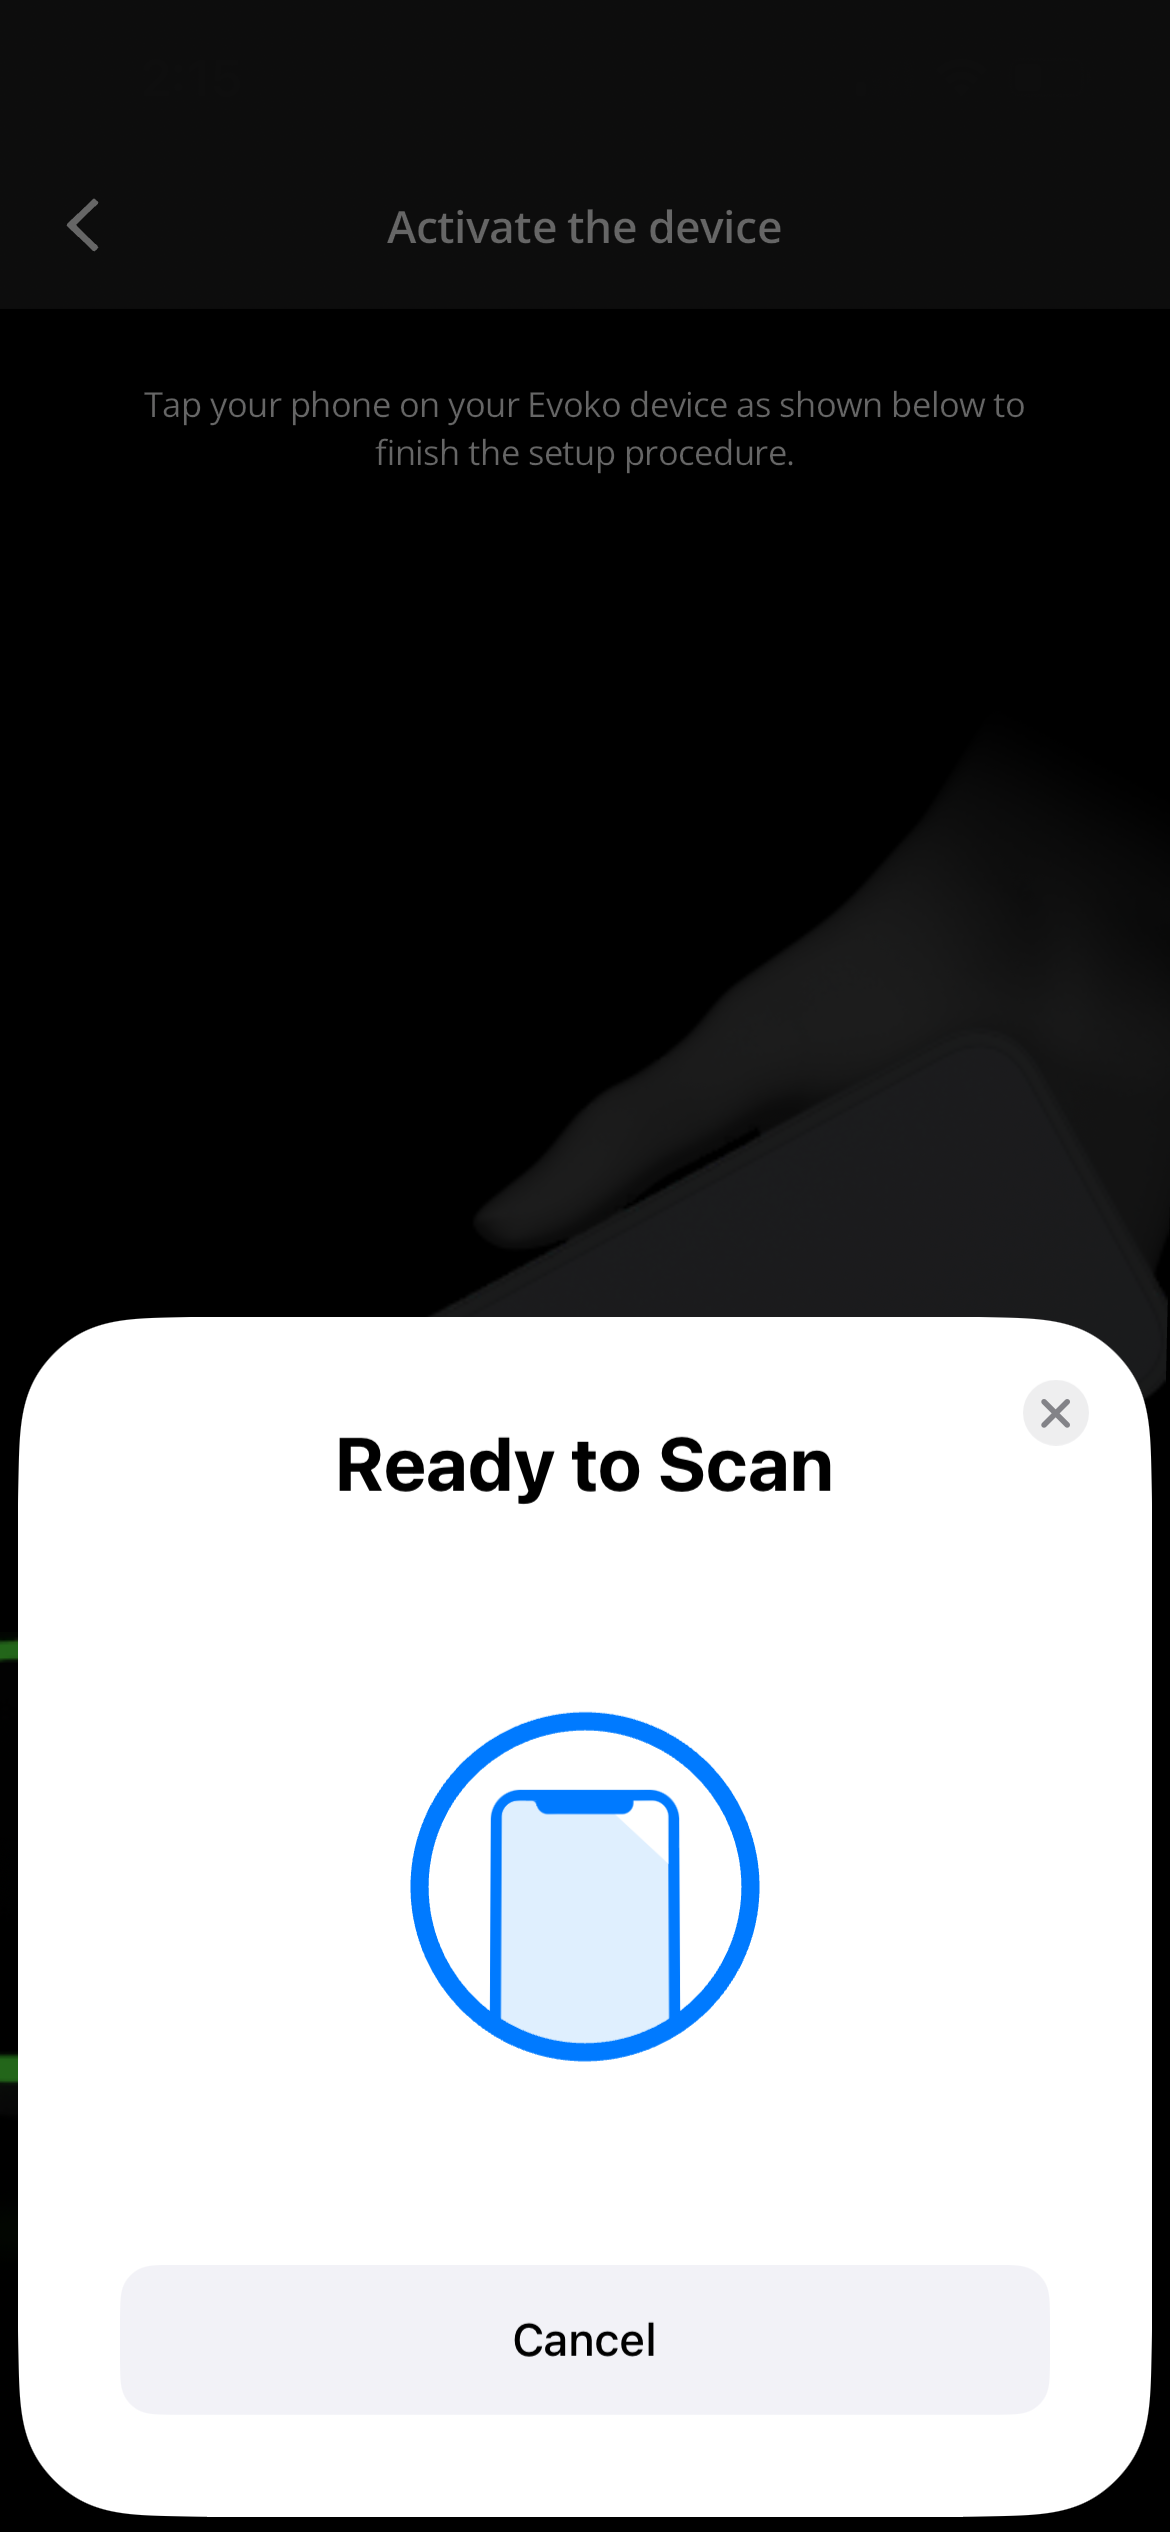
7. Tap your phone on the Kleeo to perform the NFC handshake. The phone's screen will show "Ready to Scan".
- An active Connecting screen will appear once the device acknowledges the hand shake.
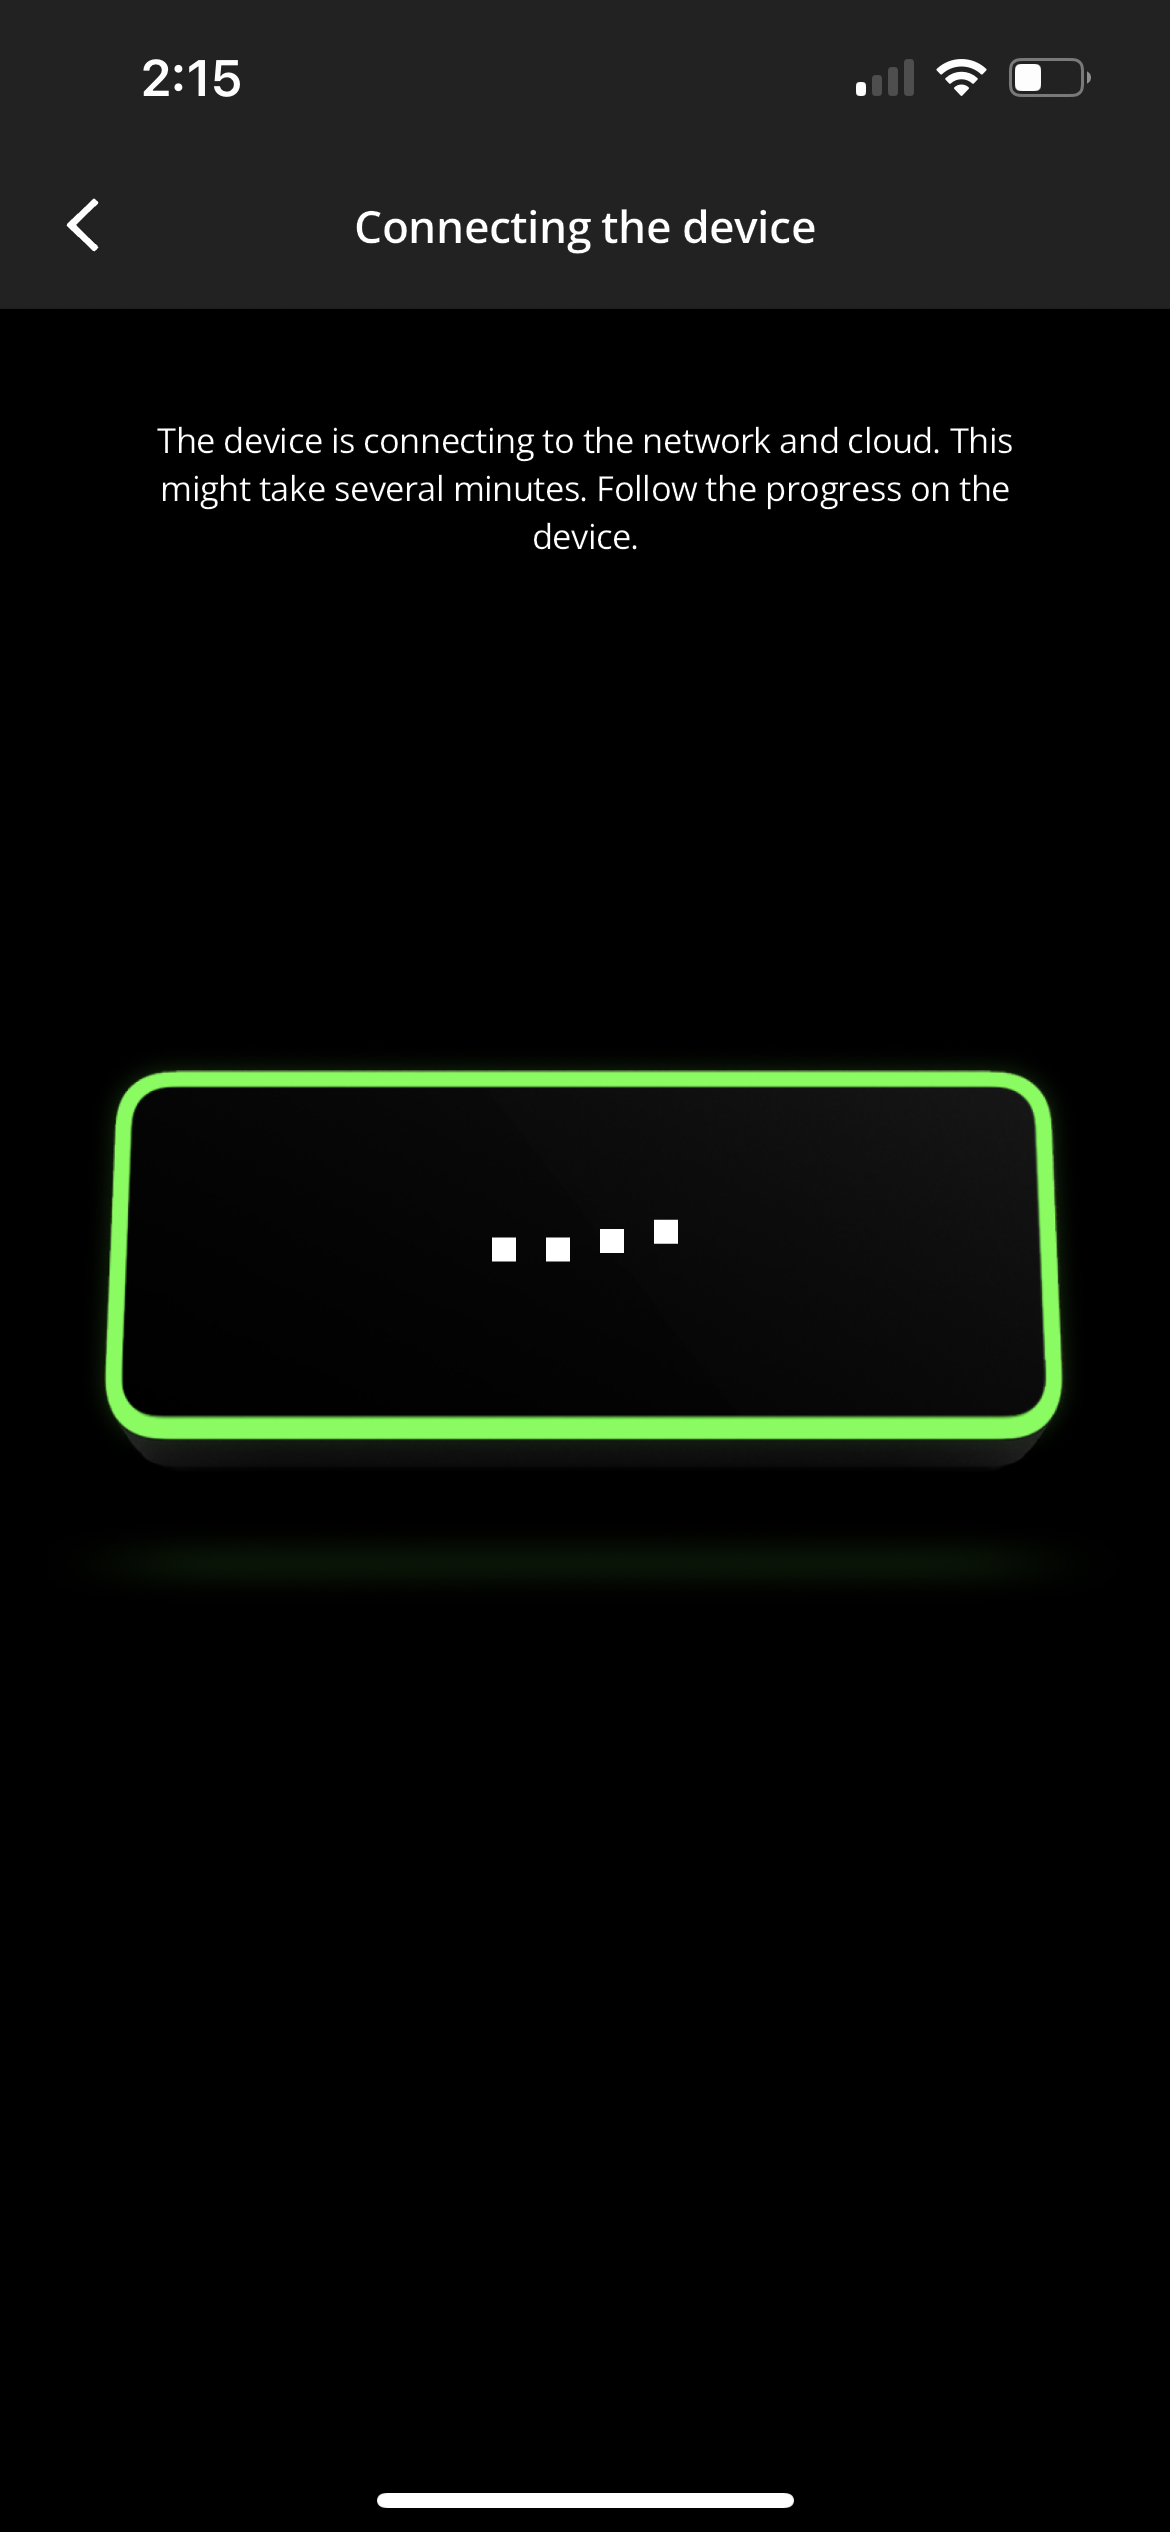
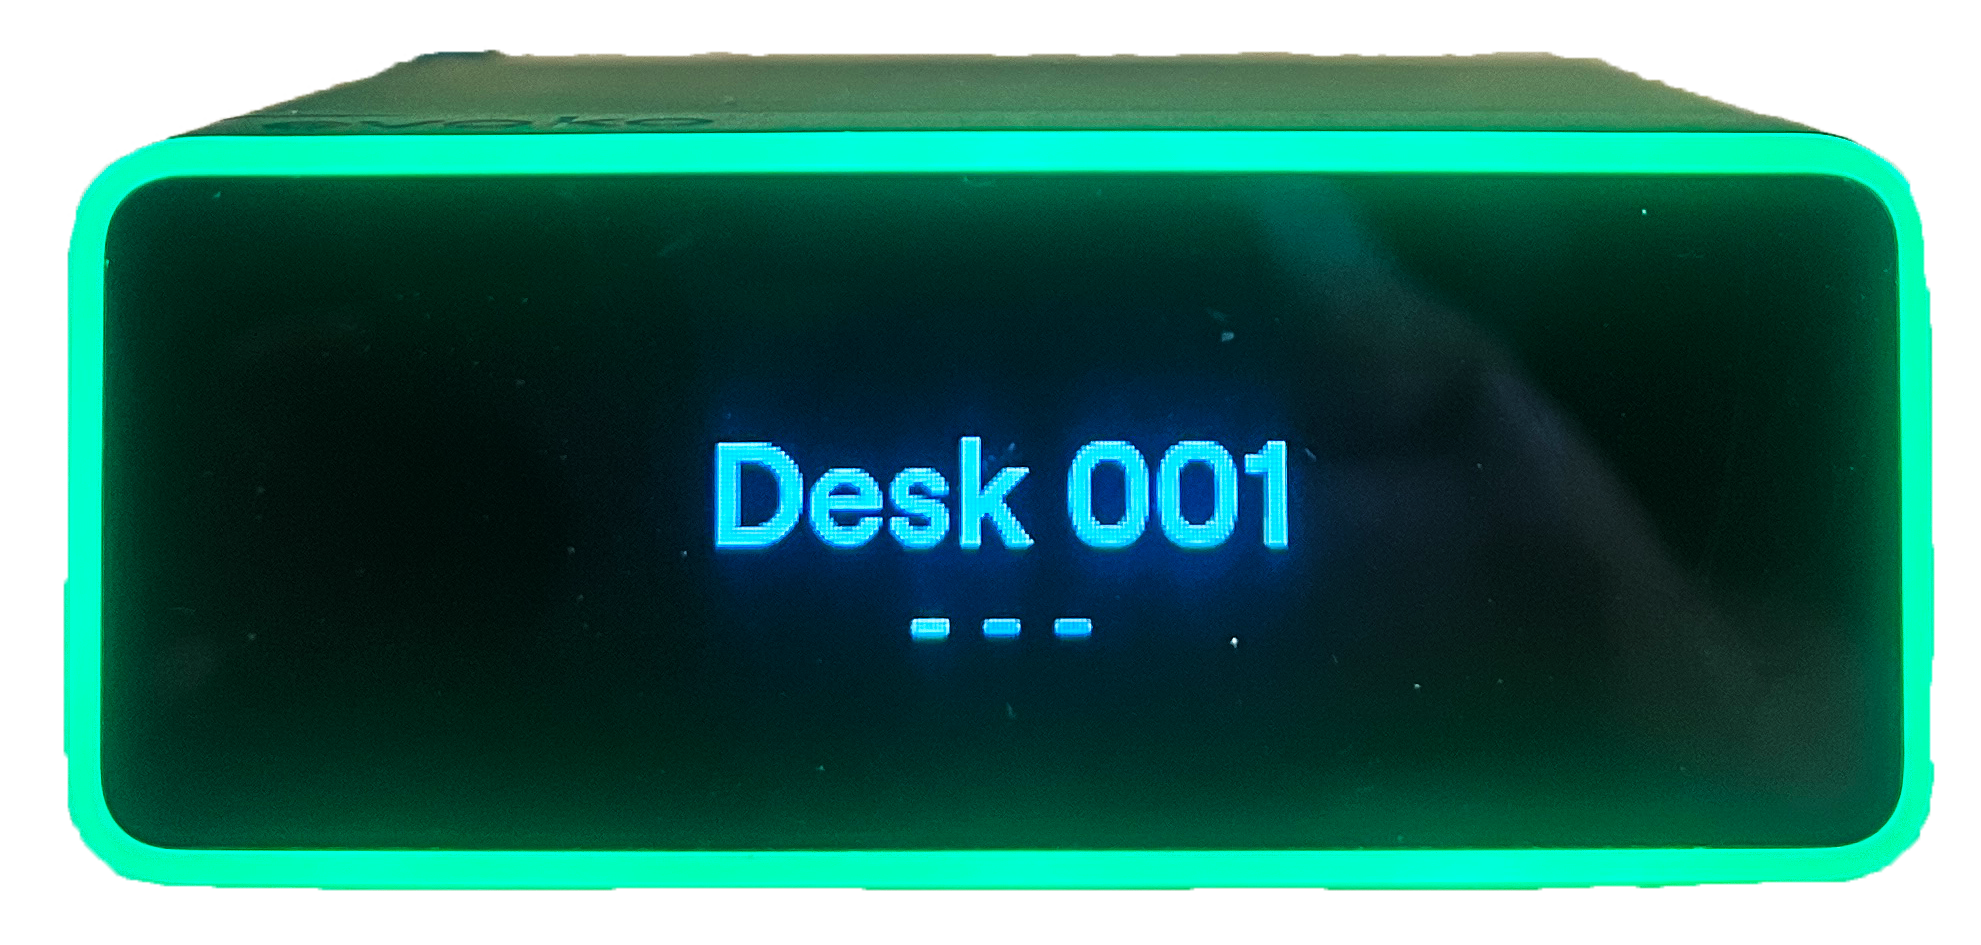
After a few moments, the Kleeo will power cycle and reboot. The screen should show the Desk identity assigned to it.
- In this example, "Desk 001".
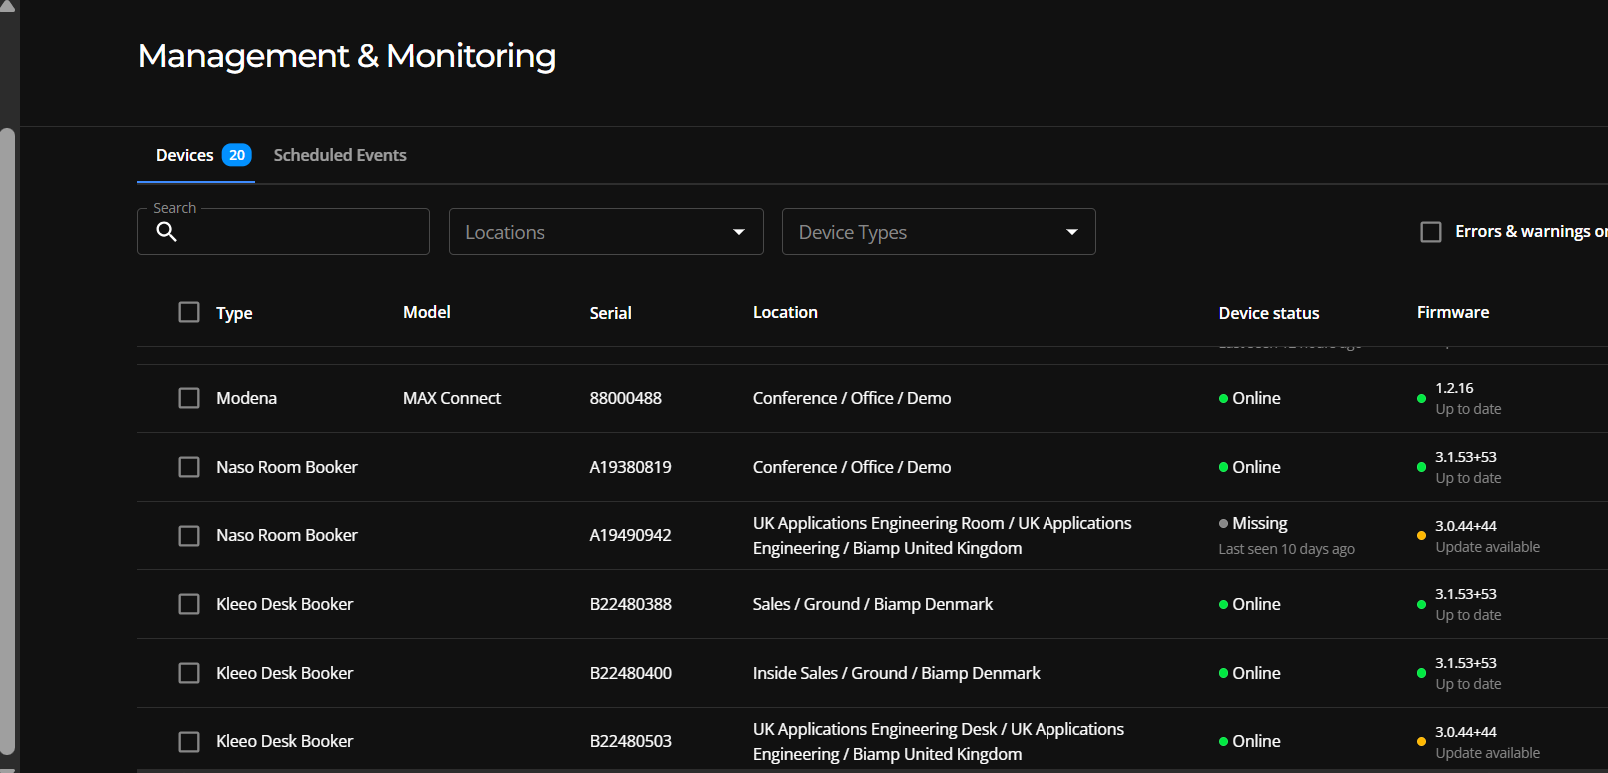
8. Check the Devices tab under the Device page in the organization's Biamp Workplace portal administration console. The device should now be present.
Next steps
Repeat the procedure for additional Biamp Workplace Desks that need to be connected to Kleeo devices.