Adding and Connecting Naso Devices
How to add and connect a Naso room manager to a Biamp Workplace organization.
Preparation
What you will need
- A Biamp Workplace account.
- An Administrator or Owner role in the Workplace organization you will be adding and connecting Naso devices to.
- An NFC-enabled mobile phone with the Biamp Workplace Booking mobile app installed on it.
- Near Field Communications is a common feature in major mobile phone brands. Lists of NFC-enabled devices can be found online.
- Biamp recommends bringing a laptop which you are signed into Biamp Workplace on. This allows you to verify that the Naso has been successfully connected on the admin console.
- Create room locations in the Workplace organization to connect the Naso to before starting this procedure.
License reminder: Each location will require a Booking license to enable its Naso booking, monitoring, and management functions.
You must be on site
Adding and connecting Naso room manager devices to a Biamp Workplace organization and location requires physical access to each Naso in its installed location.
Adding and connecting
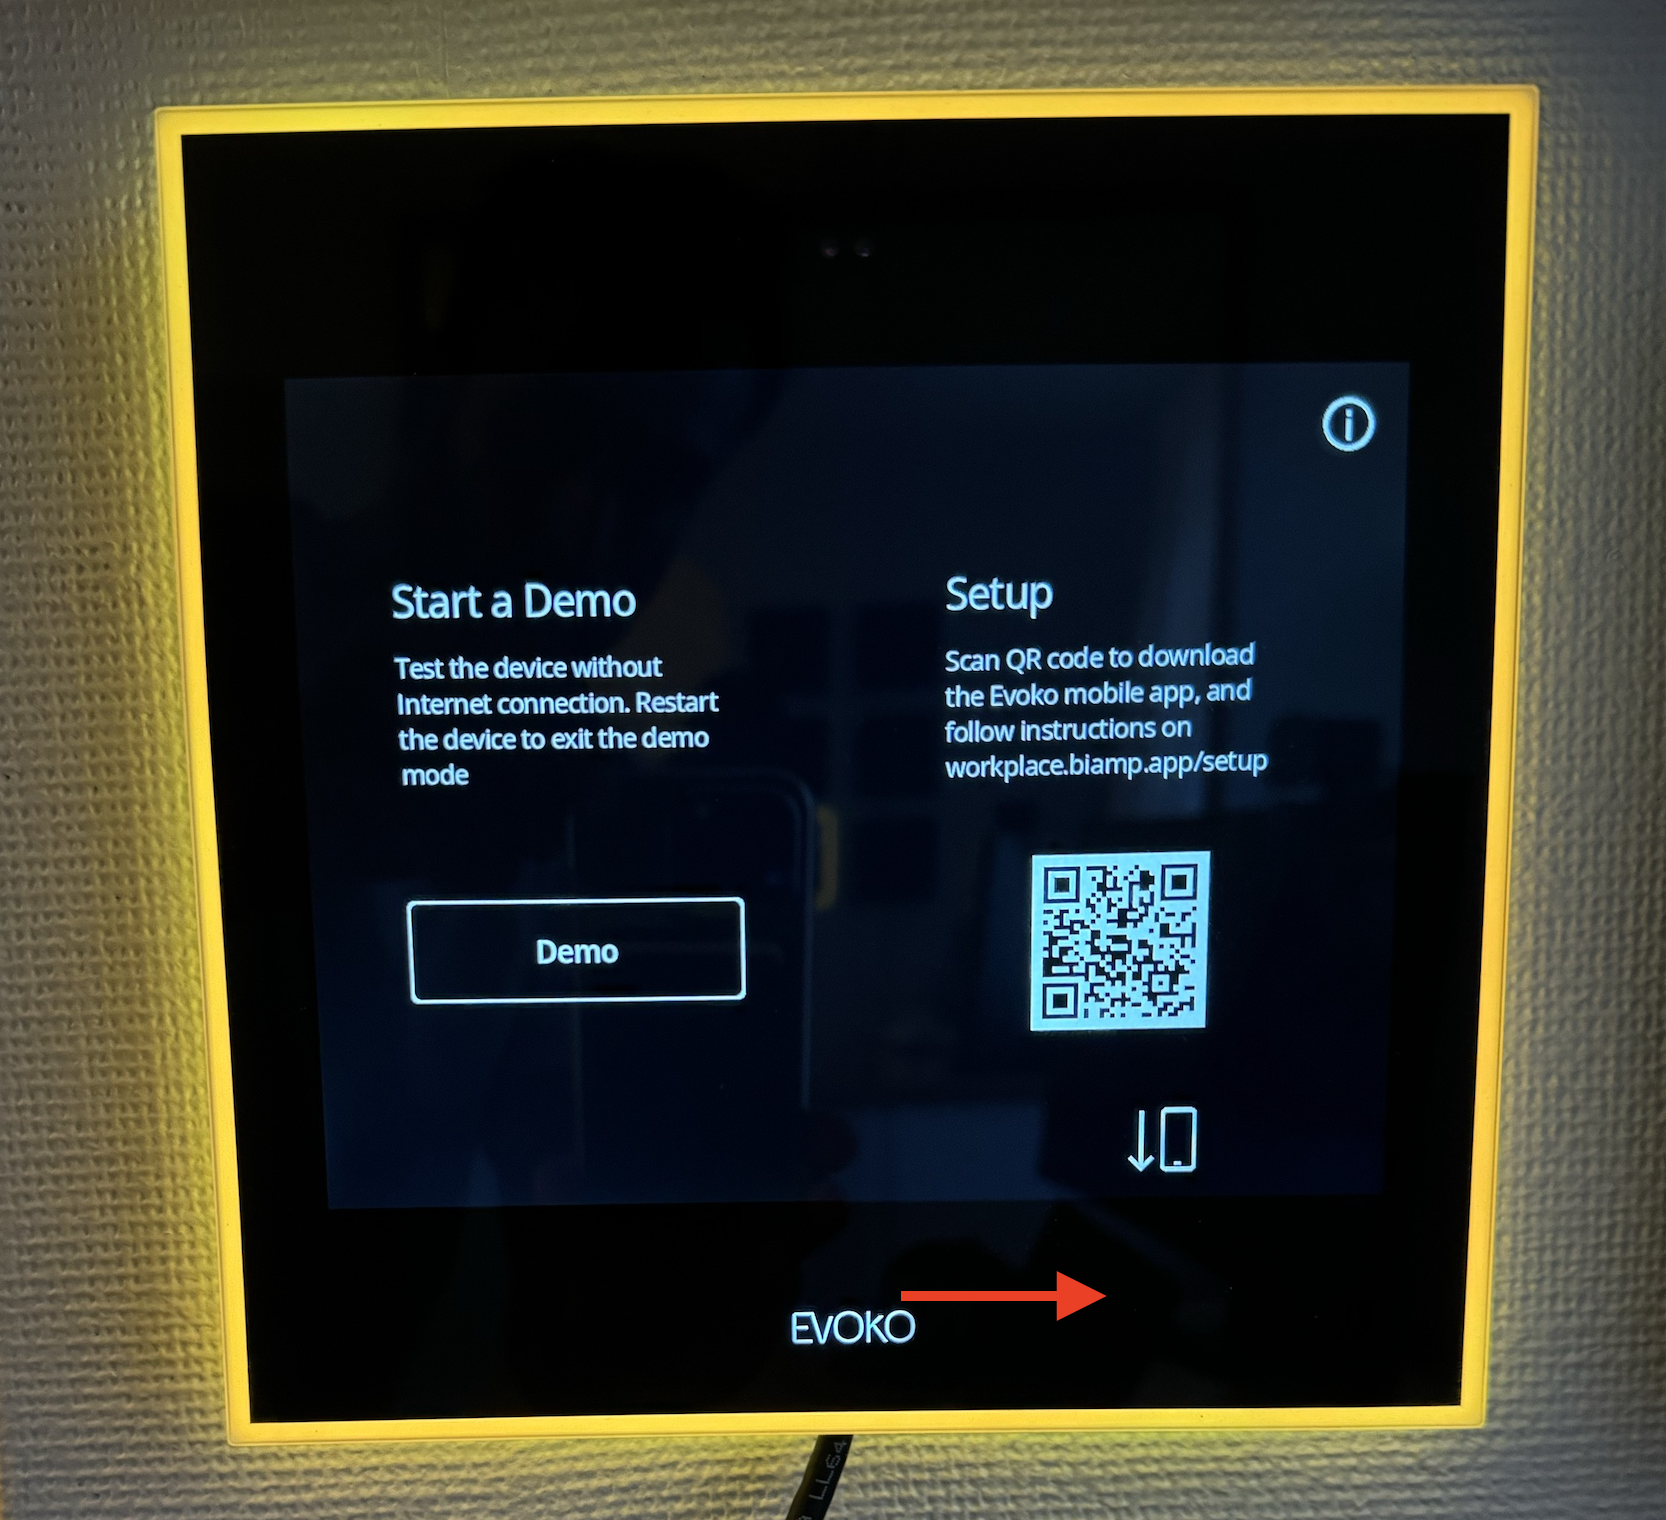
1. Plug in the Naso if it is not already powered. The Naso can be powered either with an AC adapter or by power over Ethernet (PoE).
- The Naso will boot to a Setup screen.
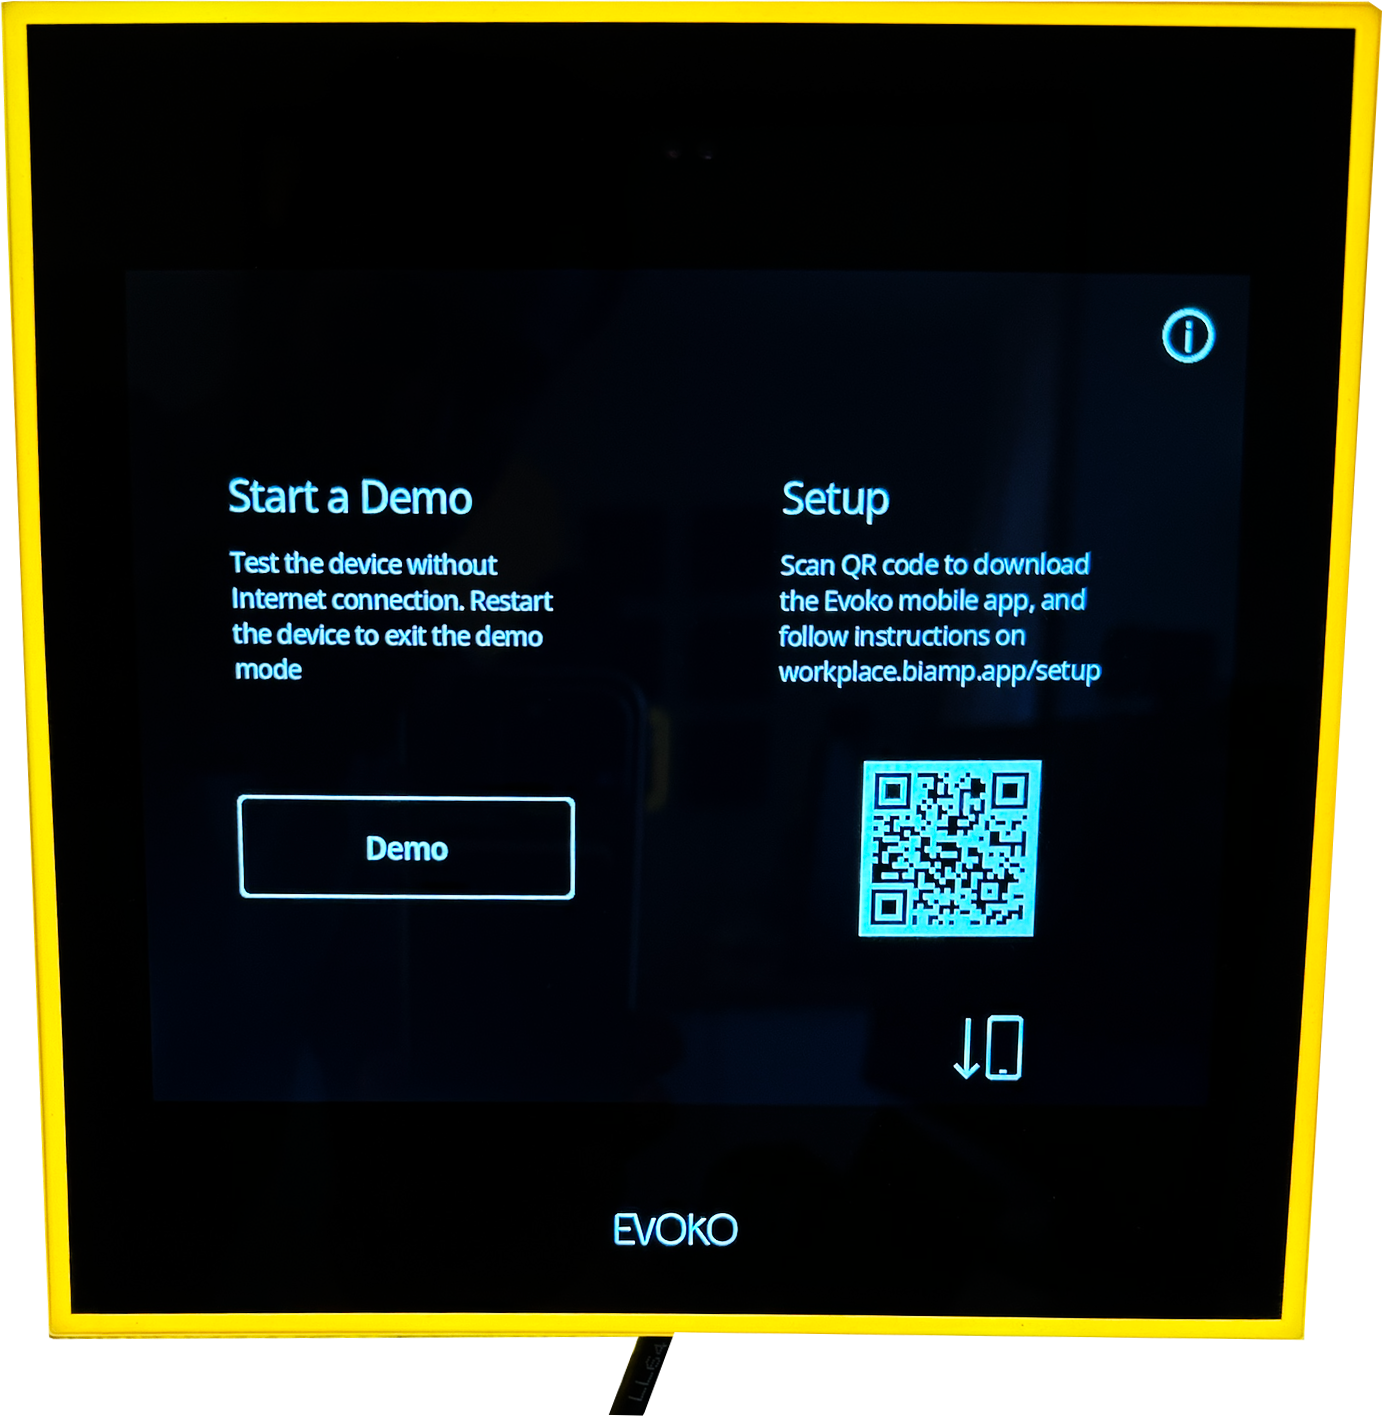
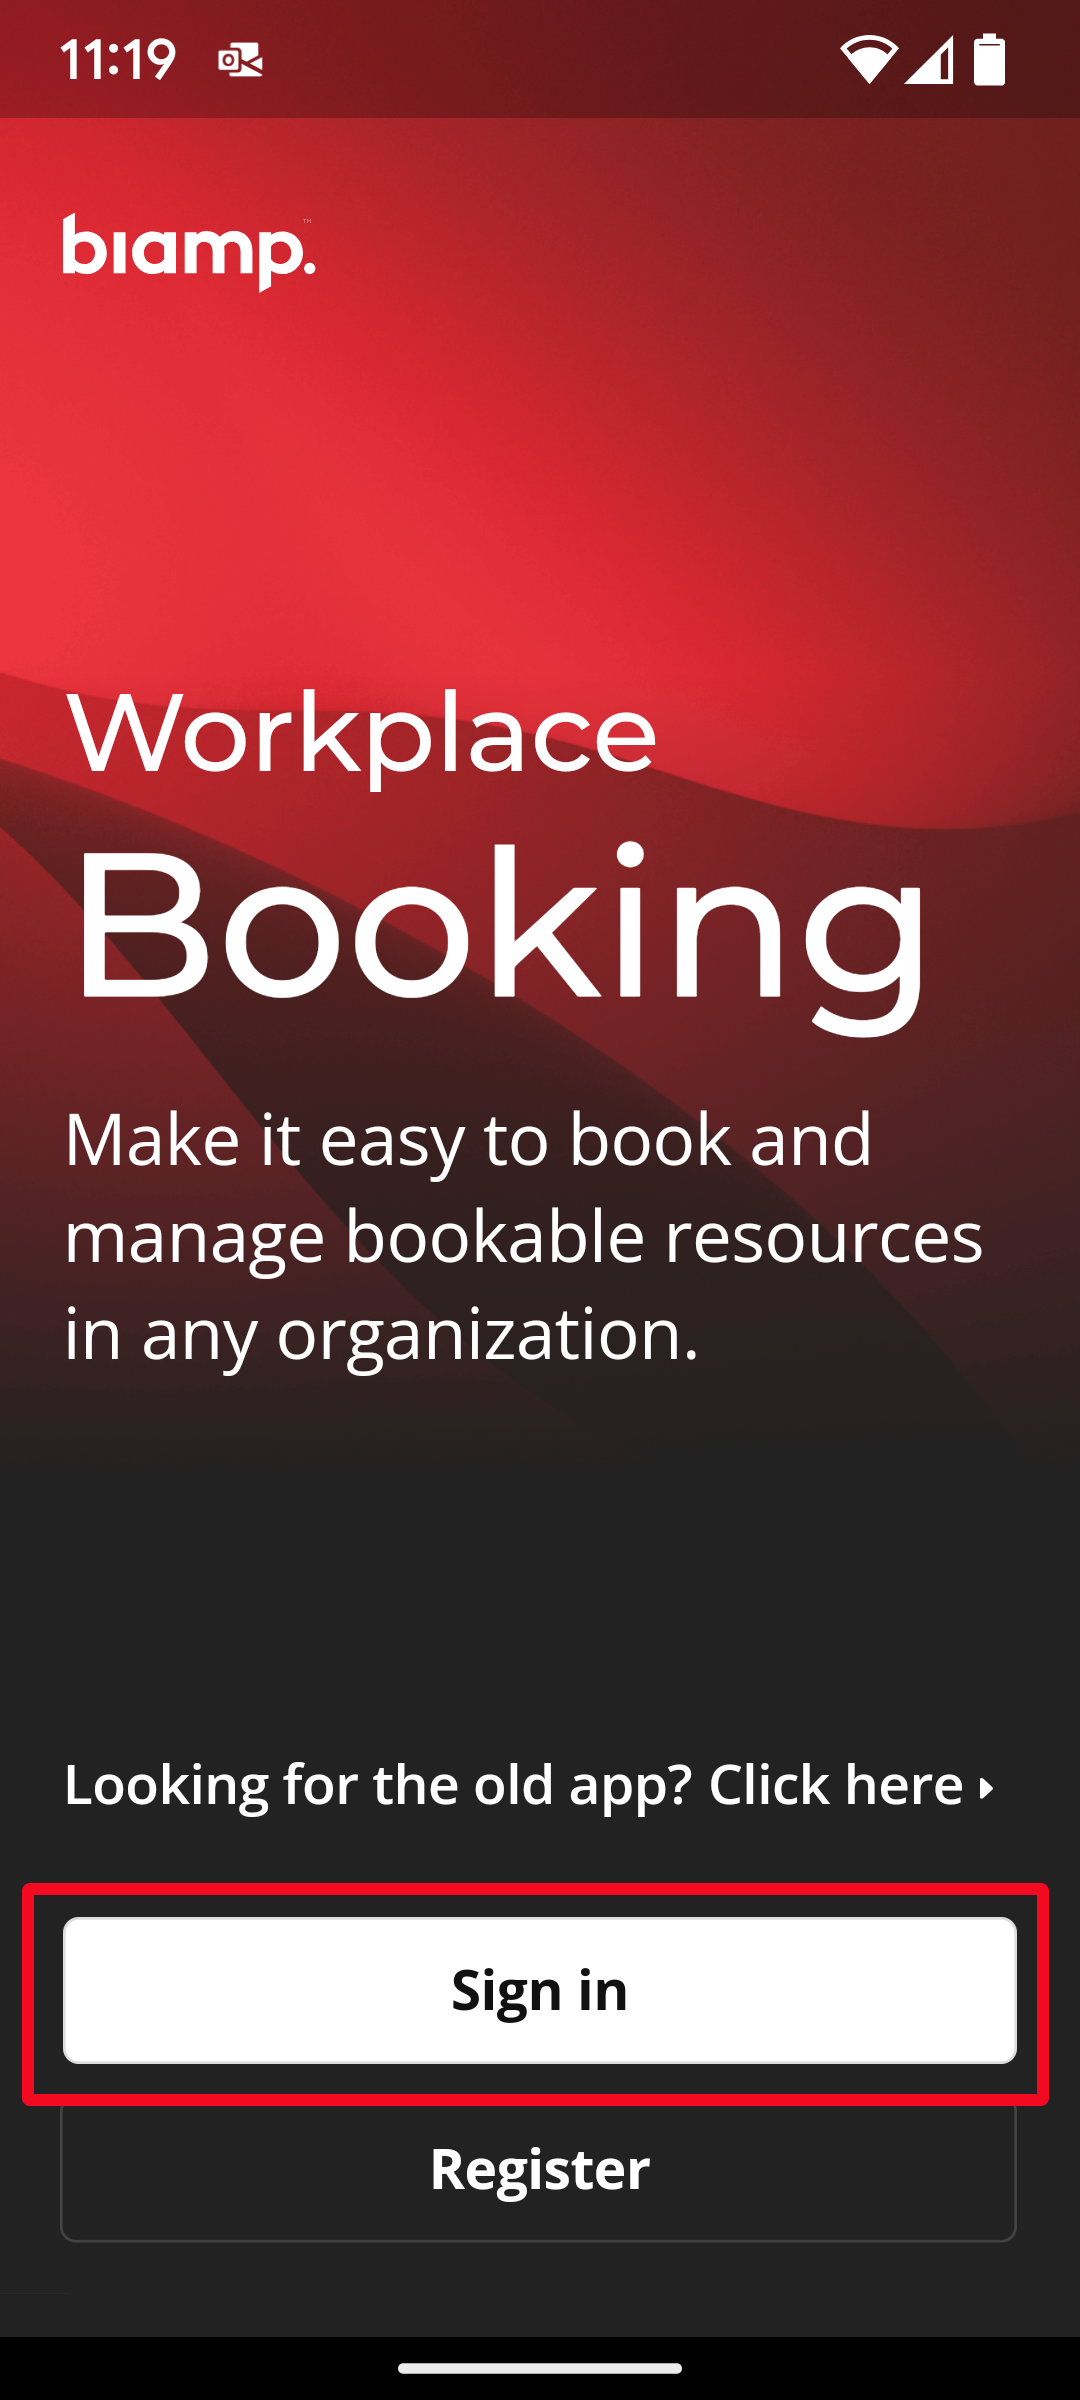
2. Open and sign in to the Biamp Workplace Booking mobile app on your phone.
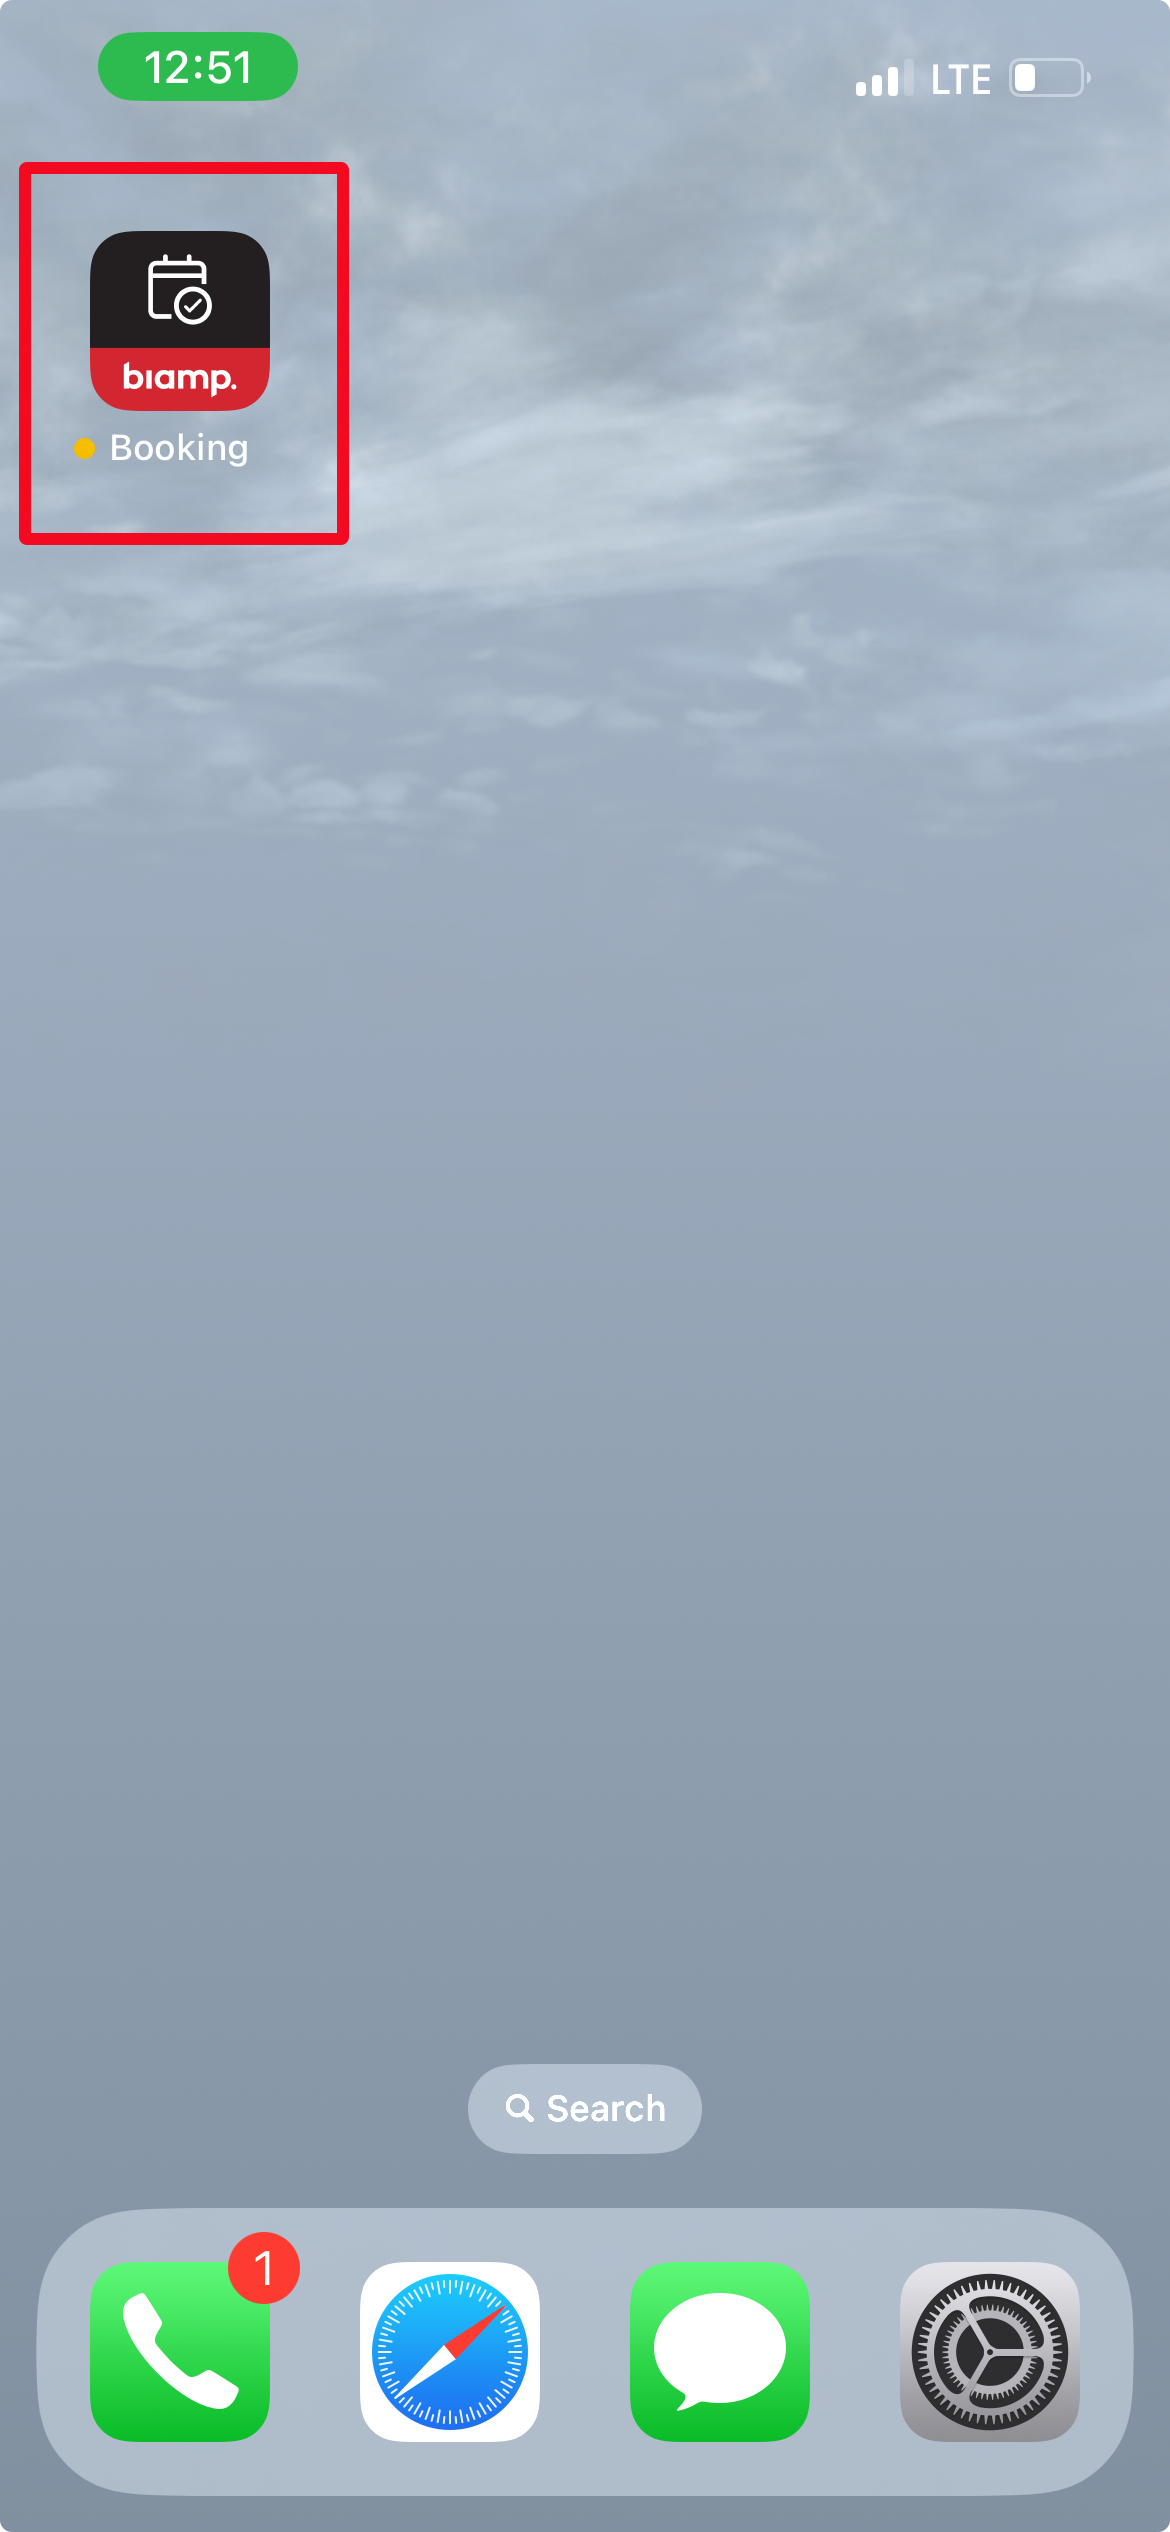
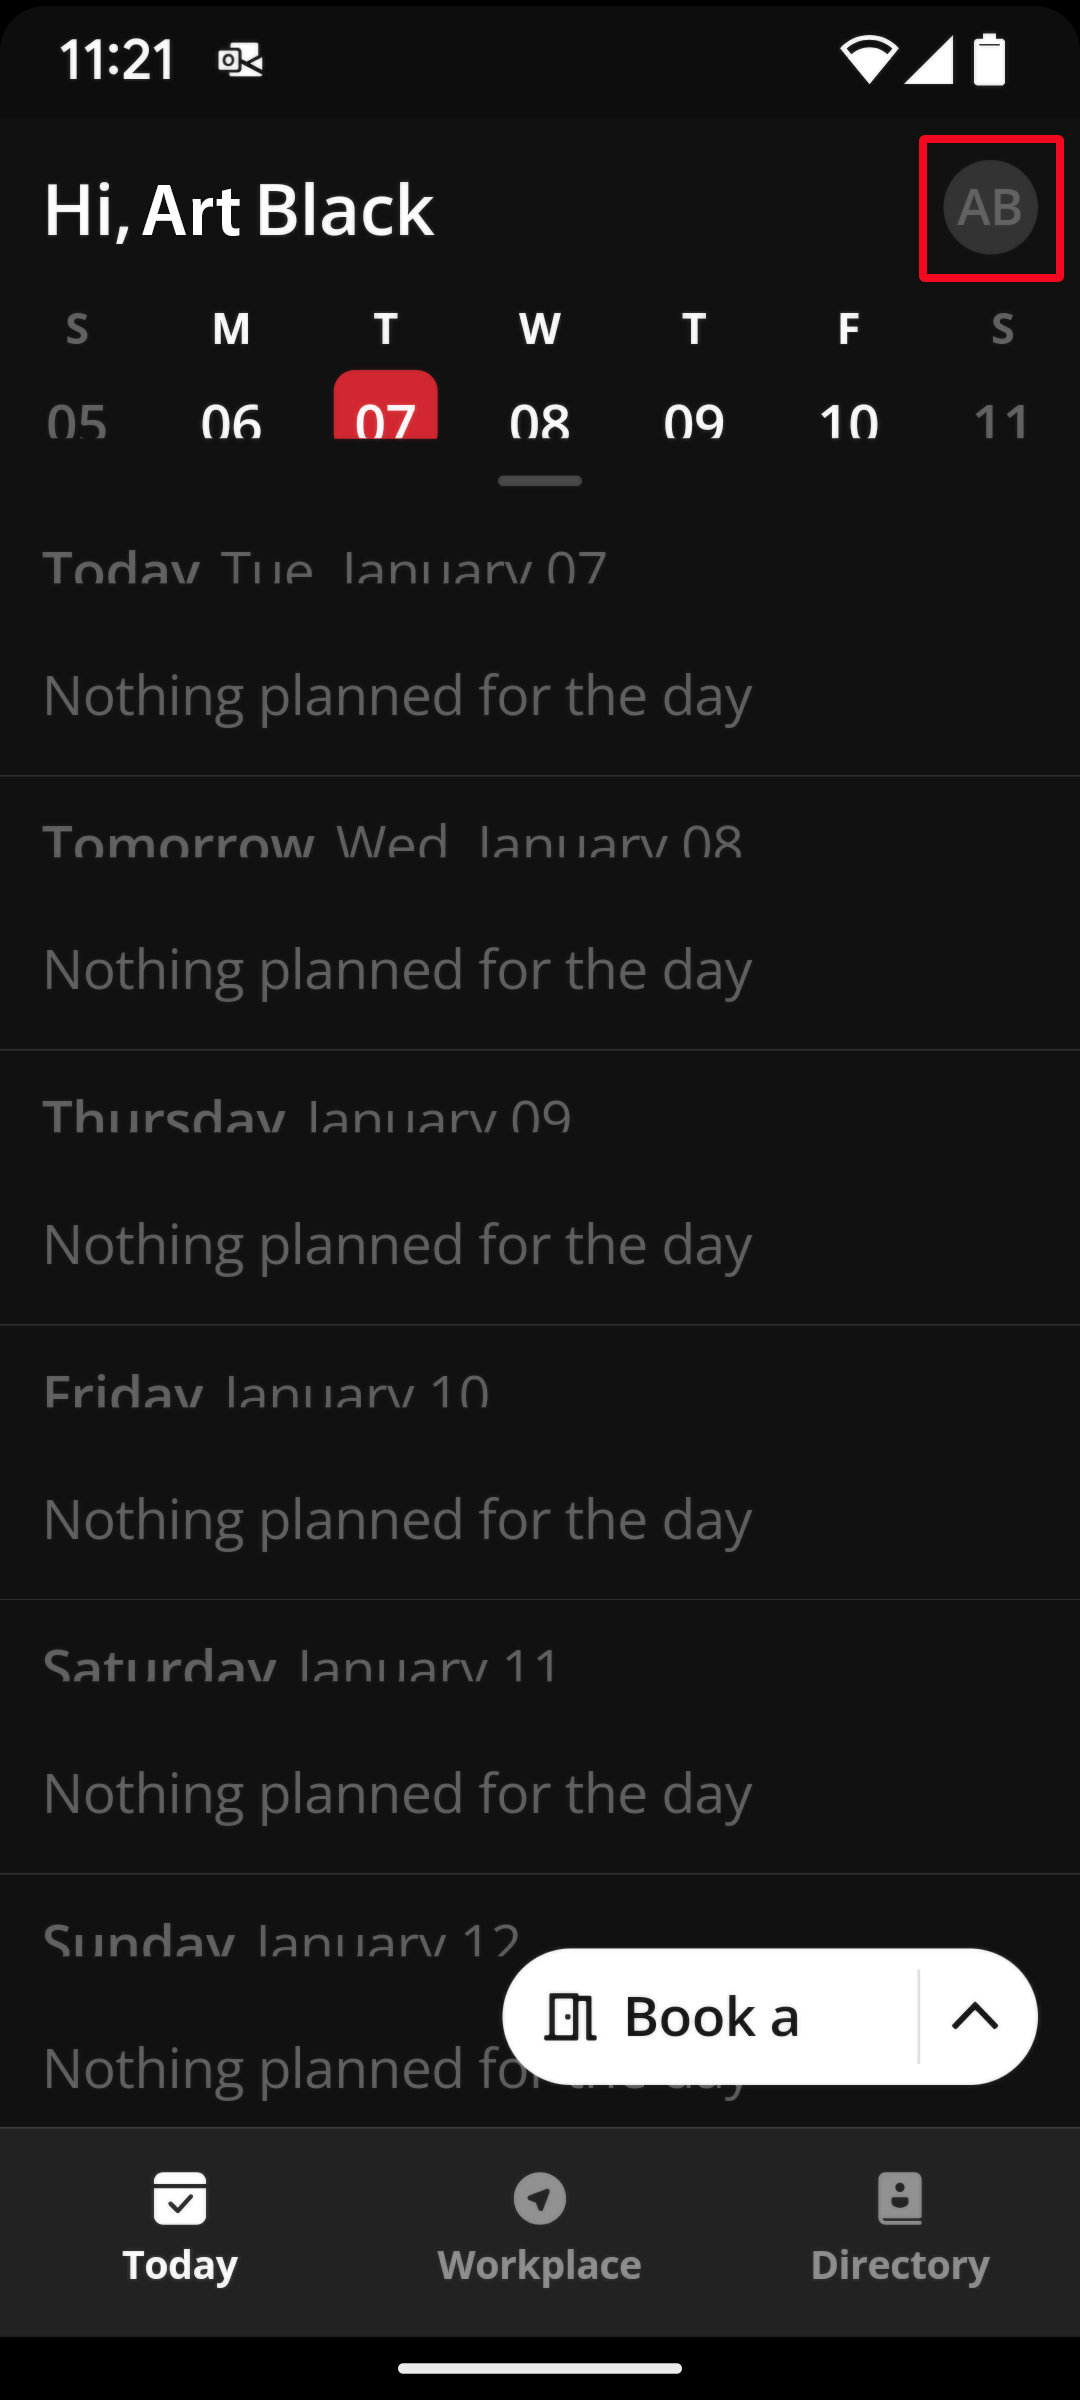
3. Select the organization you will be adding Naso devices to in the Booking app.
- Organizations are selected under your profile. To access them, tap the profile circle icon near the top-right of the home Today calendar screen. Then select the organization to which you will be adding Naso booking devices.
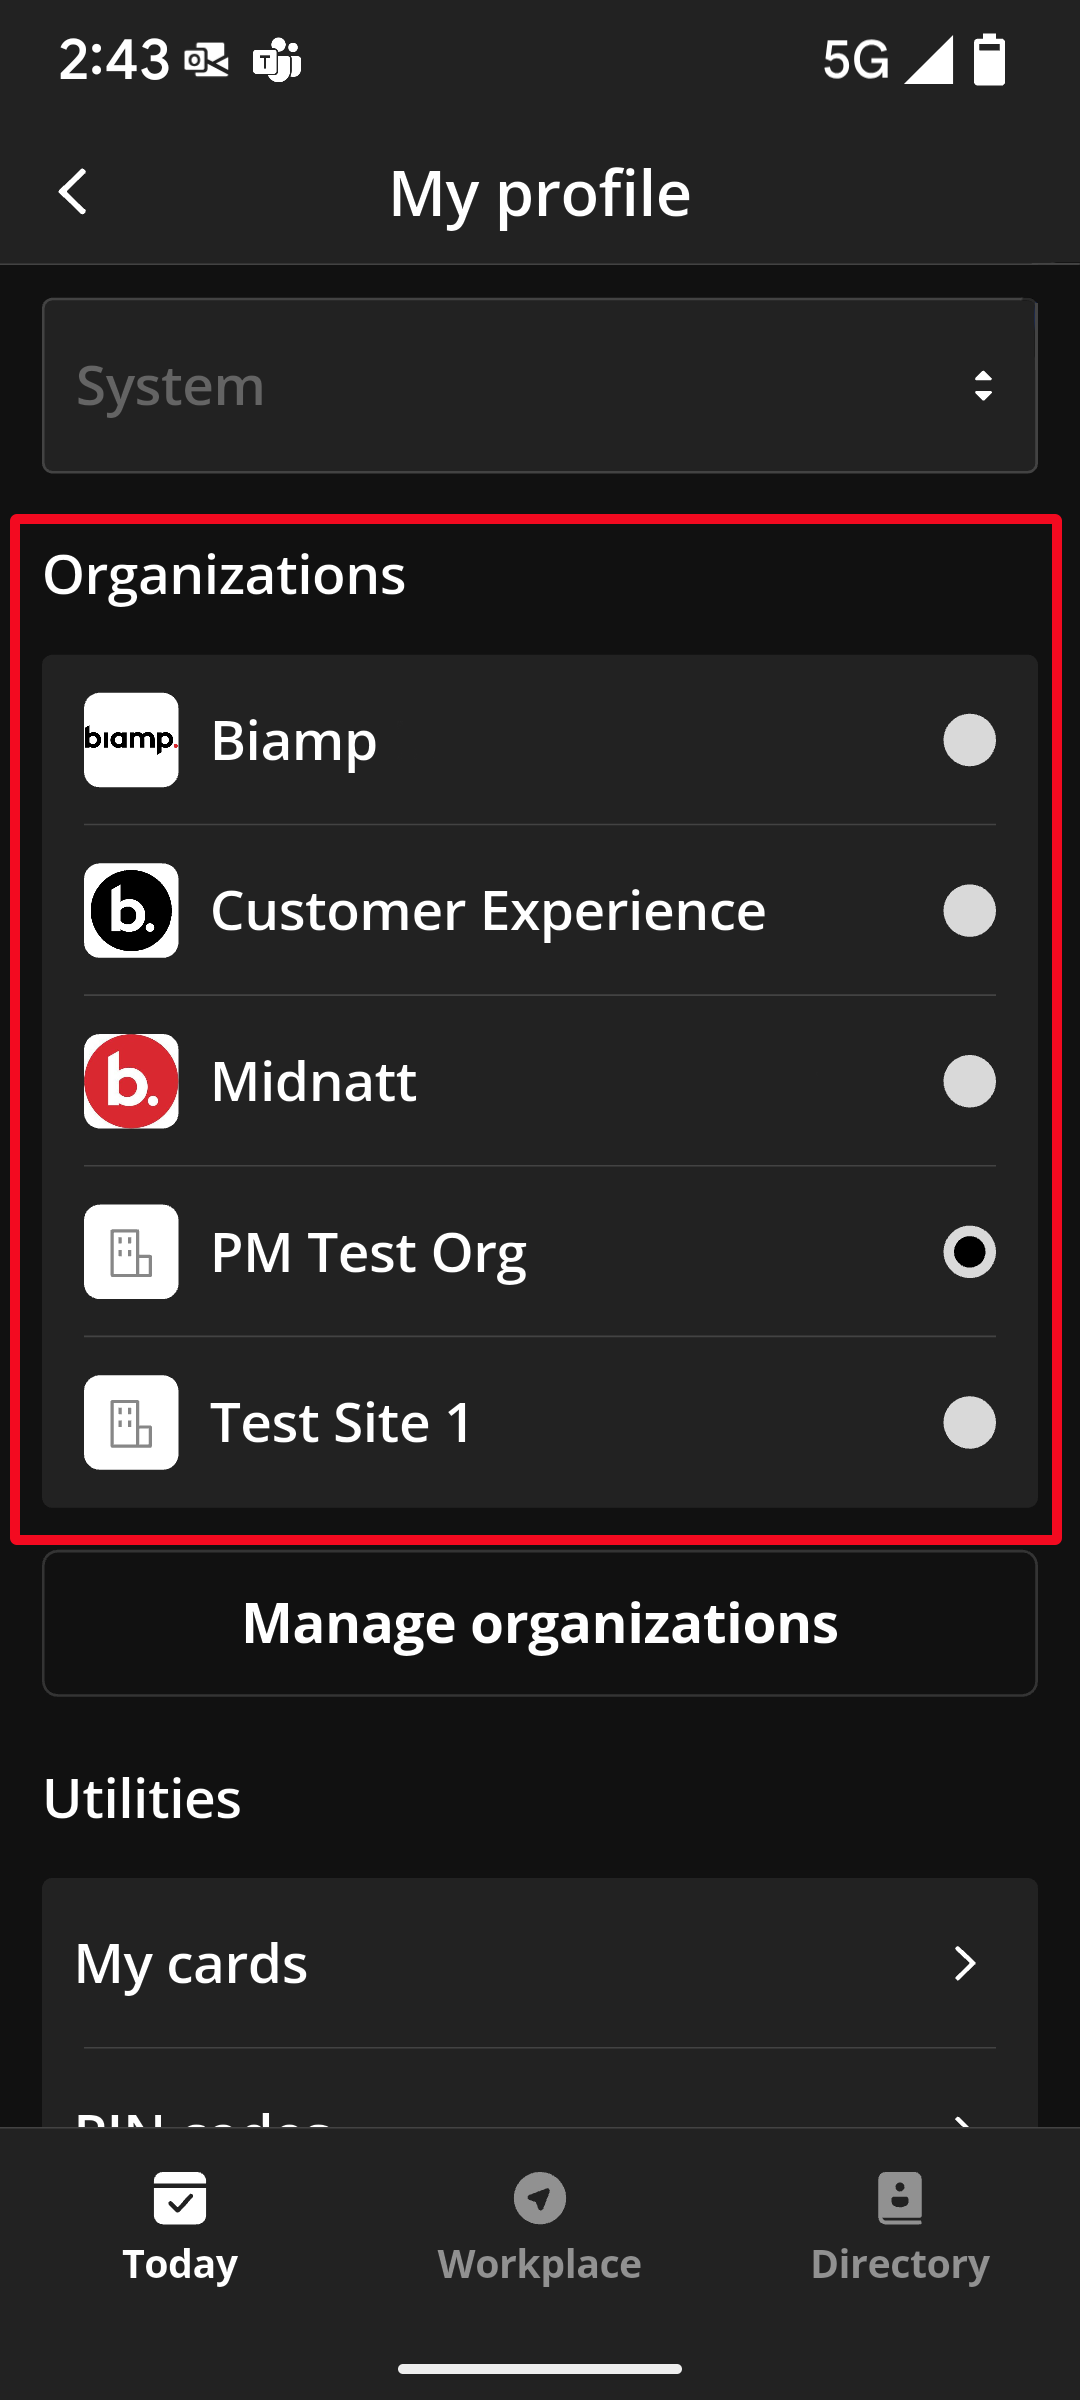
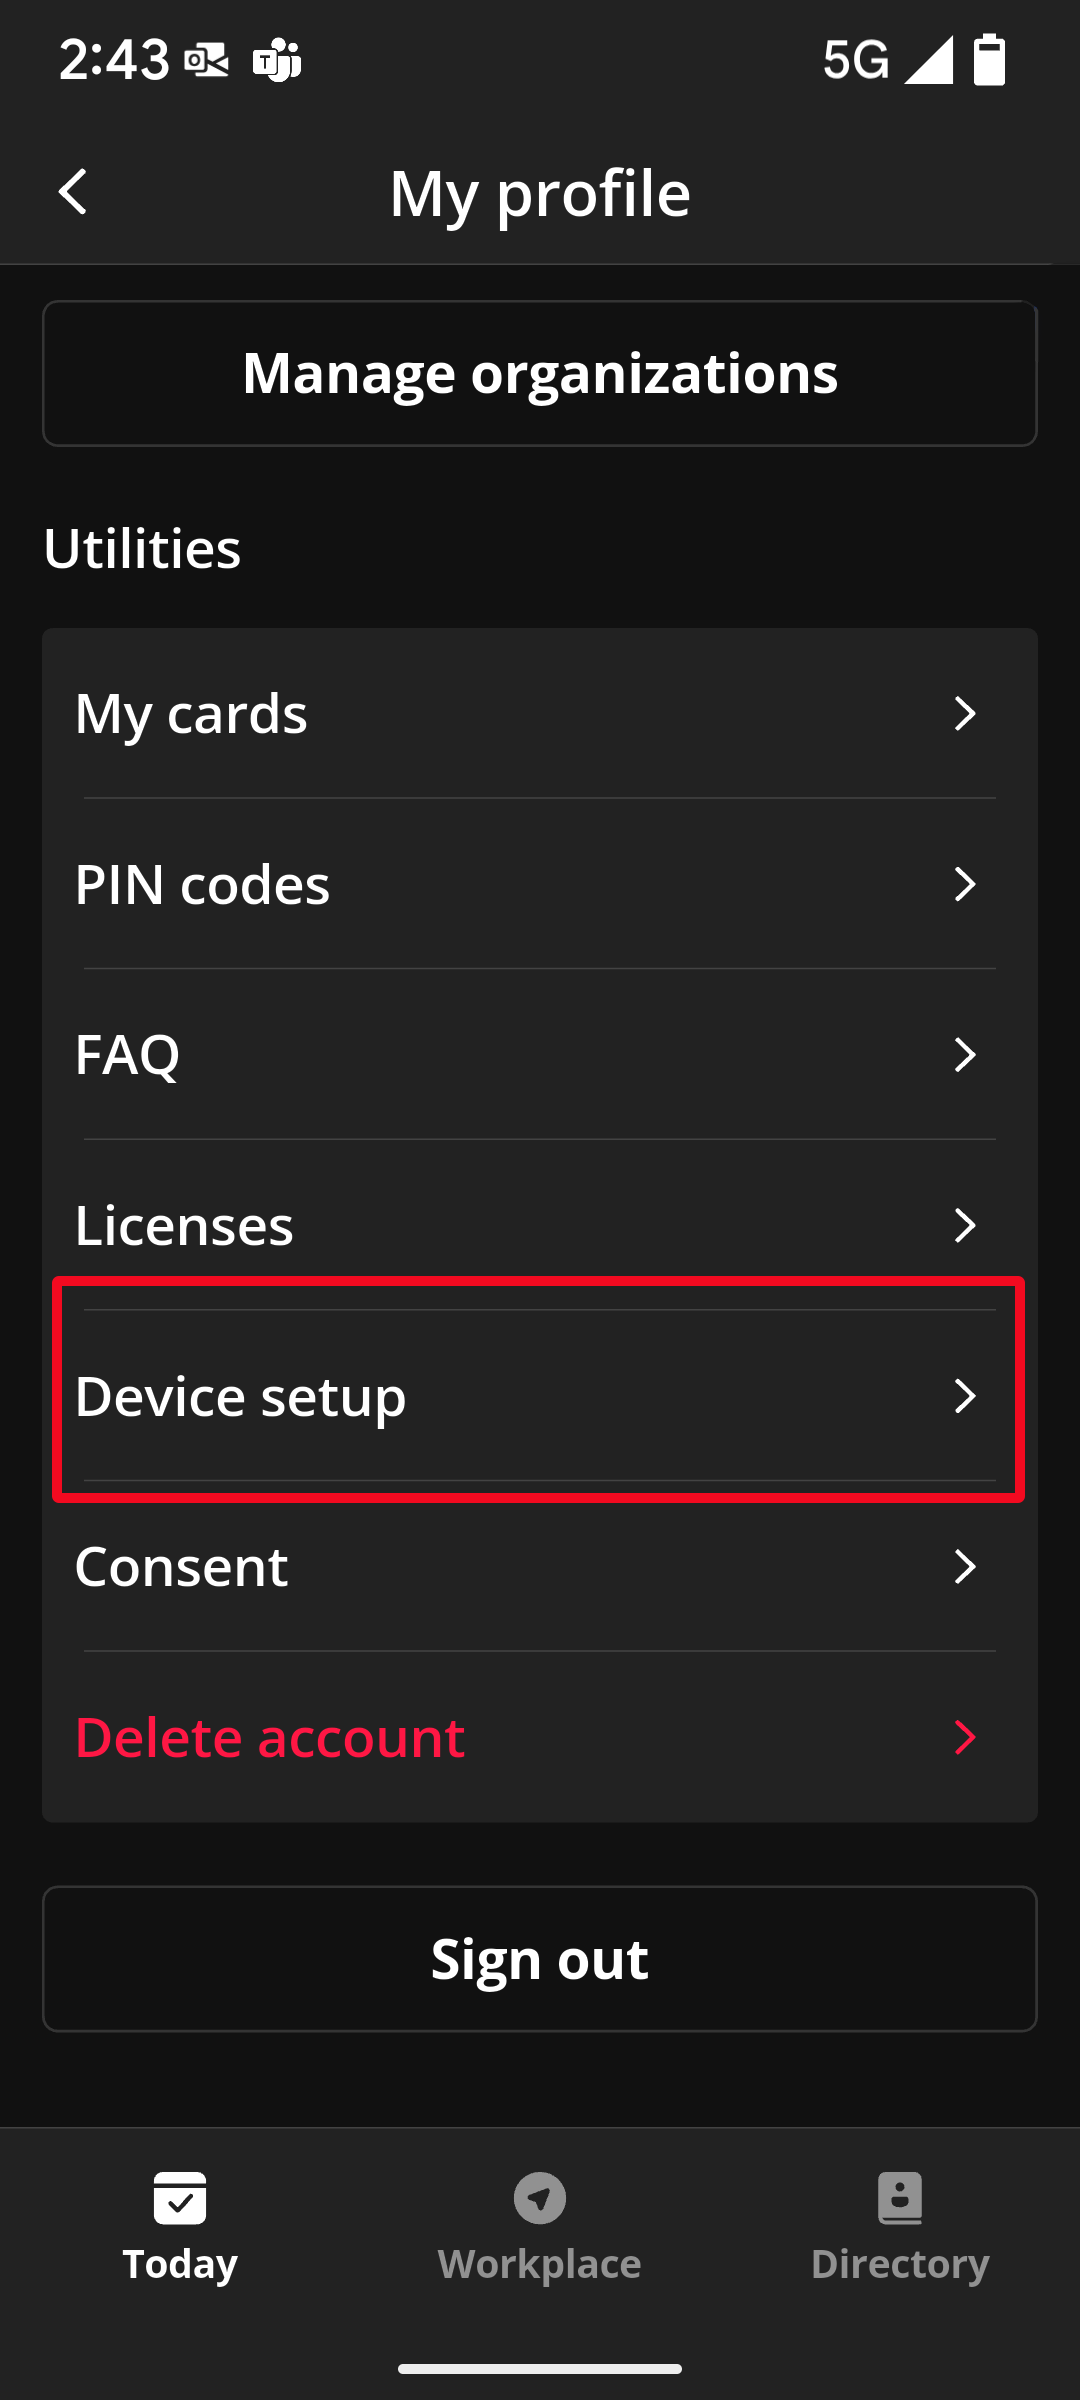
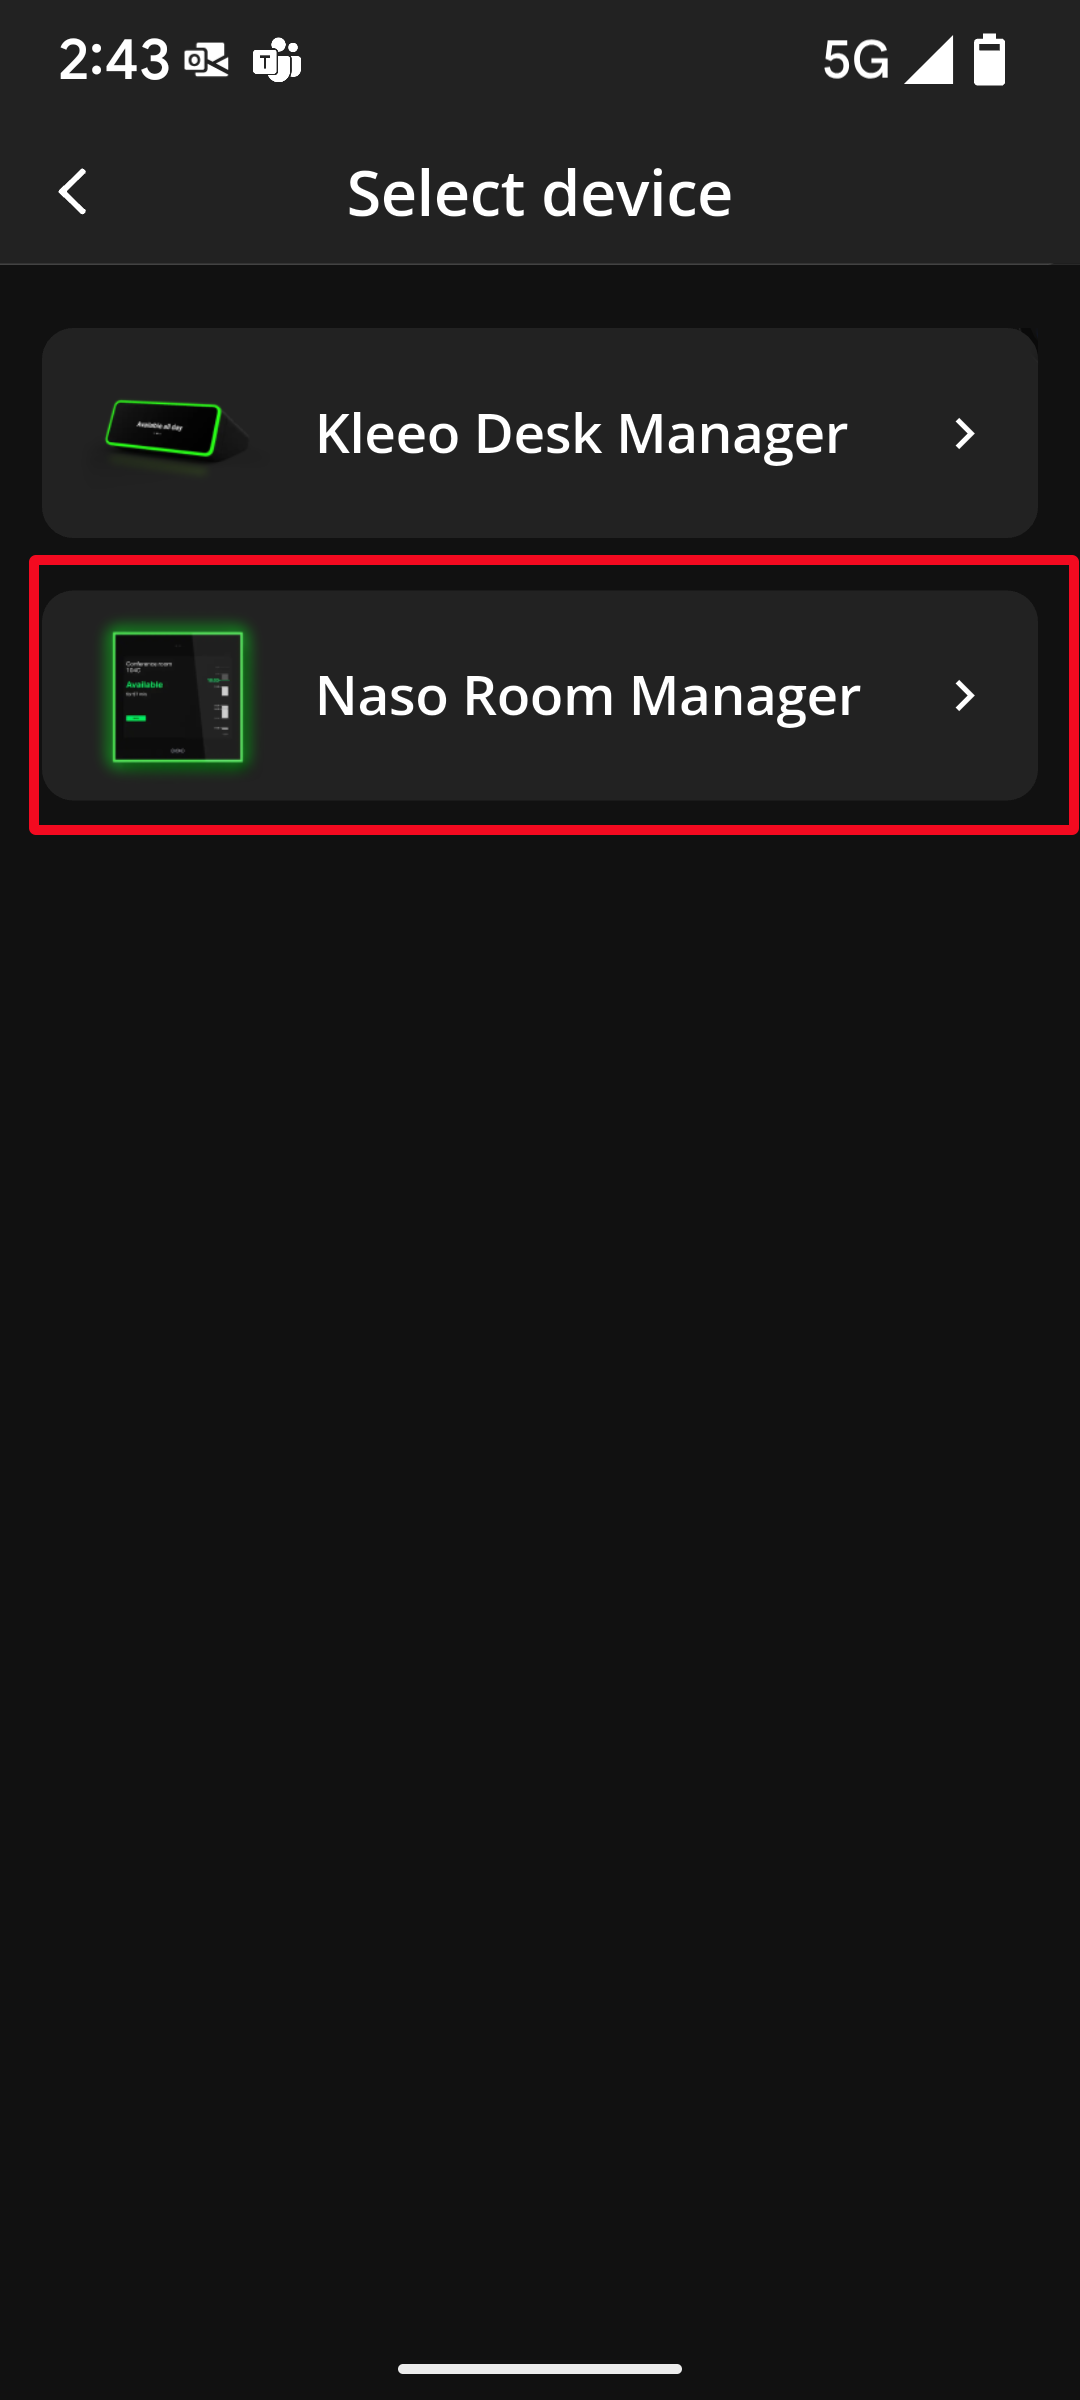
4. On your profile screen, scroll down to the Utilities section, tap the "Device setup" tab, and select the "Naso Room Manager" option.
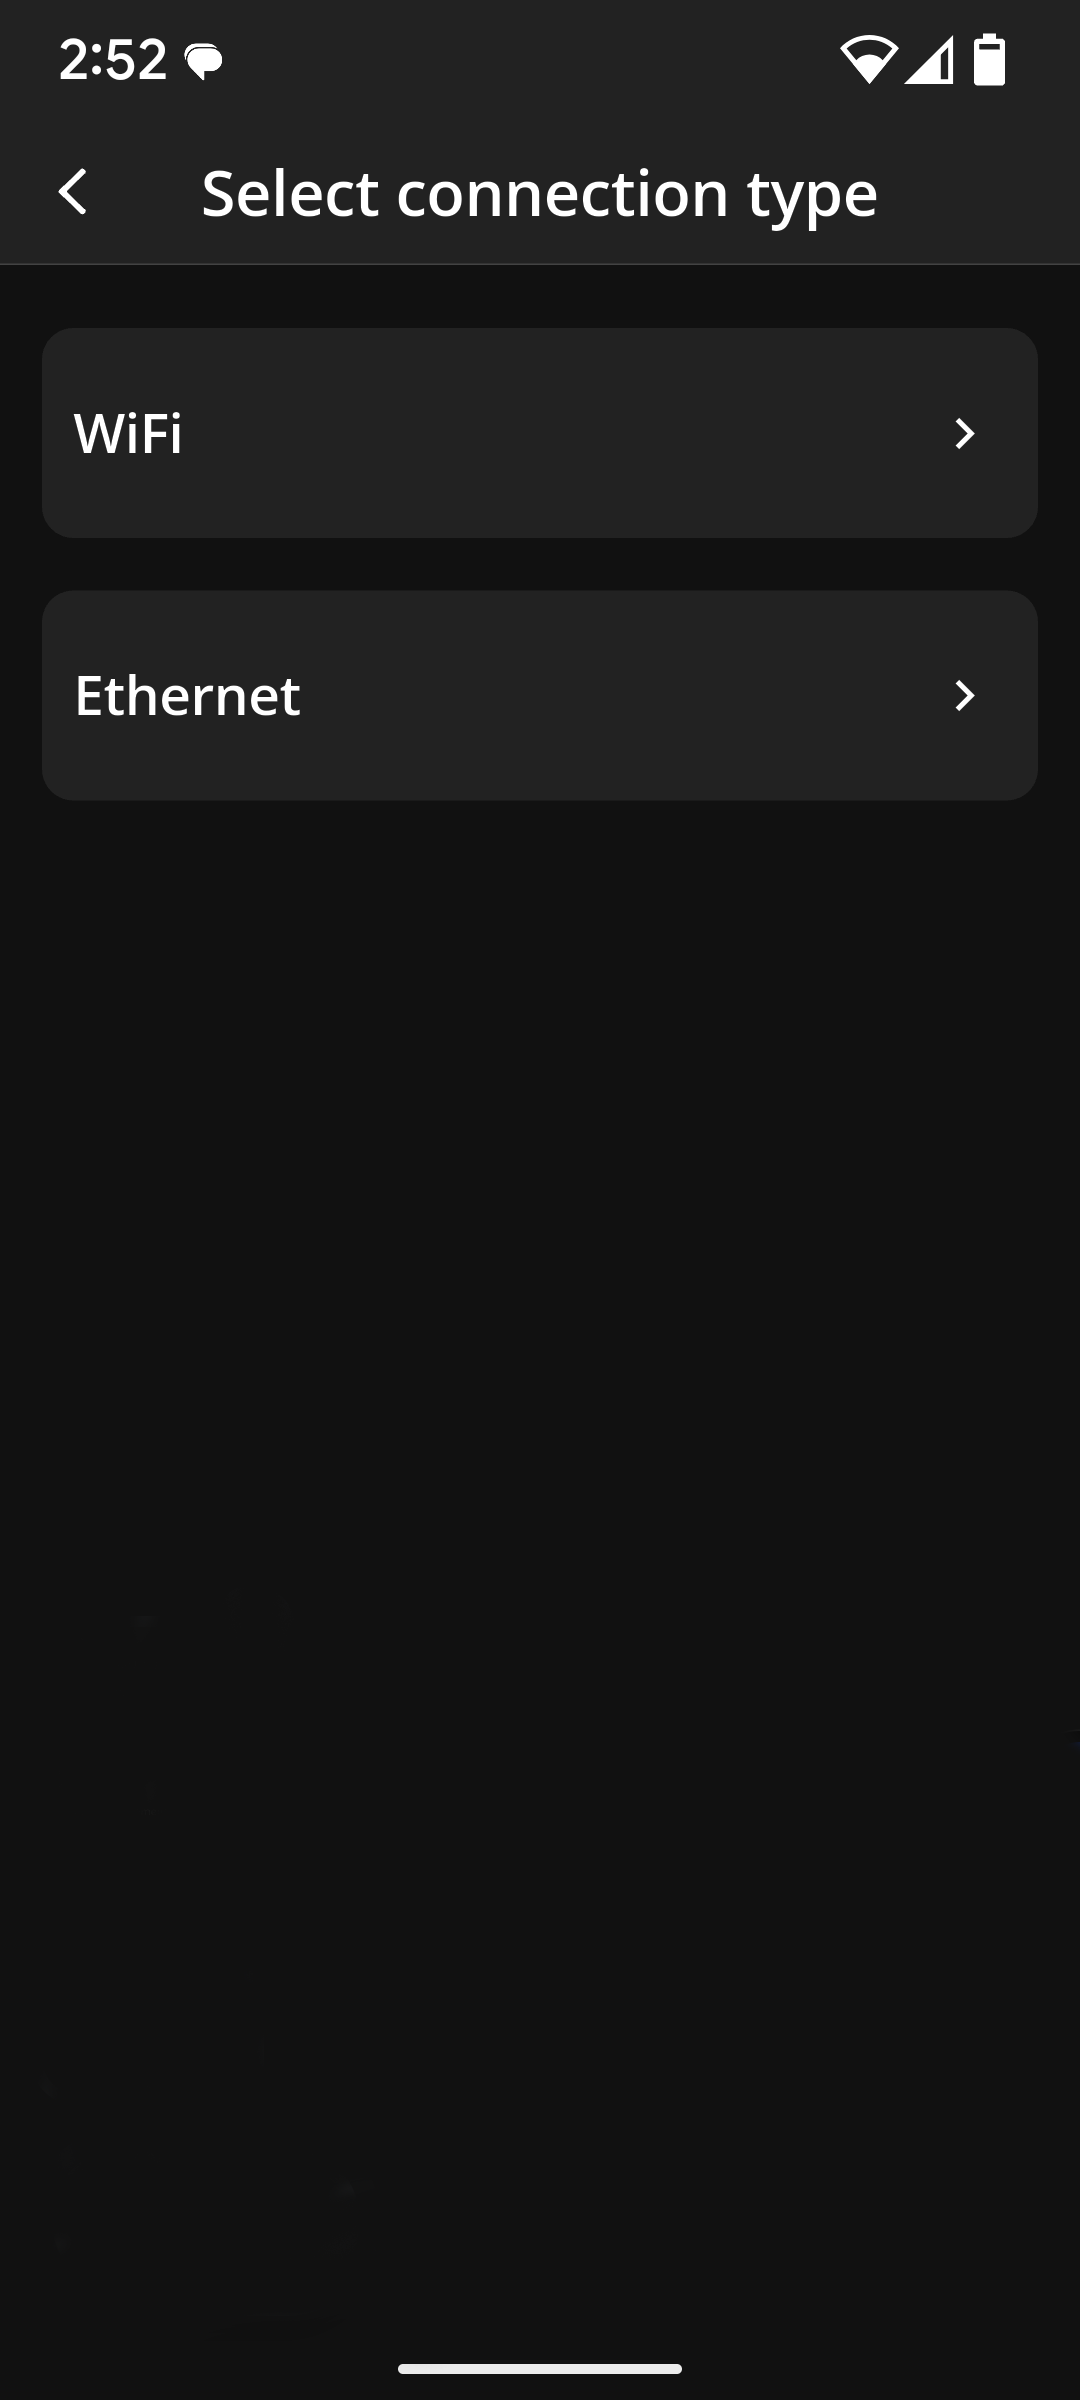
5. Select either WiFi or Ethernet for the network type that the Naso will use for connecting to the web-hosted Workplace organization.
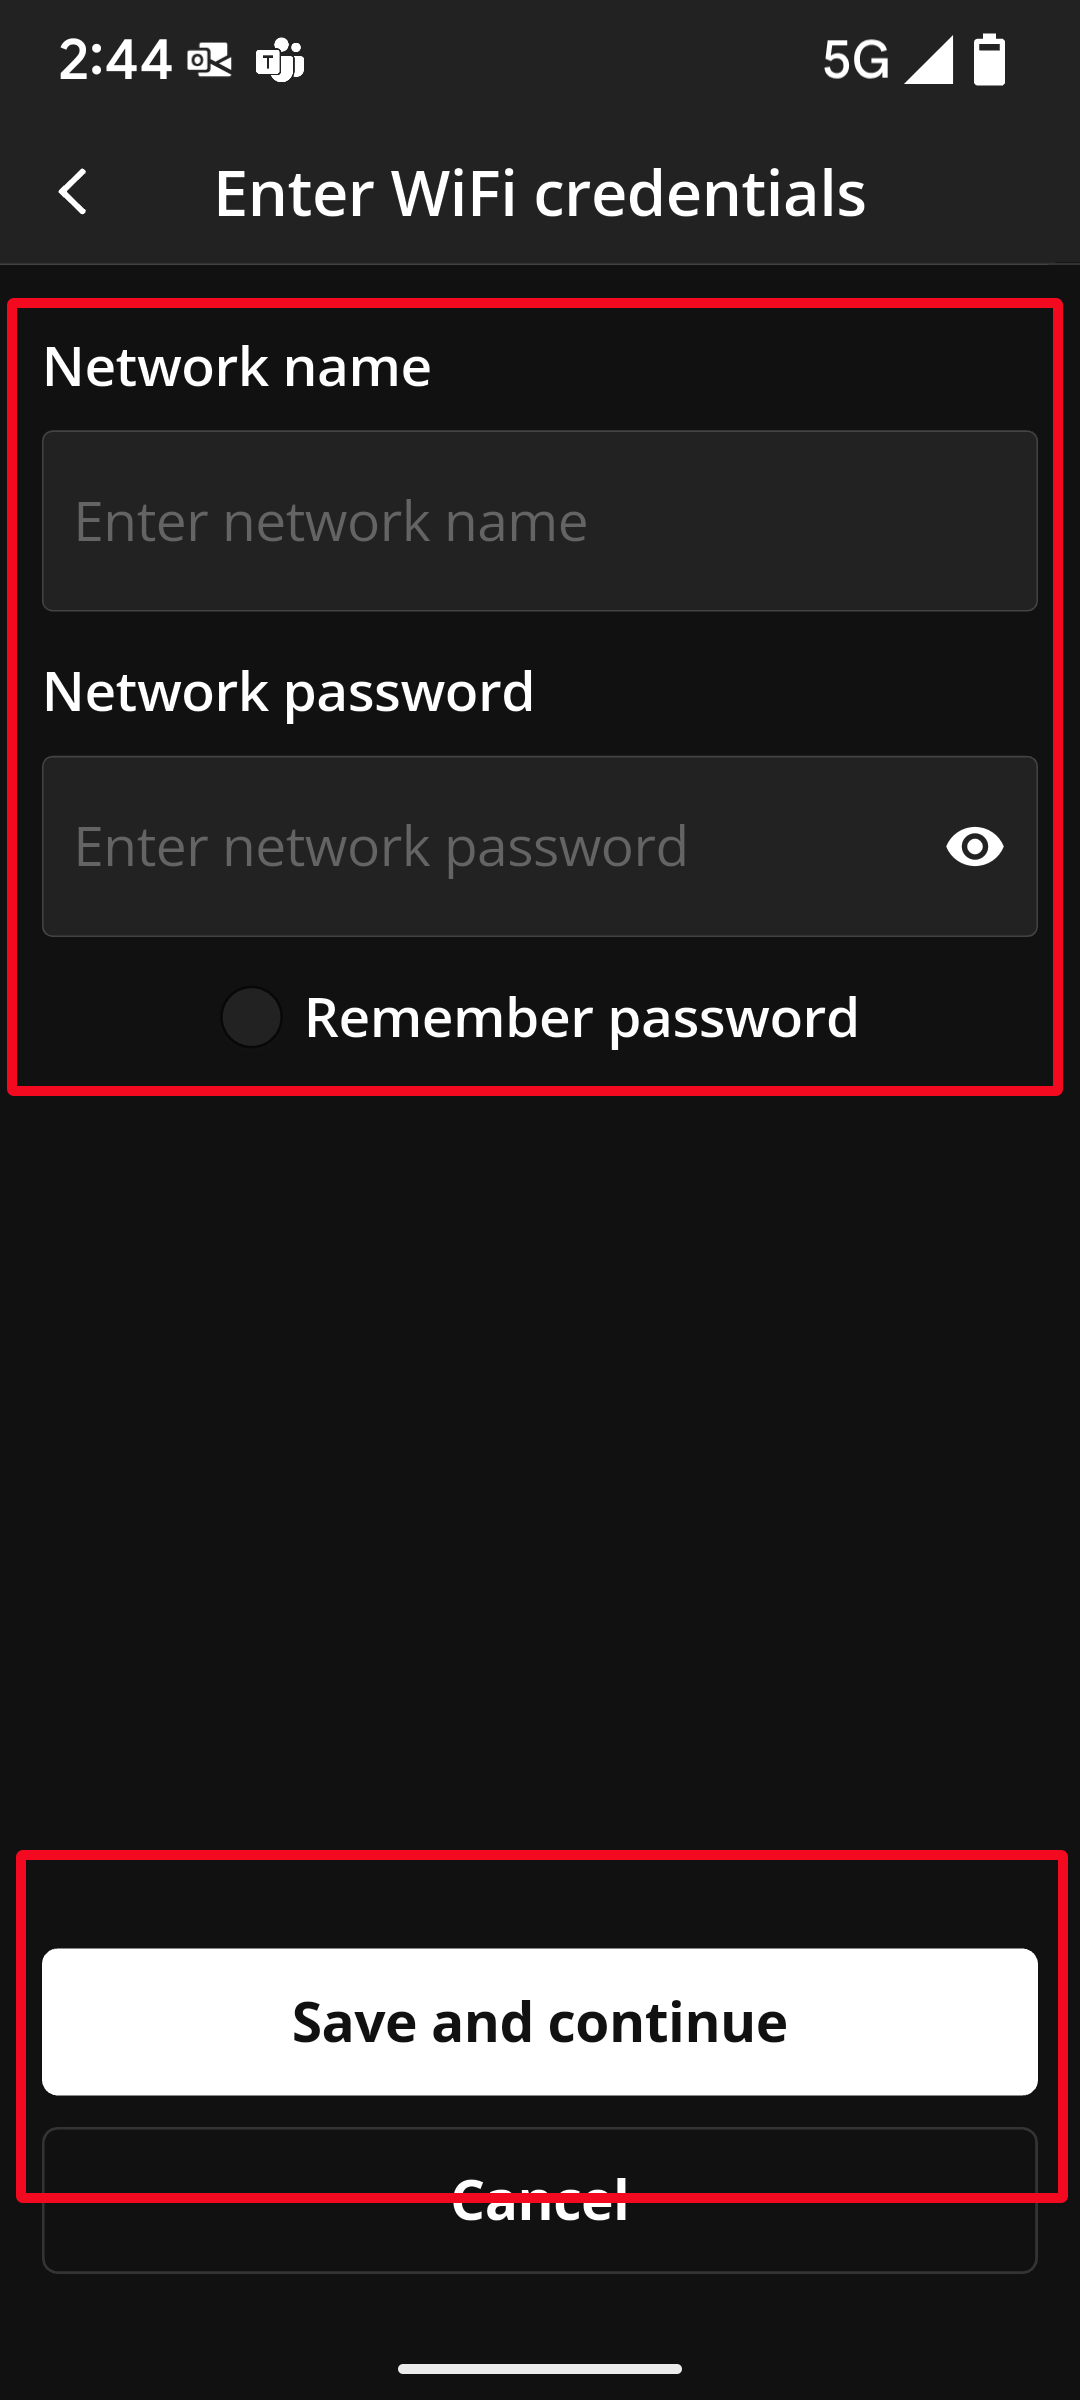
6a - WiFi networks option: Enter the sign-in credentials for the WiFi network the Naso will use for connecting to the organization. Then tap Save, and after that, Continue. This will take you to the Resource page.
- The app will transmit the credentials to the Kleeo during a future step.
- Please note: The Network Name and Password are case sensitive.
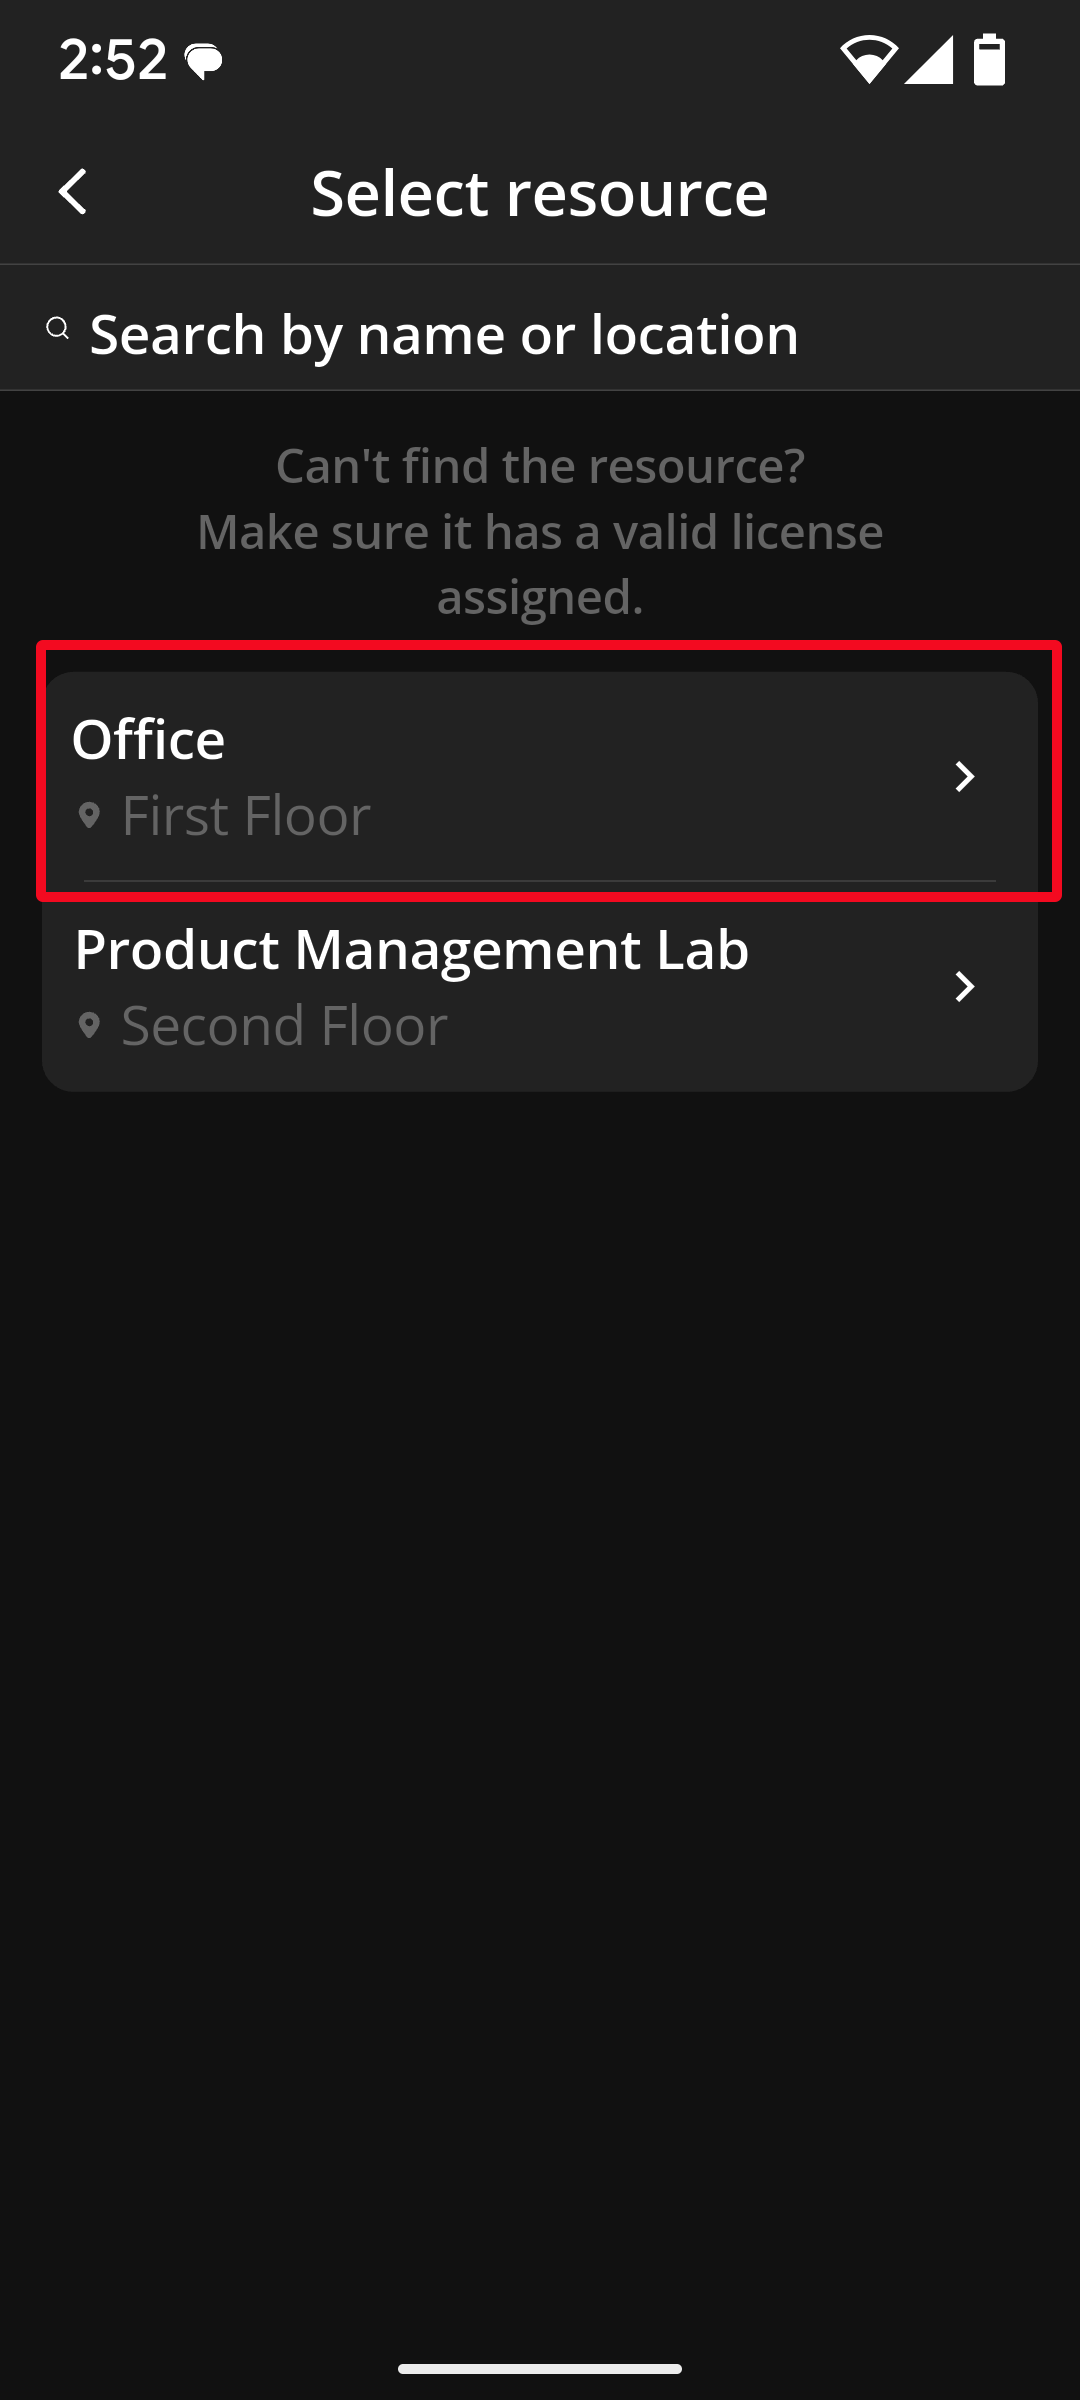
6b - Ethernet option: On the Resource page, Select the room on the organization resources screen that you want to link to the Naso device.
- In the visual example below, we will be connecting the Naso to Biamp Workplace room location (resource) called "Office".
7. Place your phone near the Naso' RFID reader. The reader location is indicated on the Naso by a mobile phone icon and arrow.
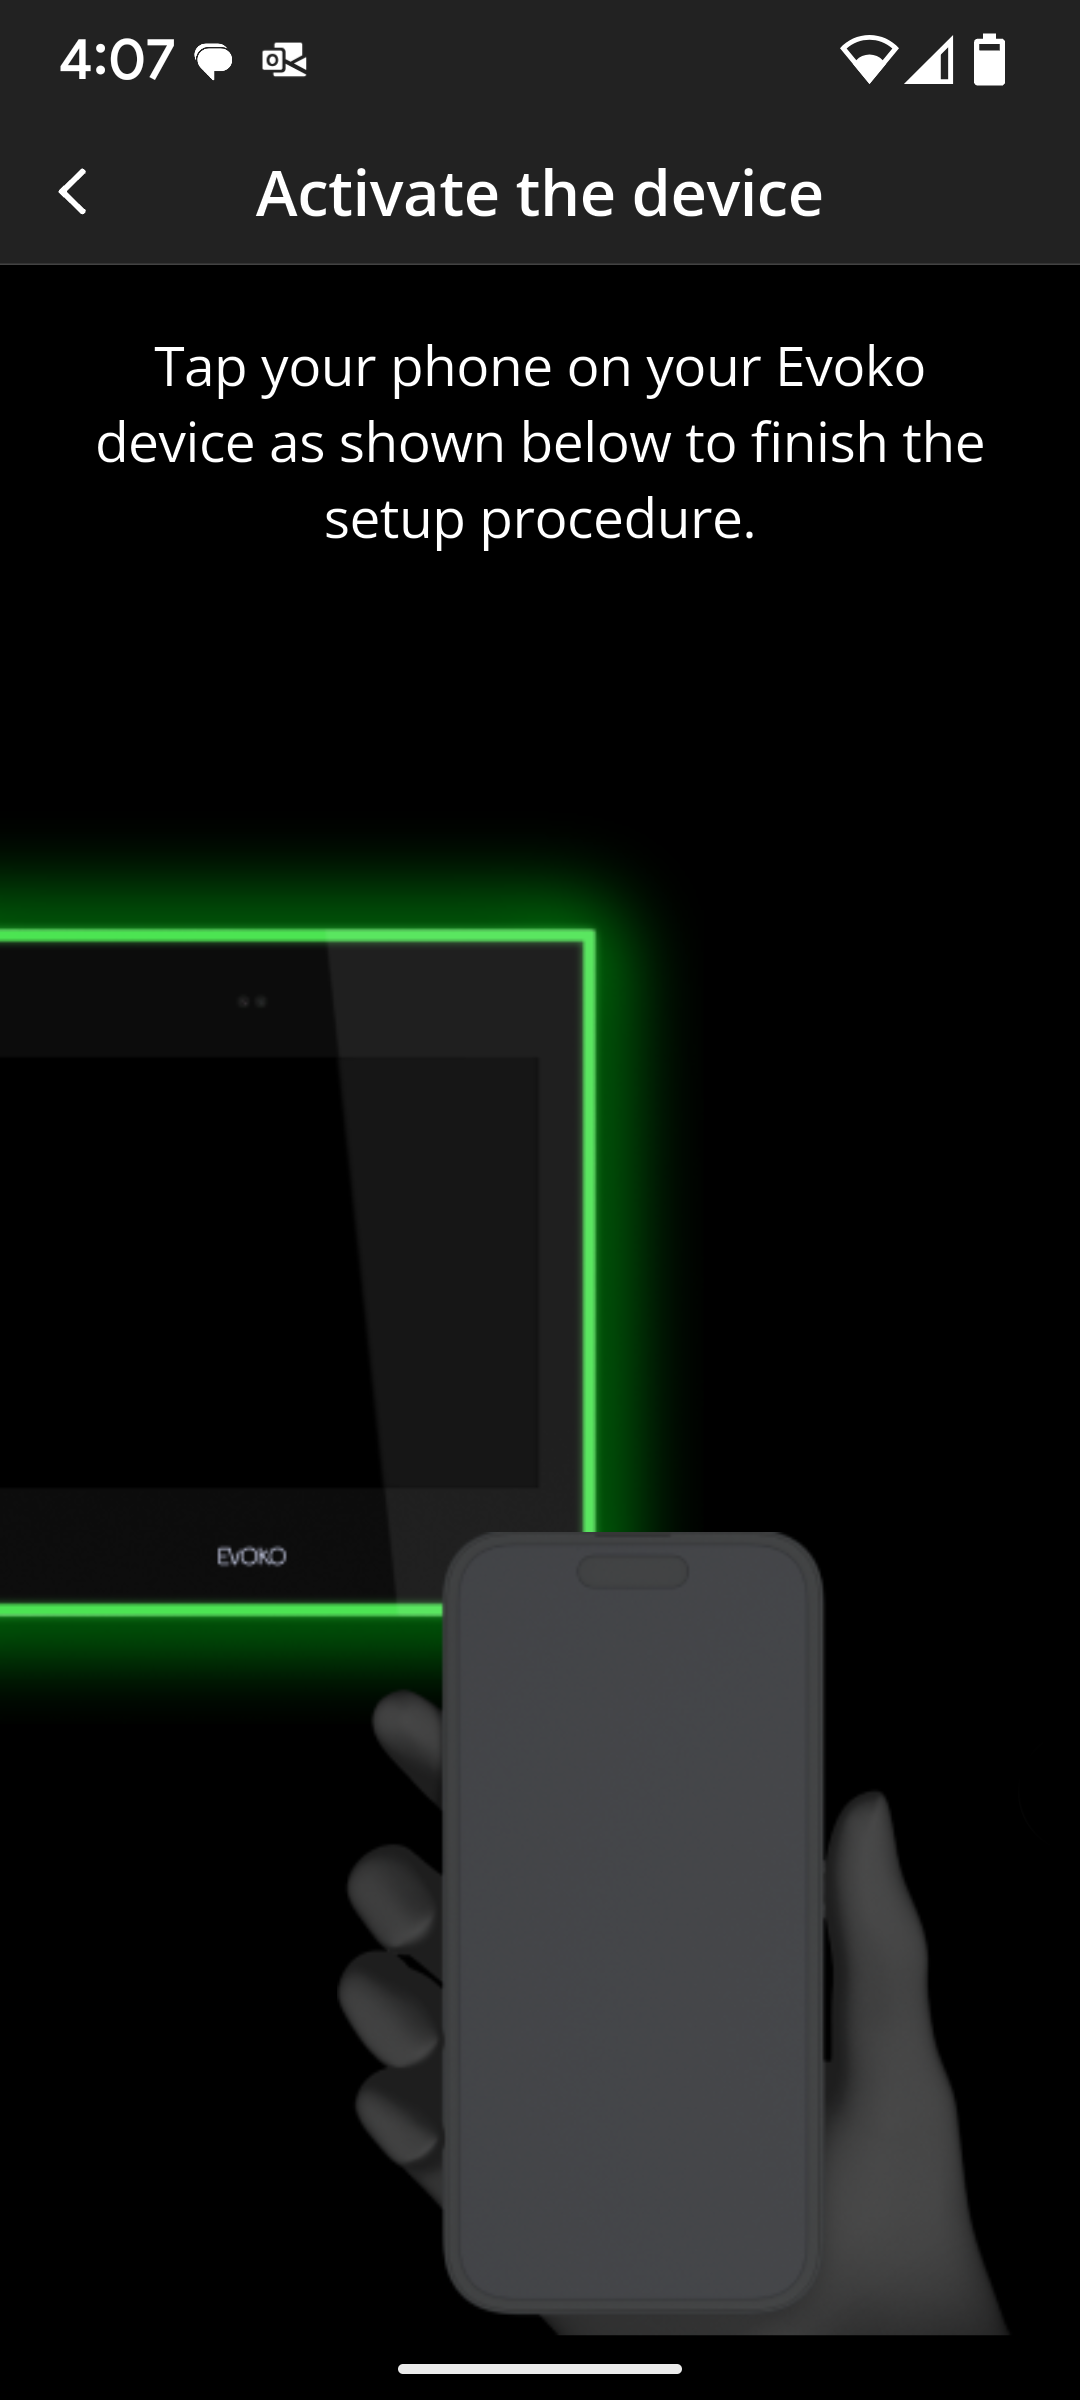
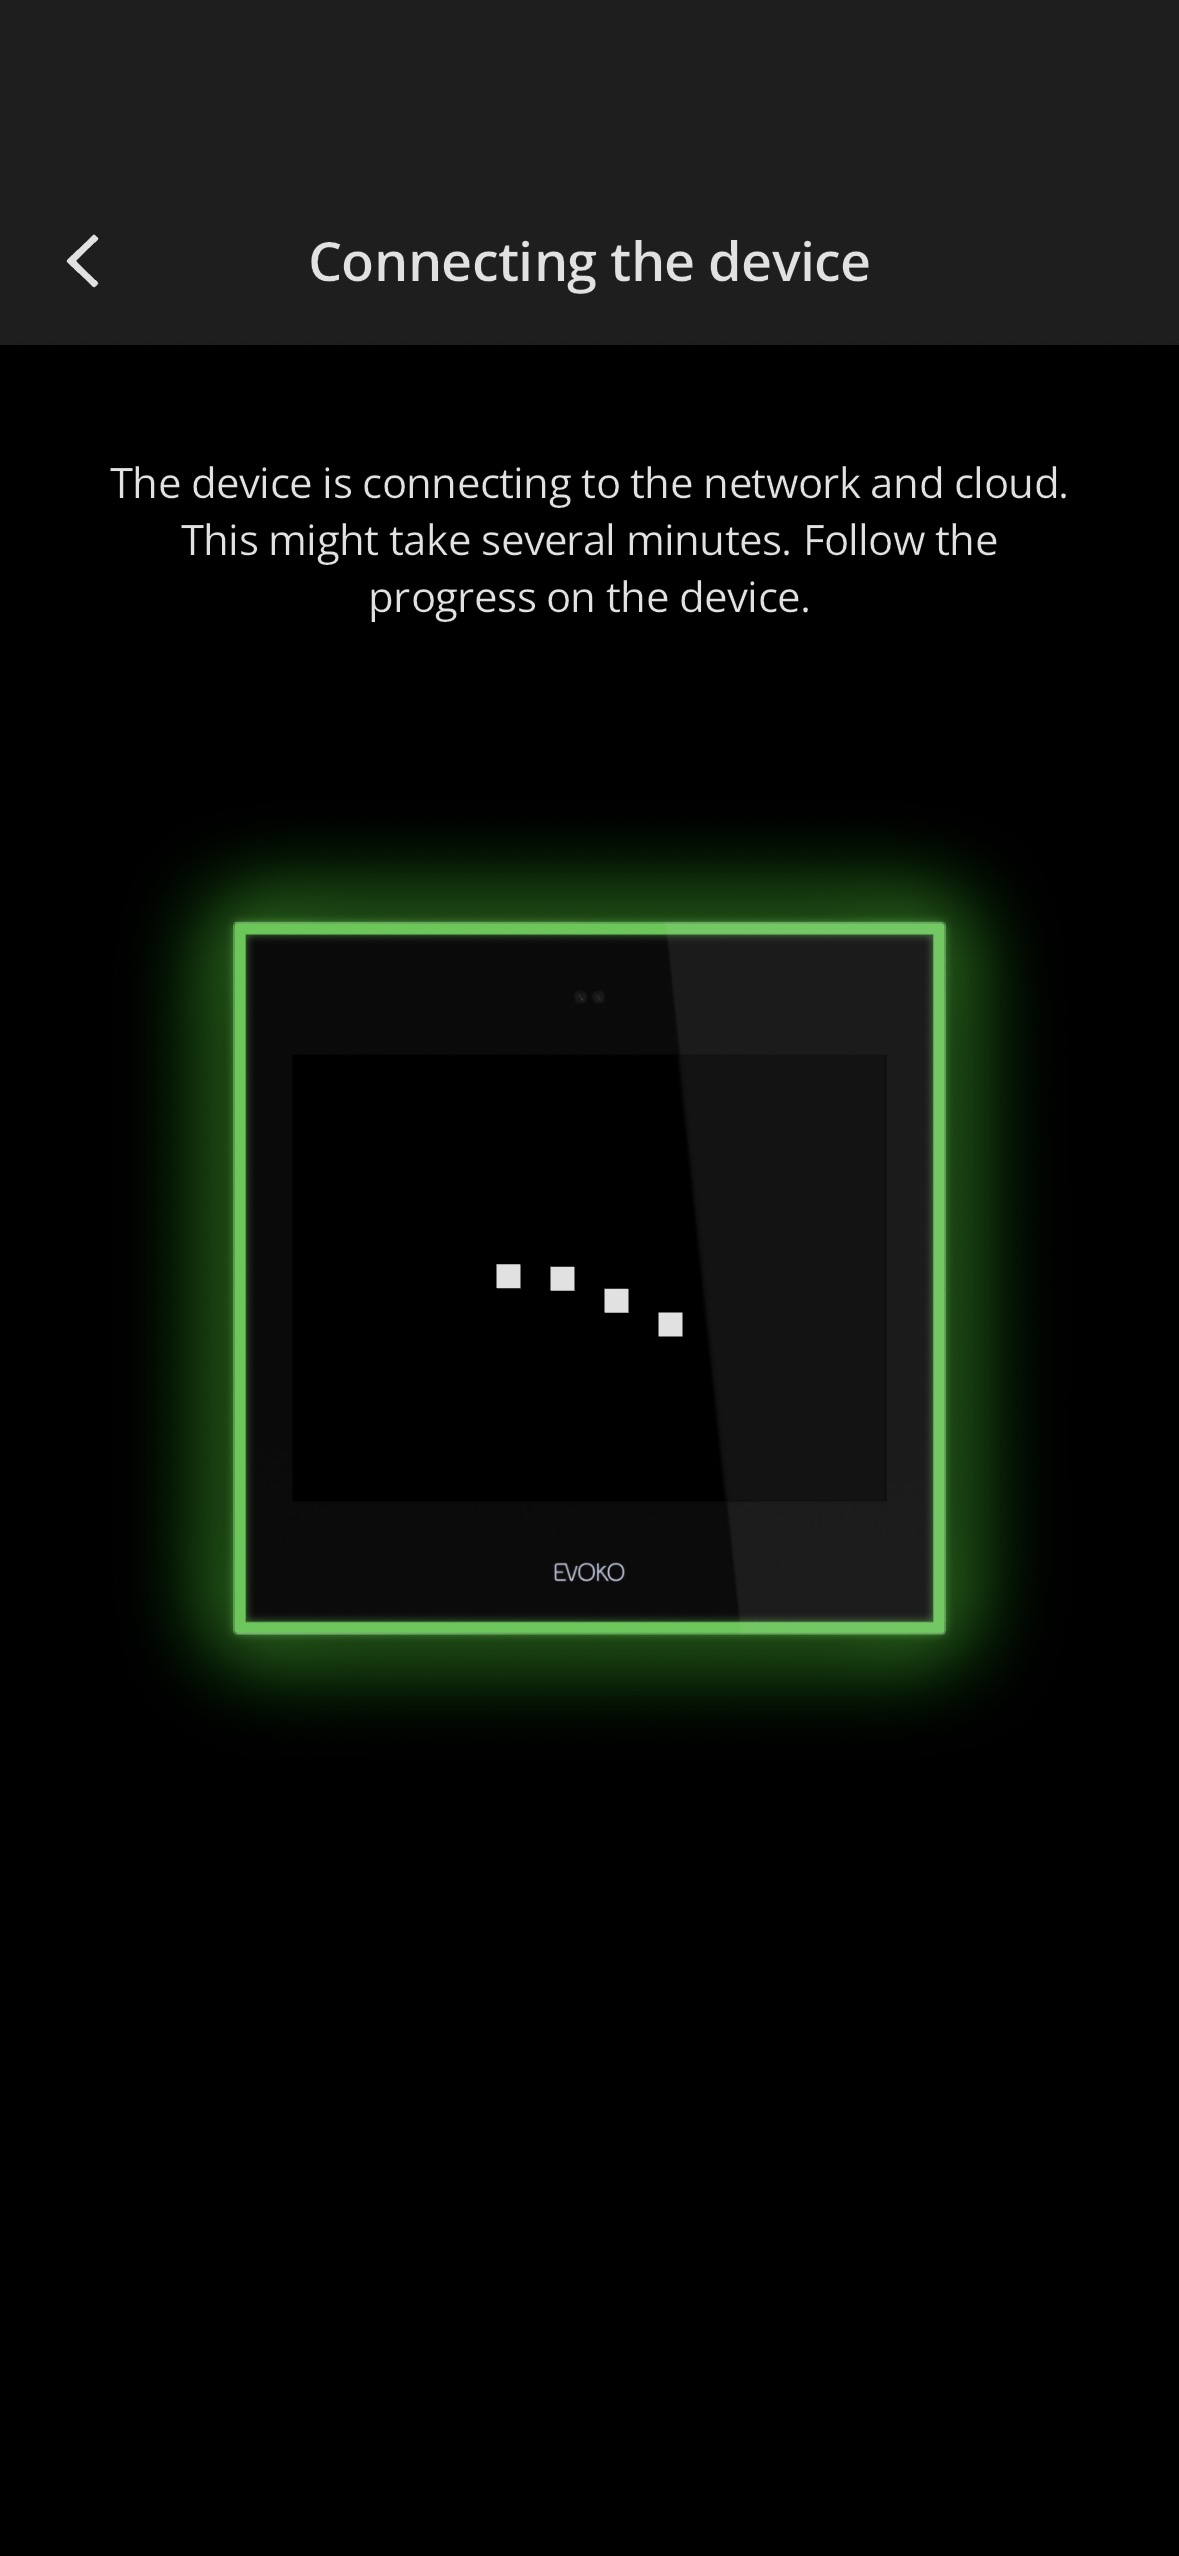
An active Connecting screen will appear on the Biamp Workplace Booking app screen once the Naso acknowledges the handshake.
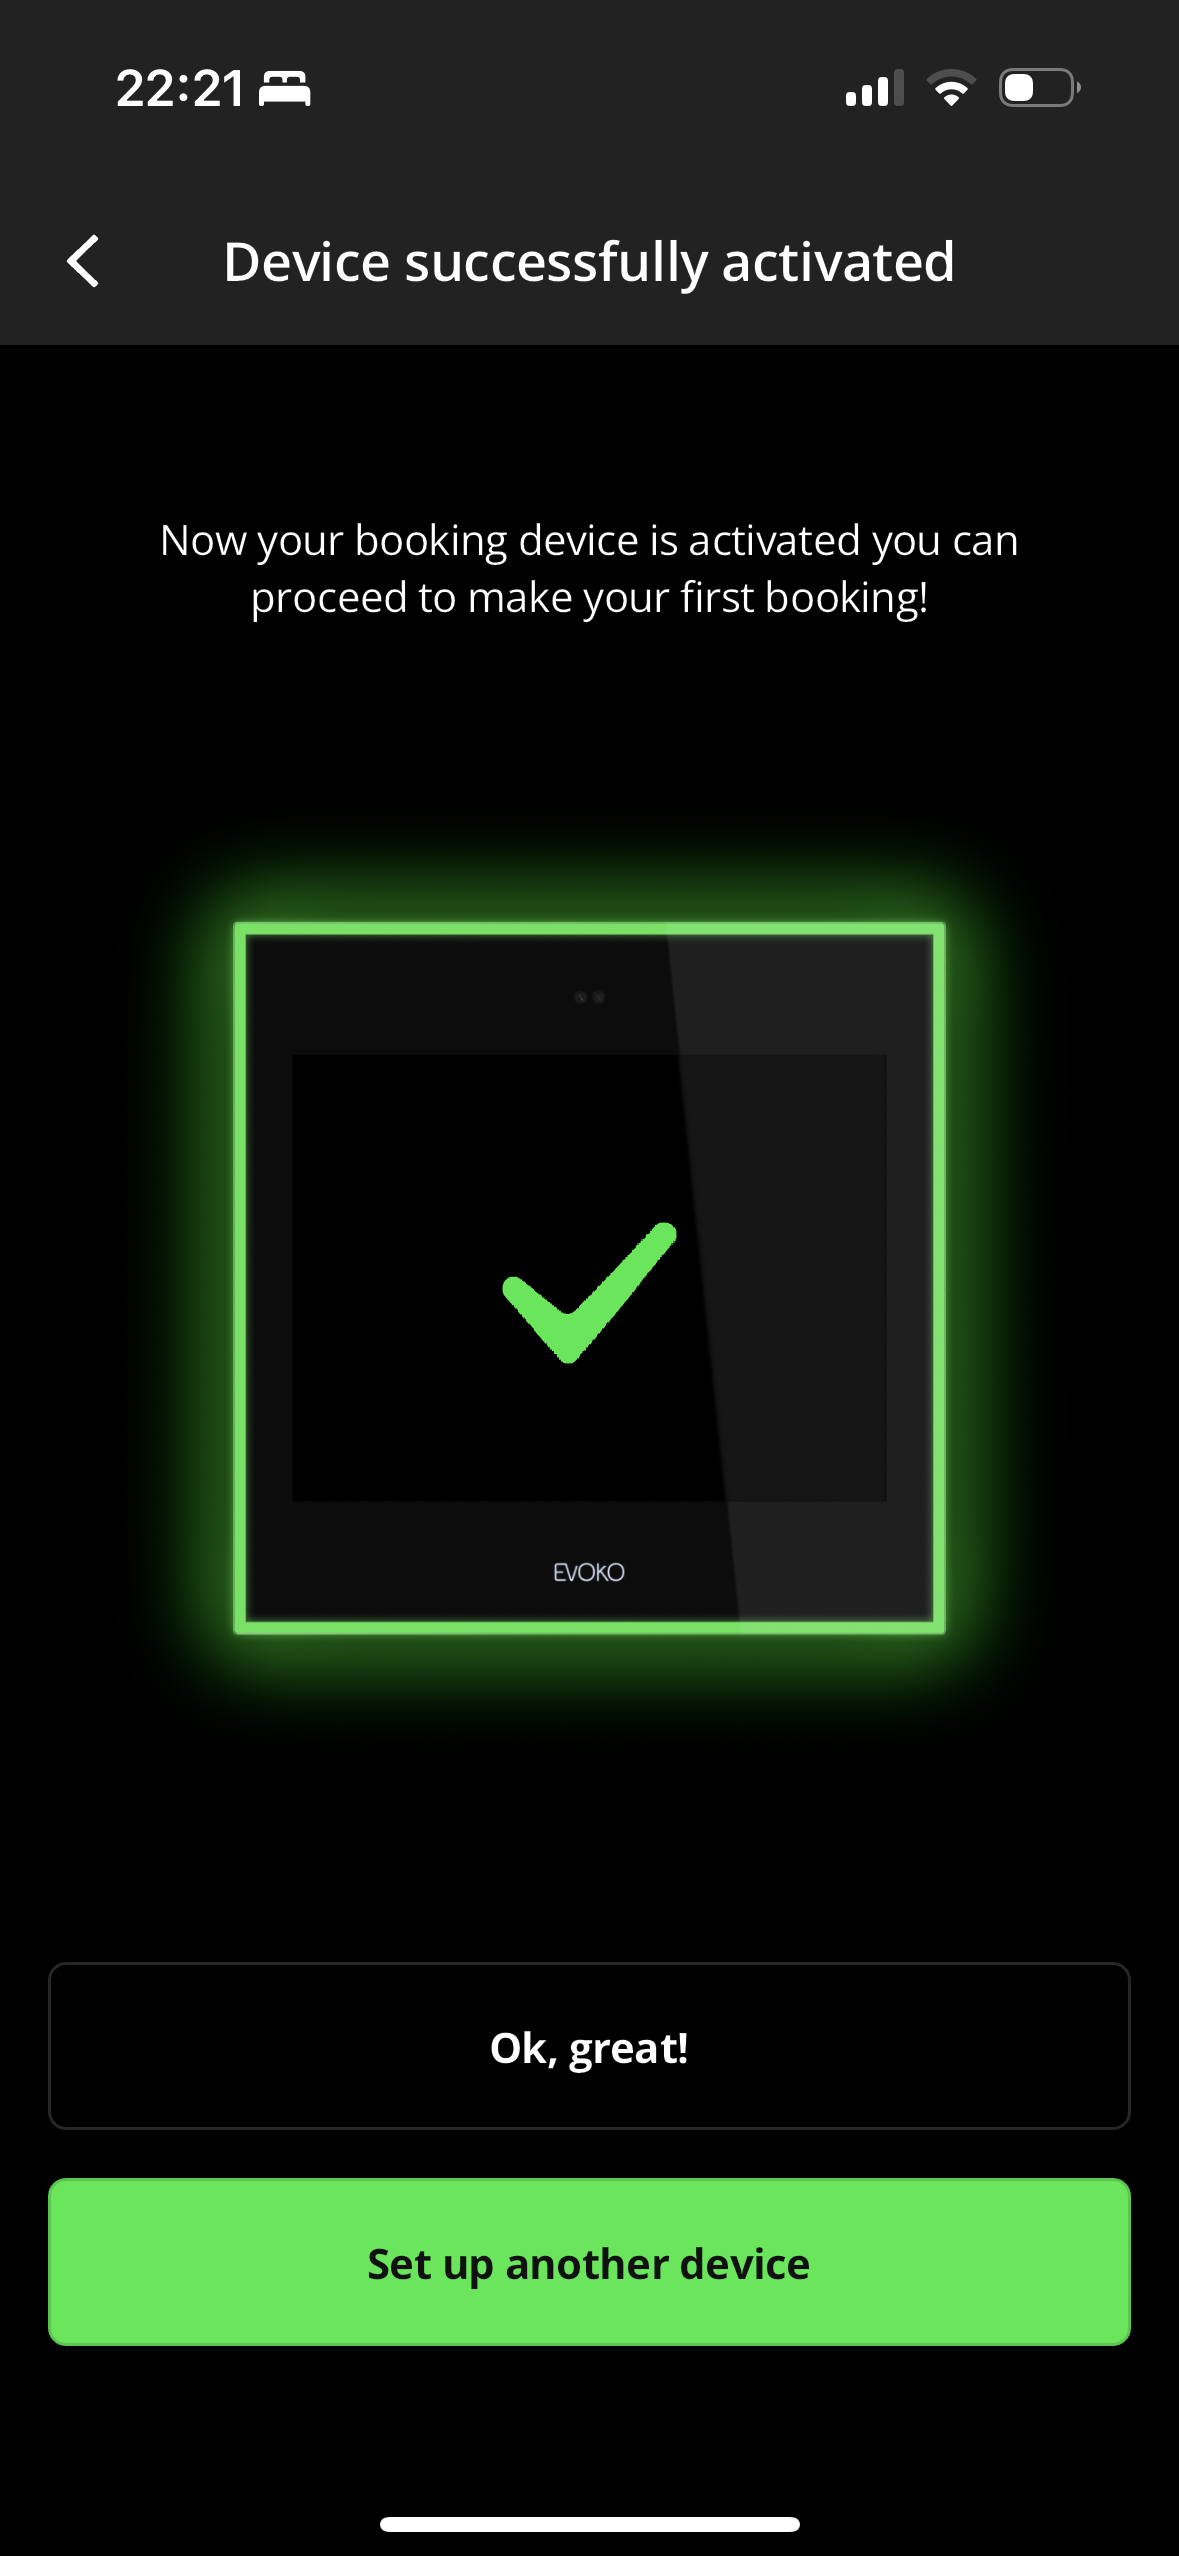
The Booking app will indicate a successful connection and Naso activation.
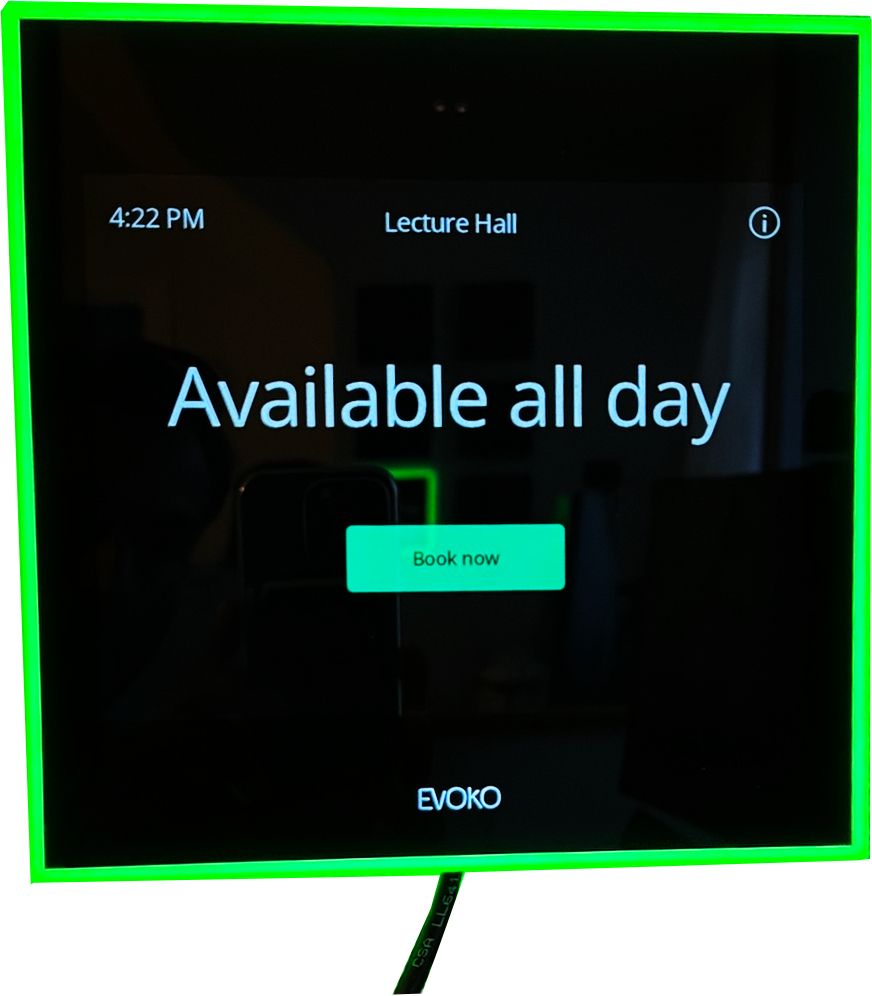
After a few moments, the Naso will power cycle, reboot, and show a booking display with the name of the connected Workplace location room at the top of the screen.
- In this example, "Lecture Hall".
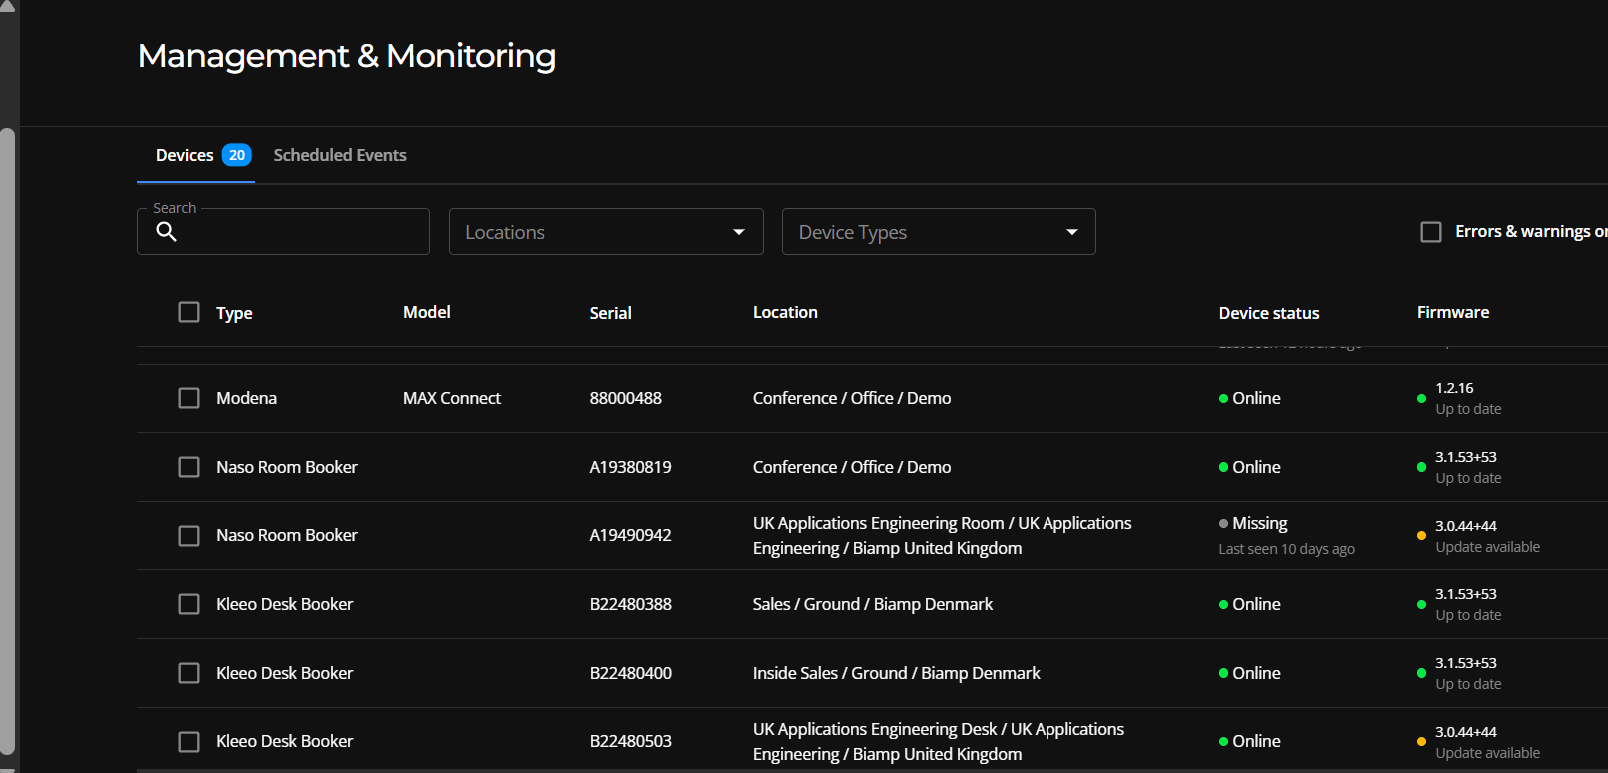
8. Check the Devices tab under the Device page in the organization's Biamp Workplace portal administration console. The device should now be present.
Next steps
Repeat the procedure to connect additional Naso devices to Biamp Workplace room locations (resources) in the Workspace organization.