Adding and Editing a Screen
How to create and edit Workplace Overview screens to show on on-site display screens.
Adding an Overview screen
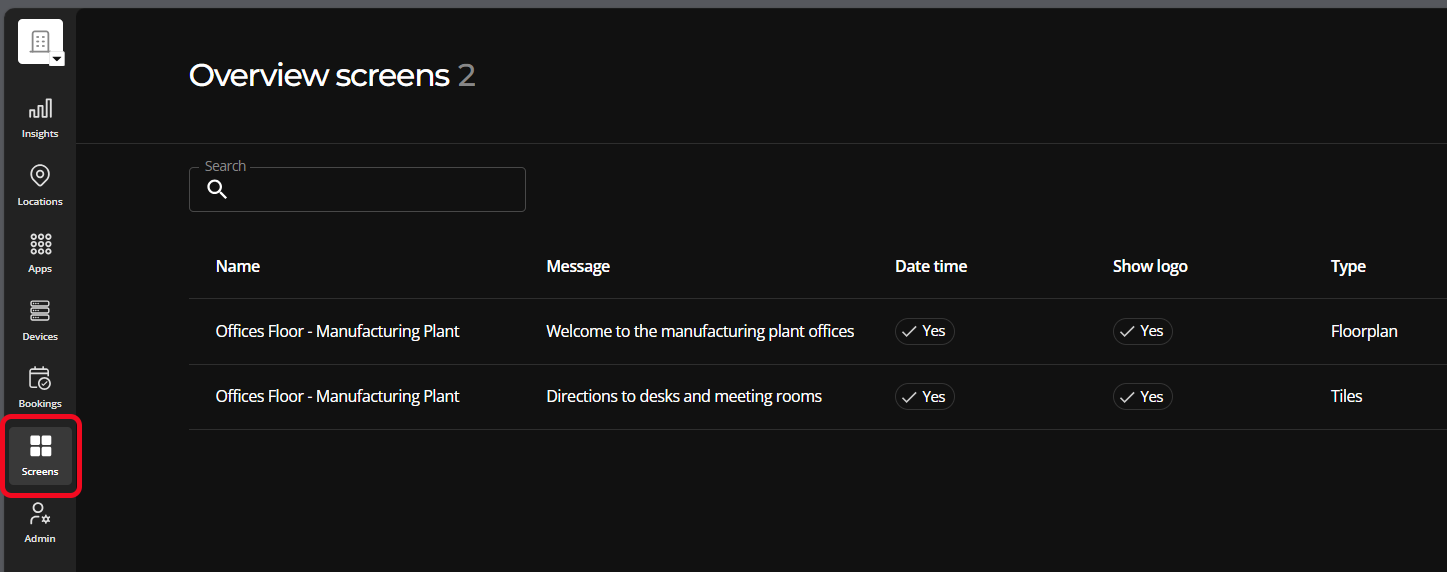
Add a screen to a Workplace organization under the admin portal's Overview screens tab.
1. Select the "+ Add screen button on the lower right side of the Screens page.
2. Fill out the General settings section for the Overview screen.
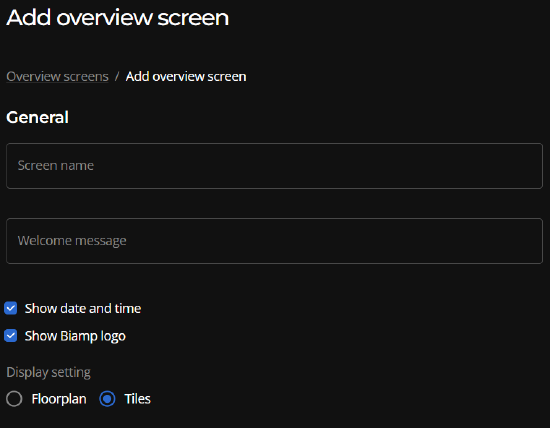
- Screen name: Assign an intuitive name to the screen for managing and keeping track of it, along with your organization's other Overview screens.
- Welcome screen: Write a welcome message that will be useful for an end-user viewing the Overview screen on the floor where the display monitor will be located.
- Screen information: Choose to show or not show:
- The date and time
- The Biamp logo
- Display setting: Choose an overview screen type under Display settings options.
- A Floorplan overview screen
- The floor you are creating the Floorplan screen for must have a location plan set up. For more information, see Create a Locations Plan.
- A Tiles floor overview screen
- A Floorplan overview screen
For a description of the Floorplan and Tiles overview screen types, see Overview of Screens.
Assigning a screen to a display
See Assign a Screen to a Display for how show an Overview screen on a display.
Updating and editing a screen
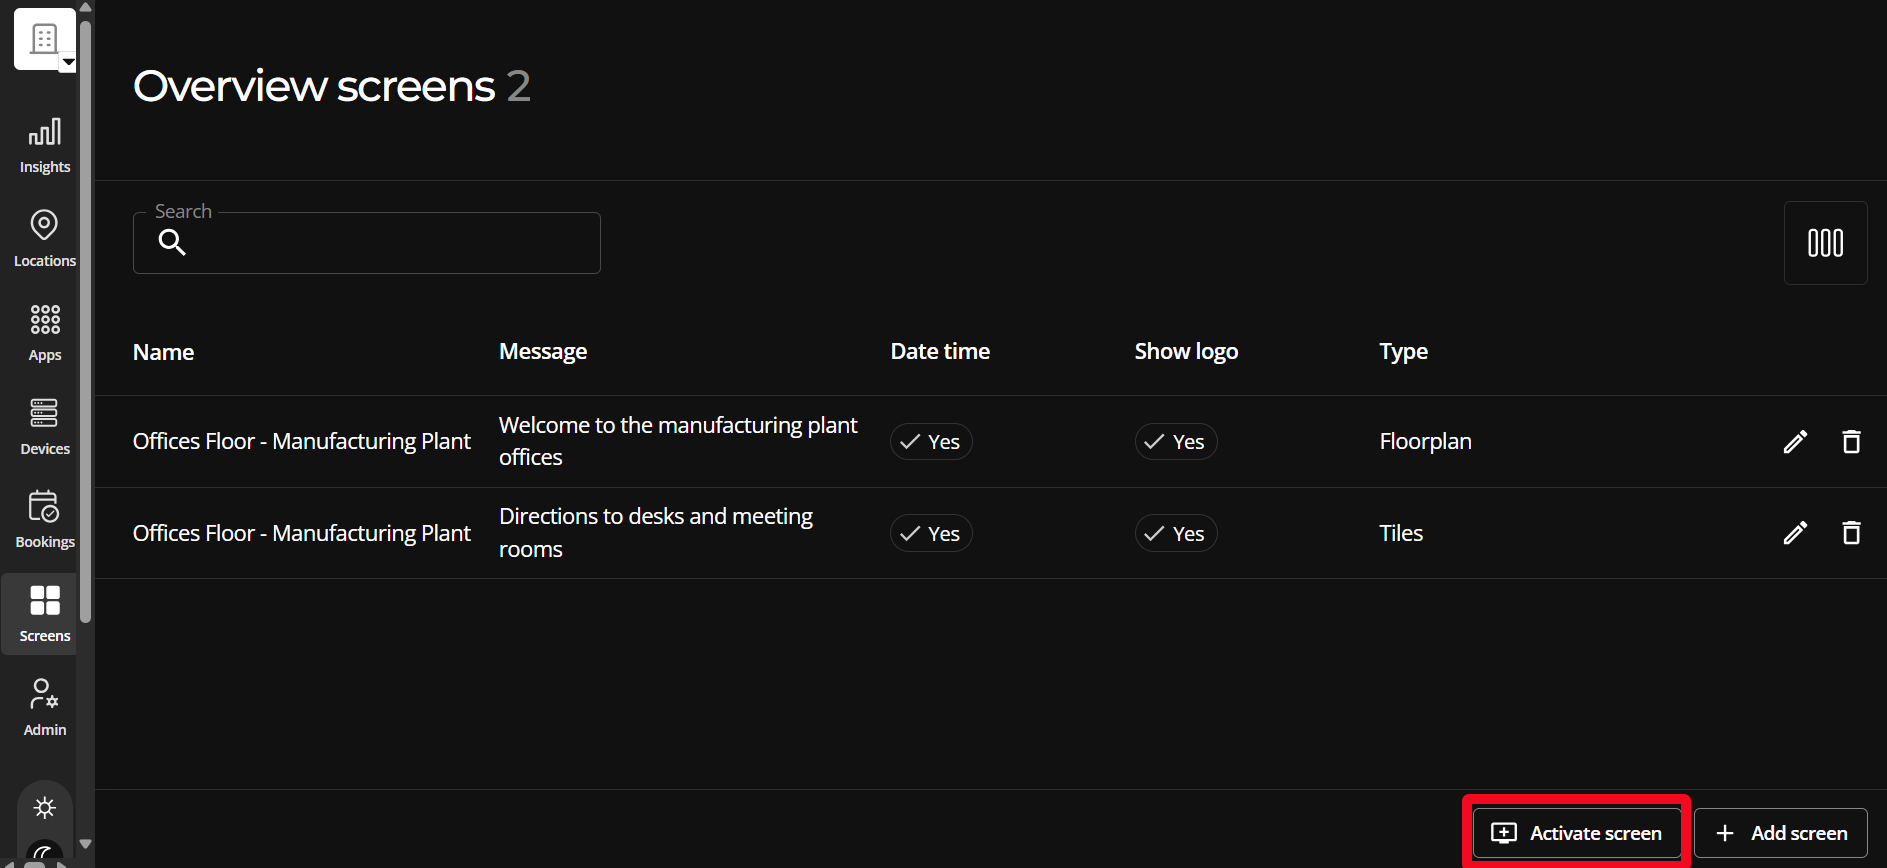
The screen configuration options previously described above can be edited as needed on the Screens page. Select the pencil icon on the right side of the Screens page.

Please note: The floor location plans the Overview floorplan screens are based on are created and edited on the admin console's Locations page.
For more information about creating a plan see Create a Locations Plan.